
How to Install a MagVent Magnetic Dryer Vent (Step-by-Step Tutorial)
If you’ve spent any time researching dryer vent solutions, chances are you’ve heard of MagVent—the magnetic dryer vent coupling system that makes dryer installation safer, cleaner, and dramatically more convenient. We’ve talked a lot about why we love MagVent, but until now we’ve never created a full step-by-step installation tutorial.
In this guide, we walk you through exactly how to install a MagVent MV-180 or MV-90, why rigid ducting is so important, and what makes this magnetic connection such a game-changer for homeowners.
Why Choose MagVent?
Traditional flexible dryer ducts may be common, but they’re also one of the leading causes of dryer-related fires. Lint collects in the corrugations of the flexible hose, reducing airflow, increasing drying time, and posing a potential hazard.
MagVent solves these issues with:
A strong magnetic self-aligning connection
Minimal flexible ducting—often none at all
A smooth, rigid airflow path
Easy push-back installation when positioning the dryer
Improved safety and dryer efficiency
With MagVent, you don’t need to be perfectly aligned—just slide the dryer toward the wall and the magnets do the work.
Tools & Materials Needed

Before getting started, gather:
MagVent MV-180 or MV-90 (depending on your setup)
Rigid metal dryer duct
Foil tape (not screws—more on that below)
Tin snips or a metal-cutting tool
Drill and screws
Level (optional)
Step-by-Step MagVent Installation Tutorial
1. Separate the MagVent Components
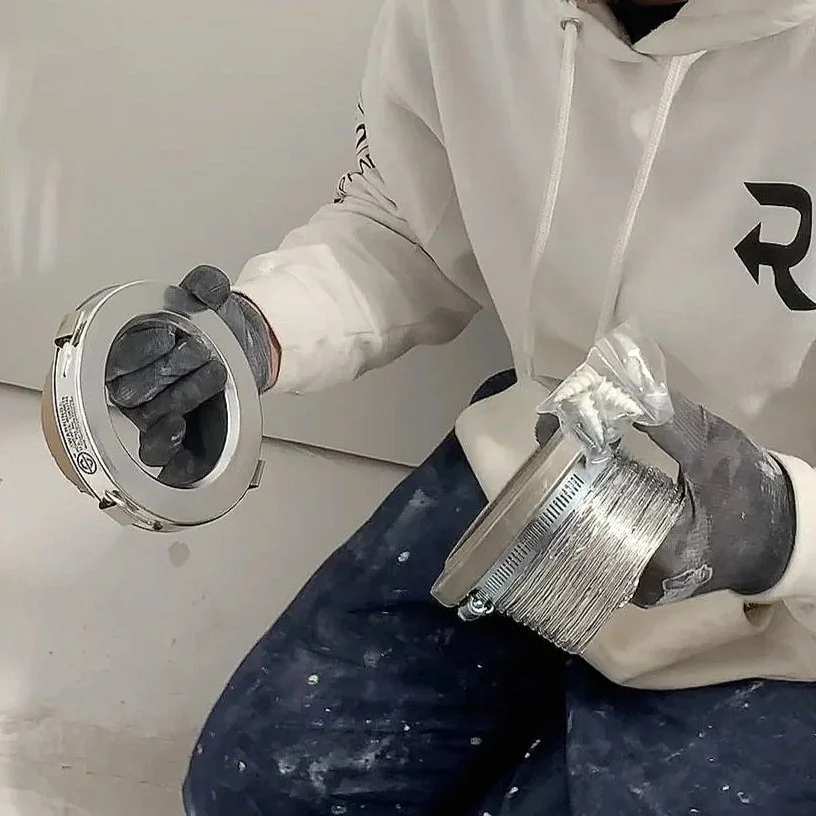
Each MagVent kit comes with two main parts:
The wall-side magnetic receiver
The dryer-side magnetic collar
For now, focus on the wall-side piece—that’s what you'll install first.
2. Remove Old Flexible Ducting (If Present)
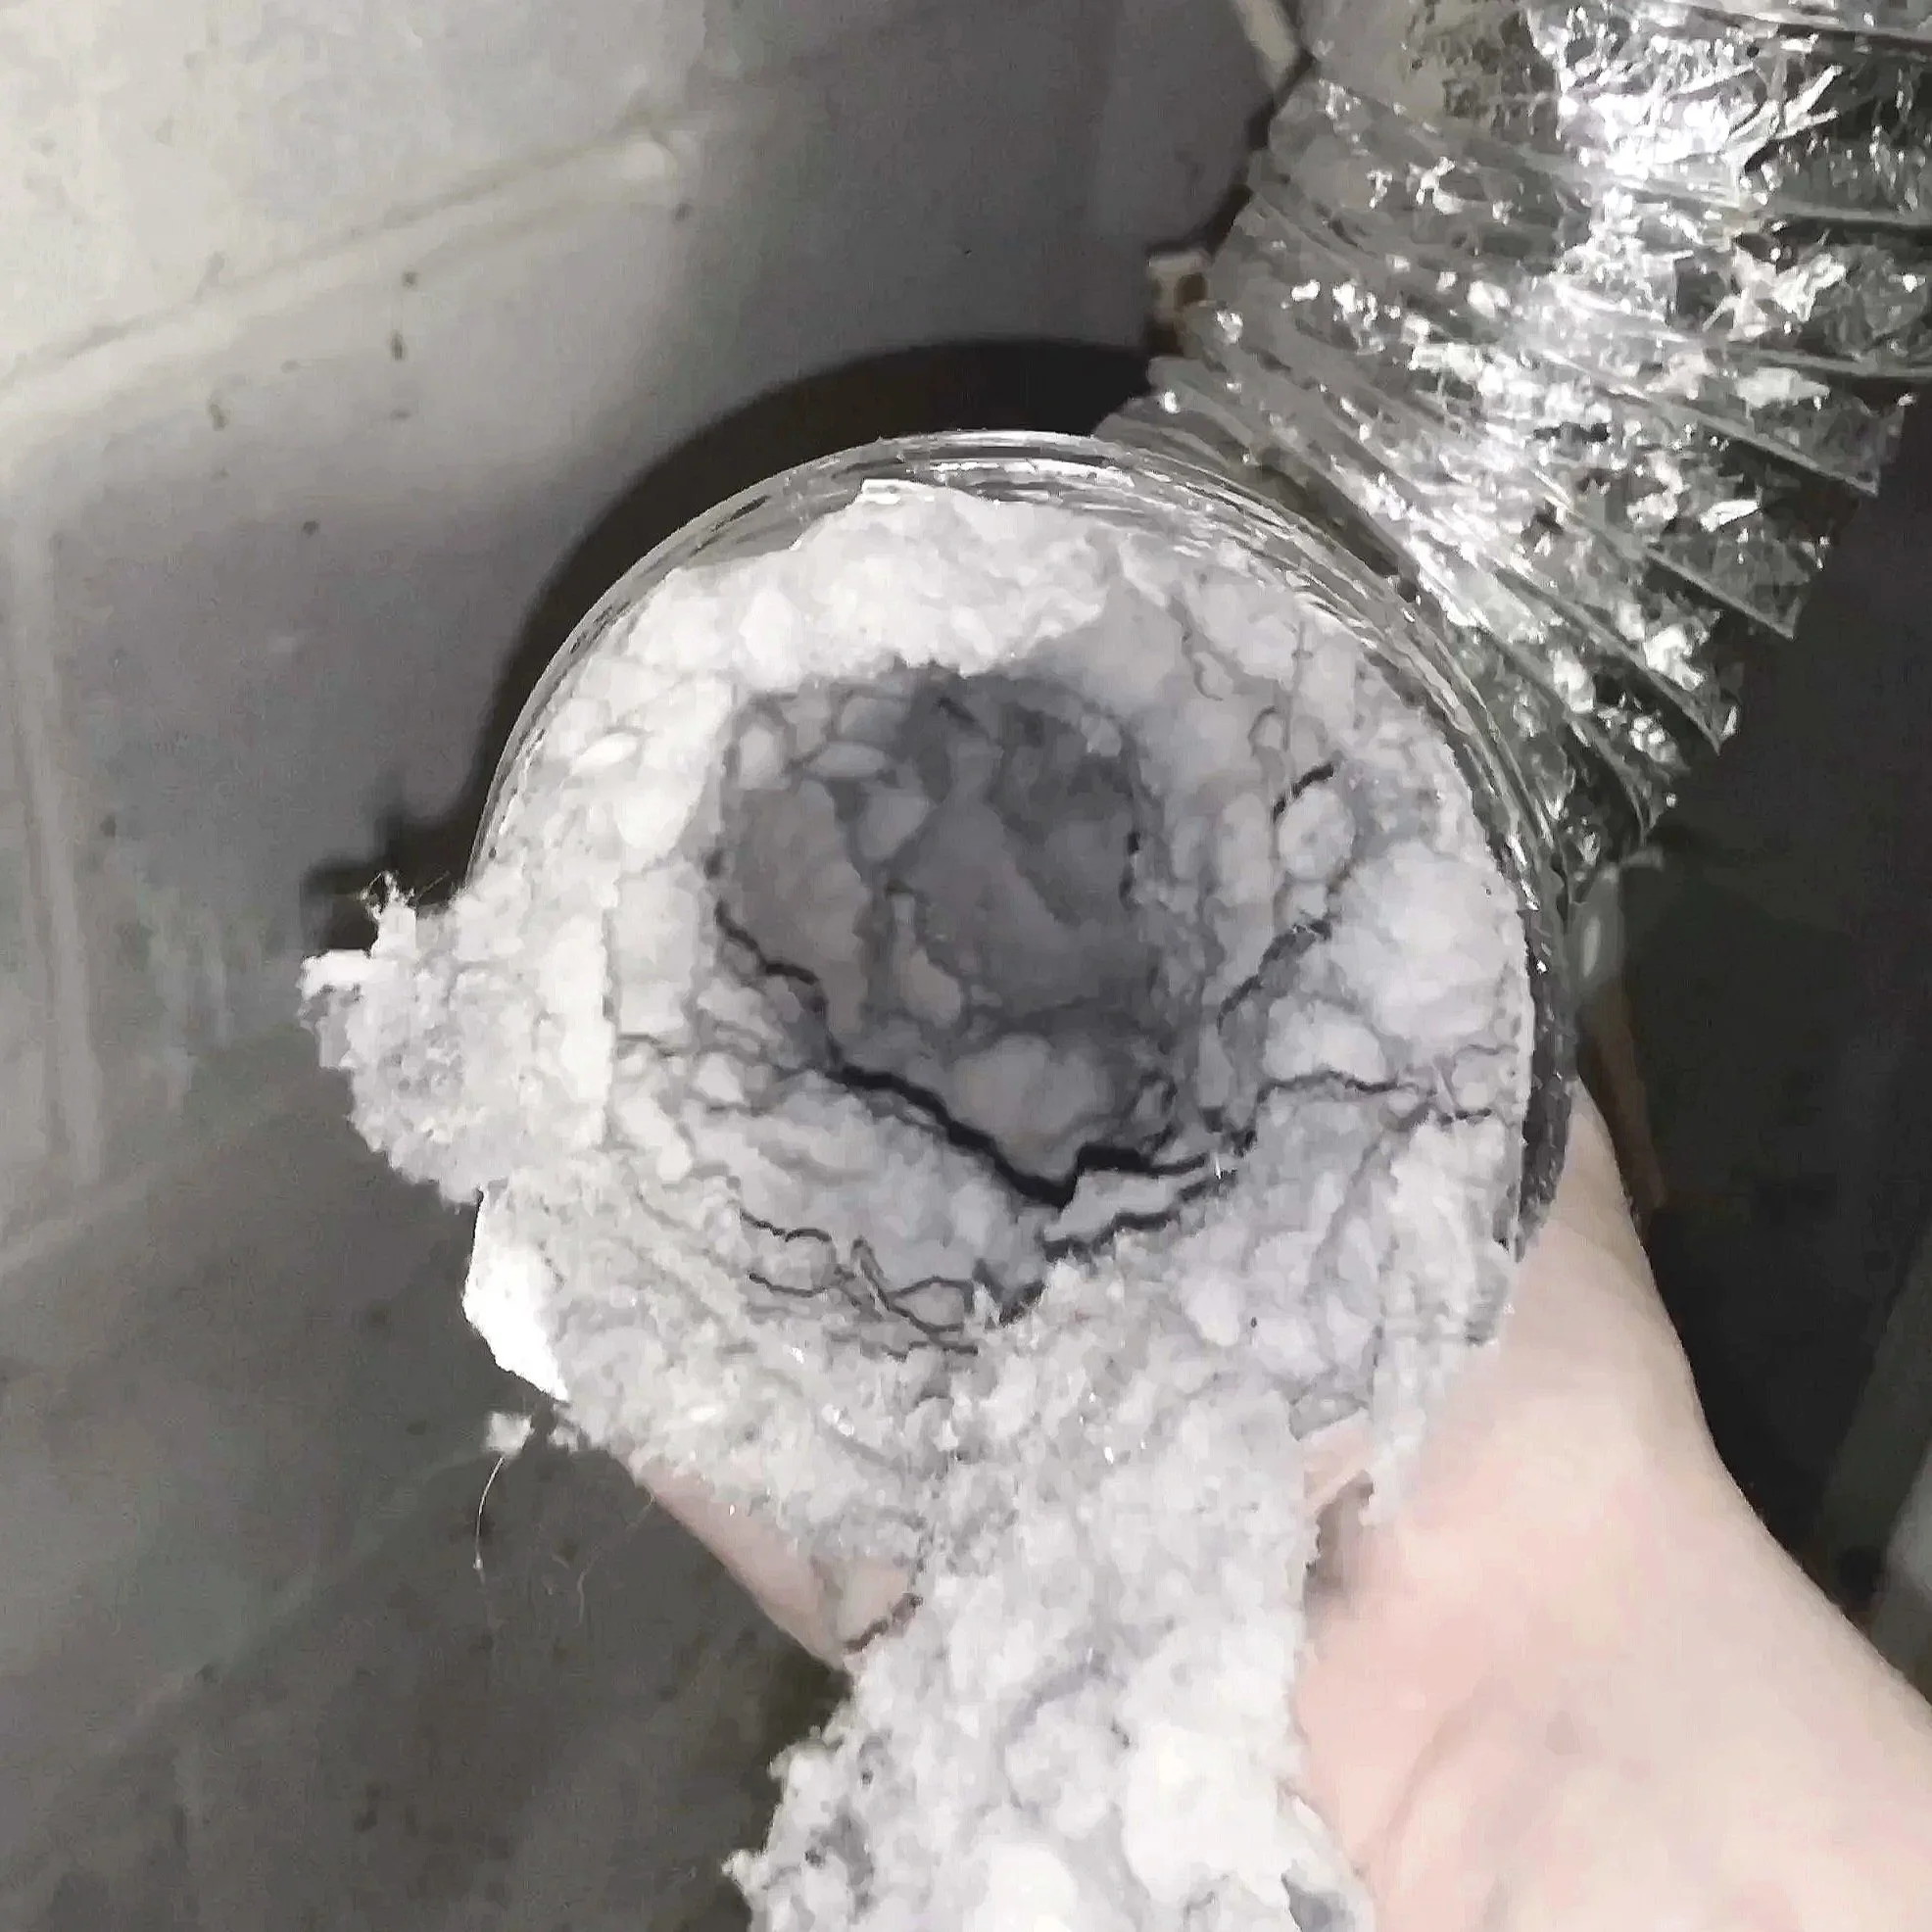
Most homes still use flexible foil or accordion-style ducting, which:
Collects lint easily
Reduces airflow
Becomes a fire hazard over time
We strongly recommend switching to rigid ducting. This gives you a smooth interior path for air and lint to escape, drastically reducing buildup.
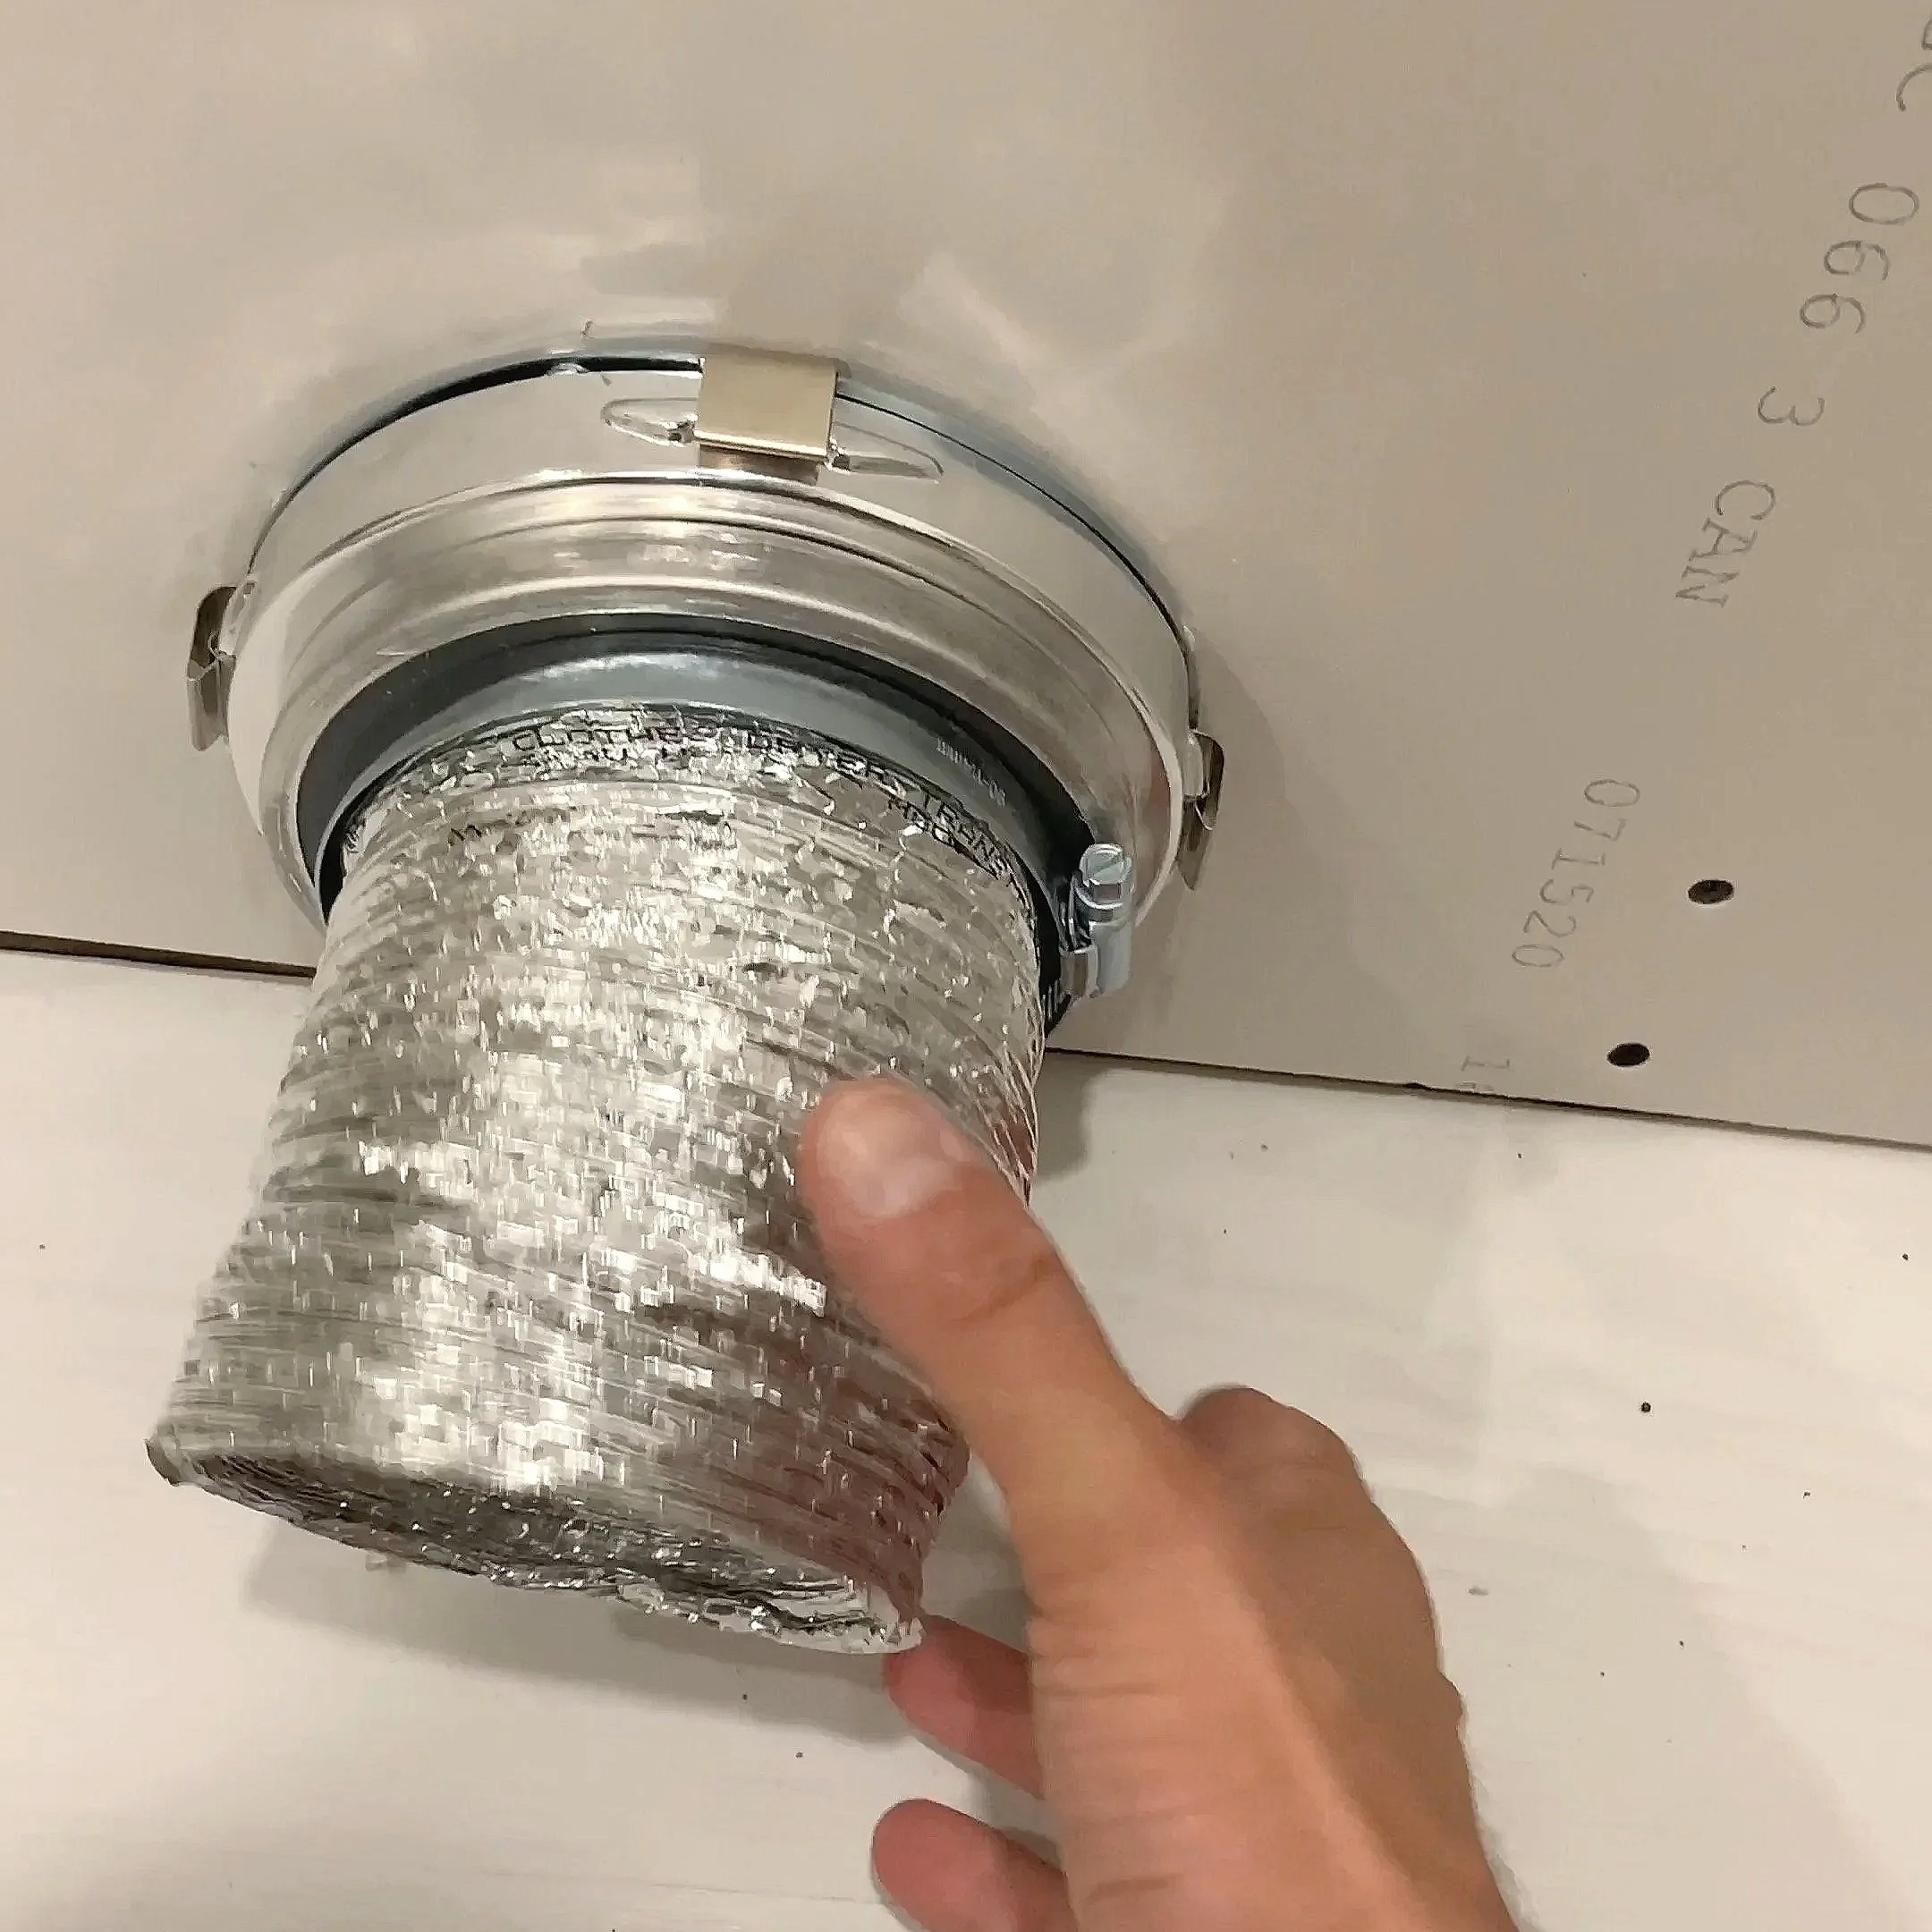
3. Install Rigid Ducting Correctly
When connecting sections of rigid duct:
Always ensure the male end faces outward (toward the exterior of the home).
This prevents lint from catching on interior edges.Do not use screws—they create crevices where lint accumulates.
Instead, use foil tape for clean, airtight connections.
Once your rigid duct runs to the wall, cut it to length as needed.
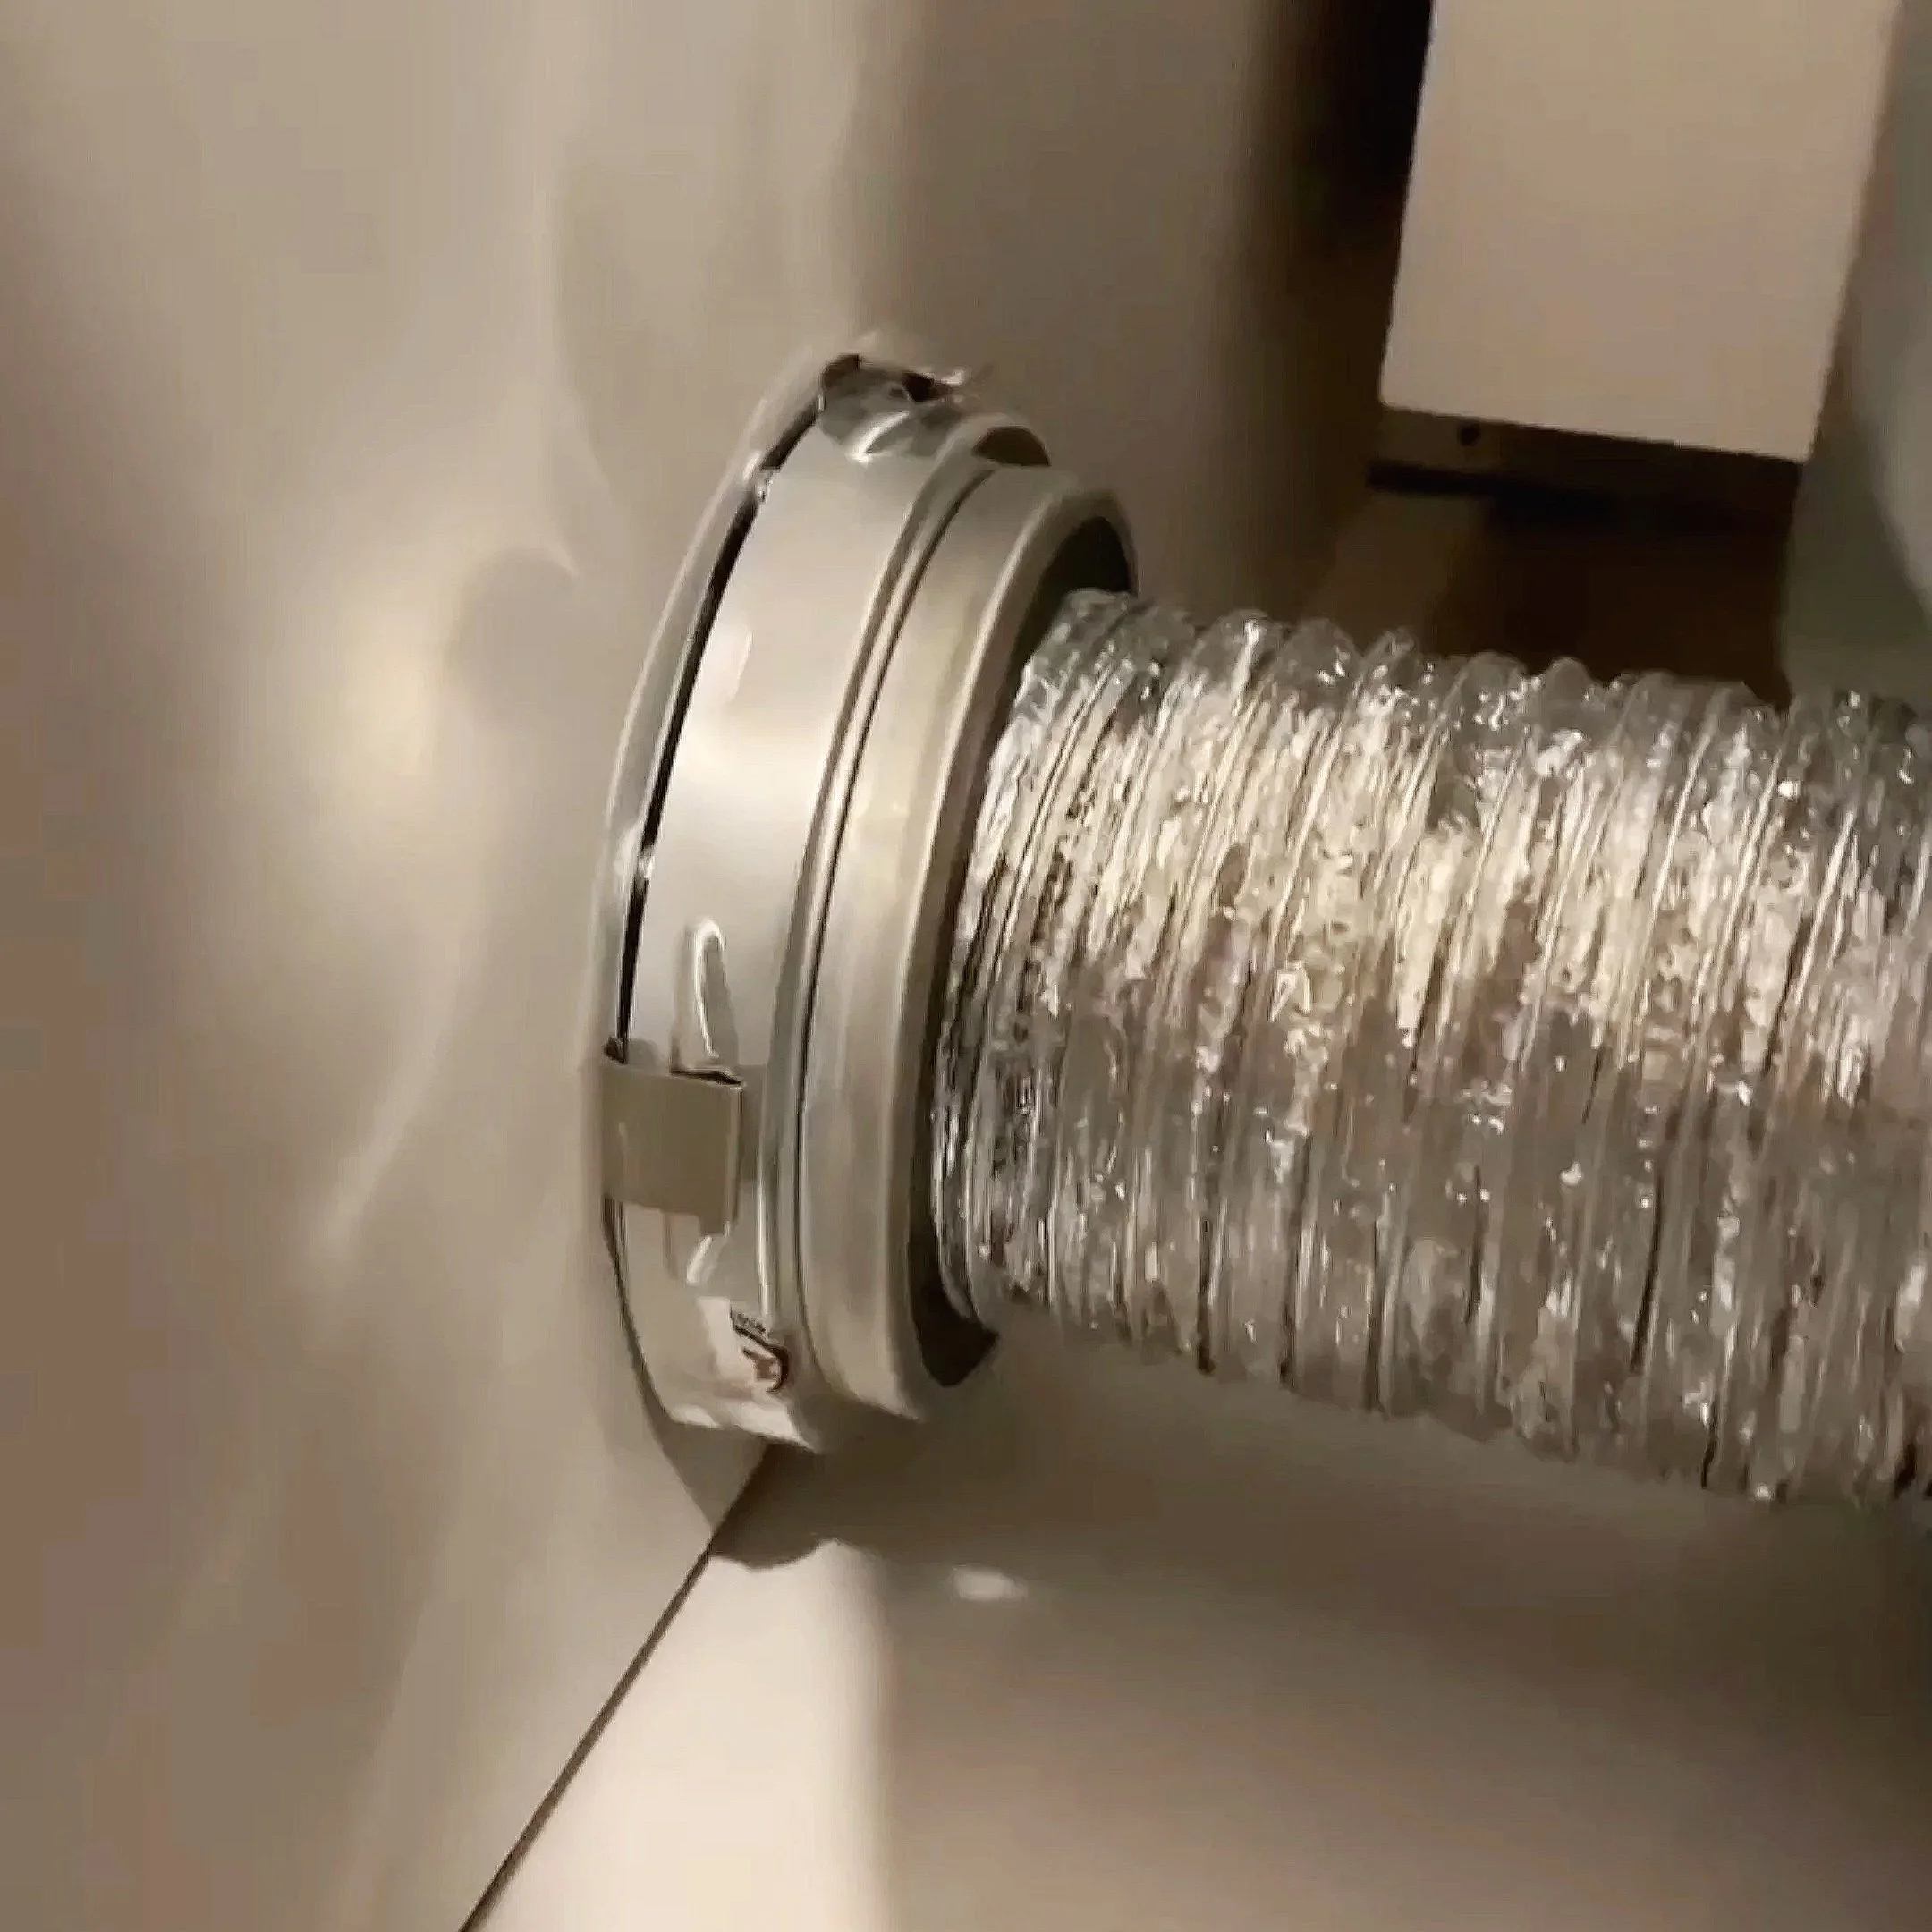
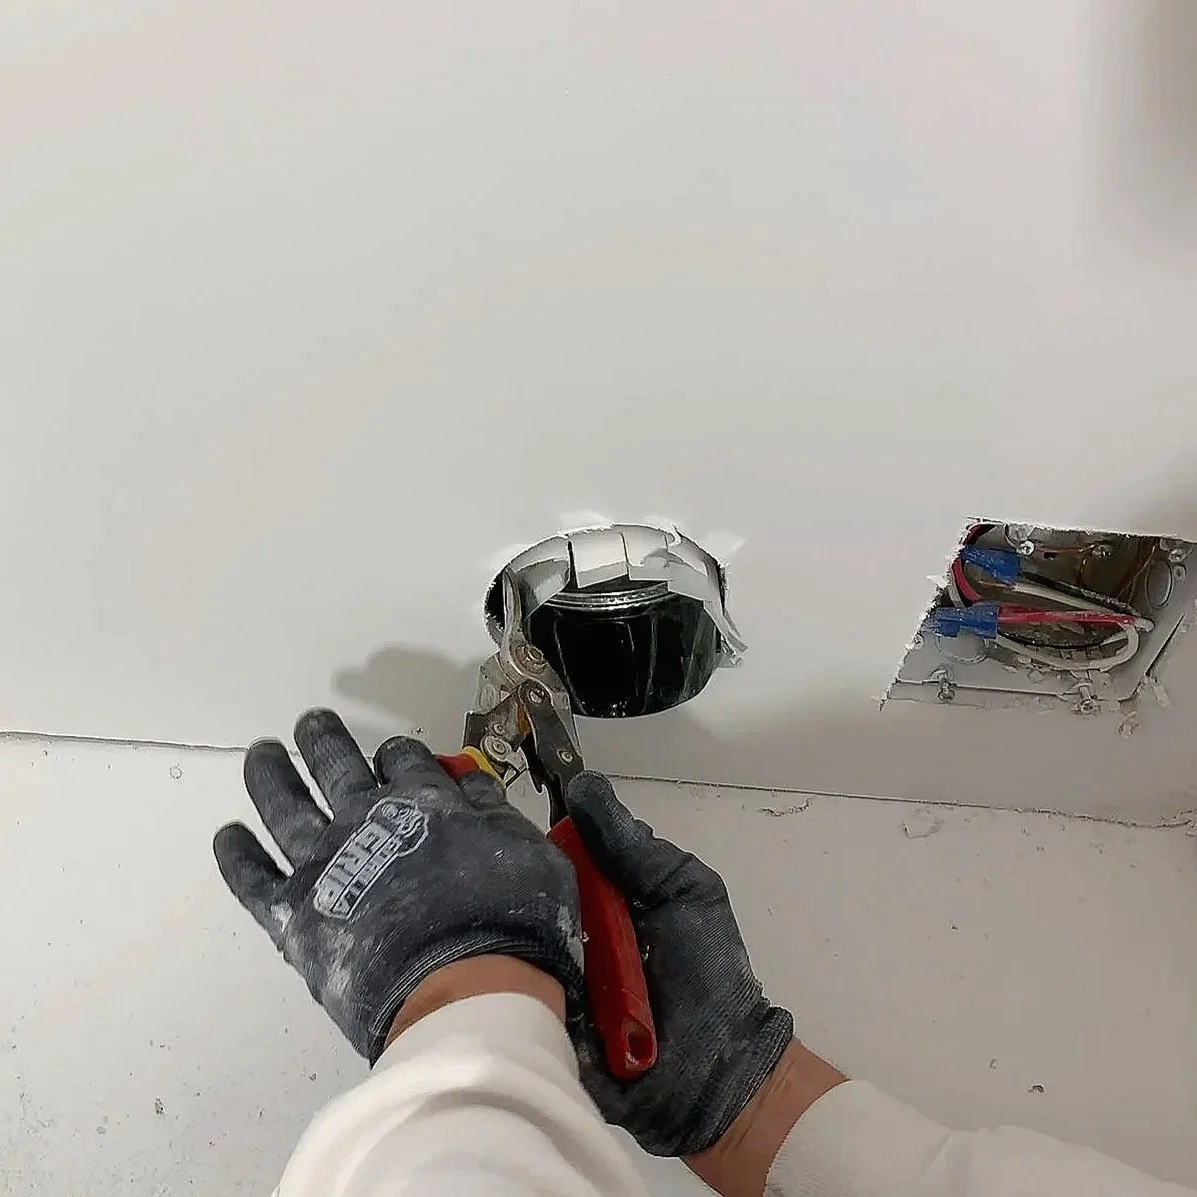
4. Mount the MagVent Wall Plate
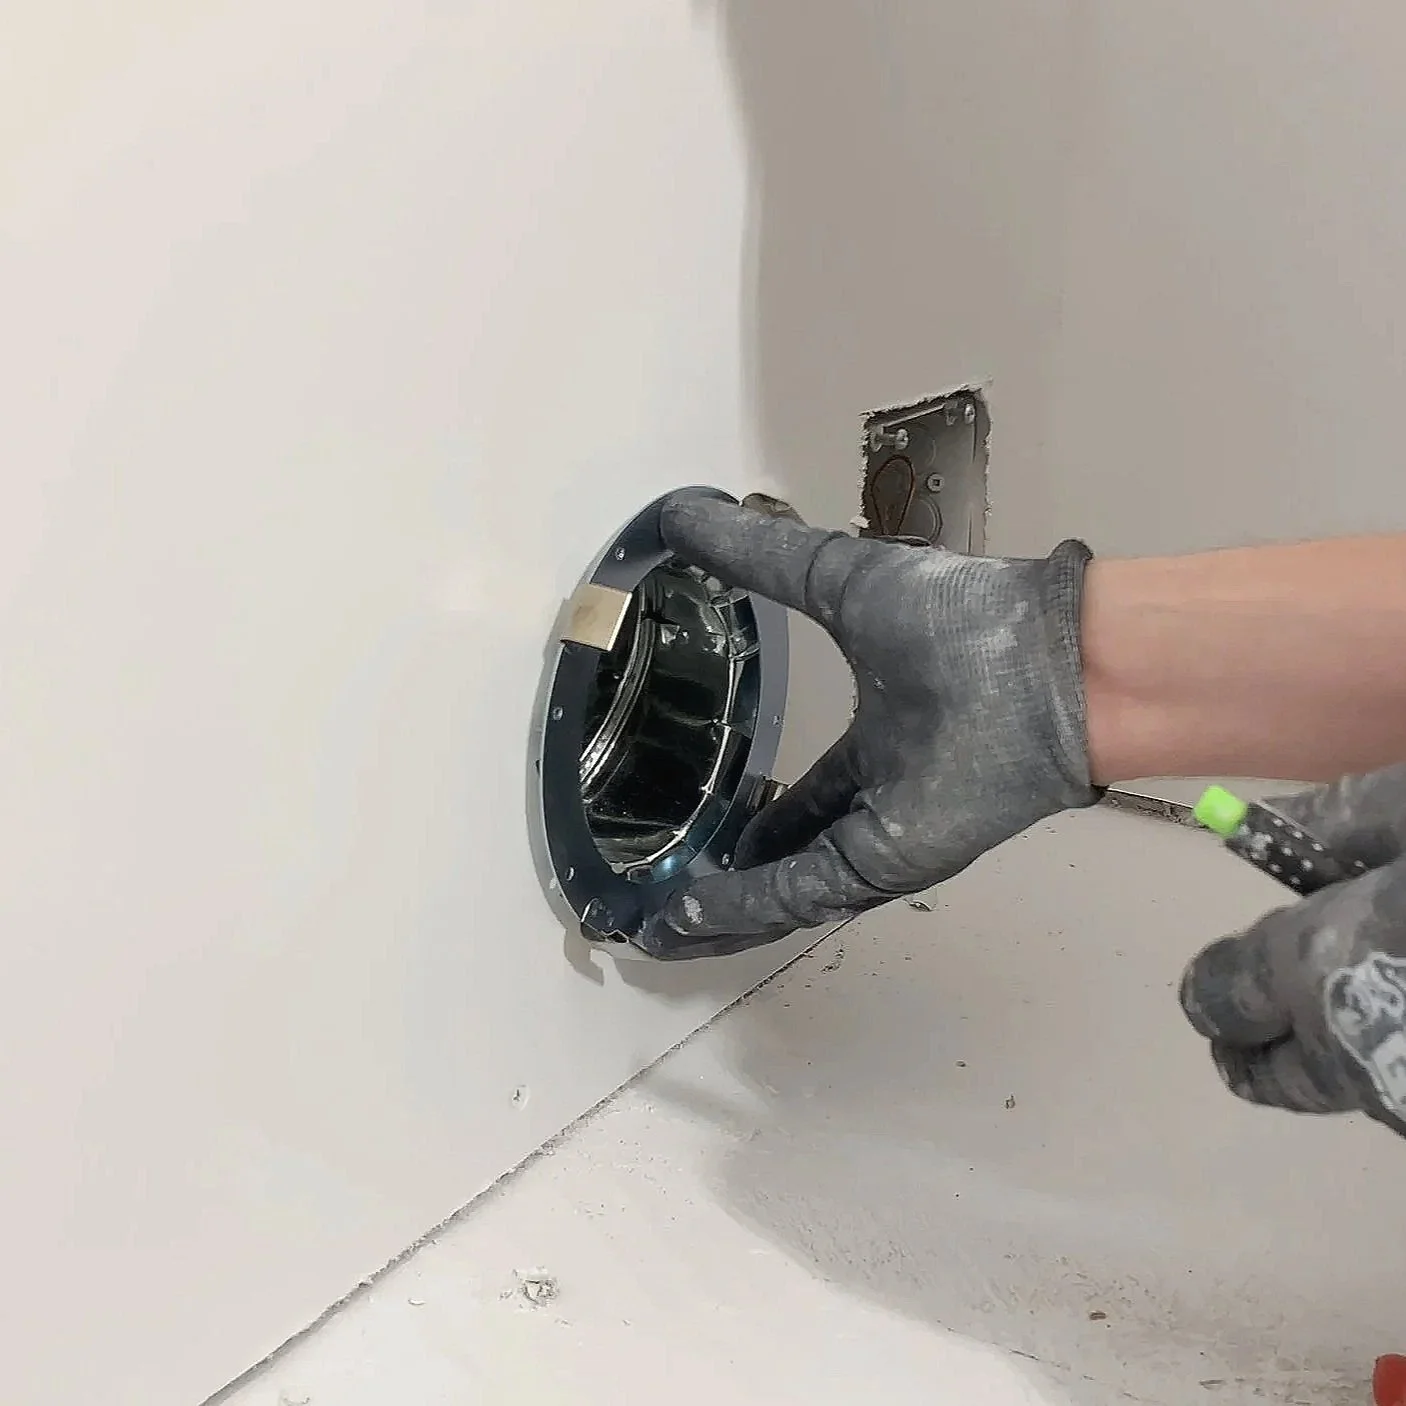
Position the MagVent wall connector where the duct exits. In our tutorial, we attached it directly to the framing for a secure hold. If you hit framing behind the drywall, great—you can screw directly into it. Otherwise, use drywall anchors.
Once fastened, the wall plate is ready to receive the magnetic coupling.
5. Snap the MagVent Housing Into Place
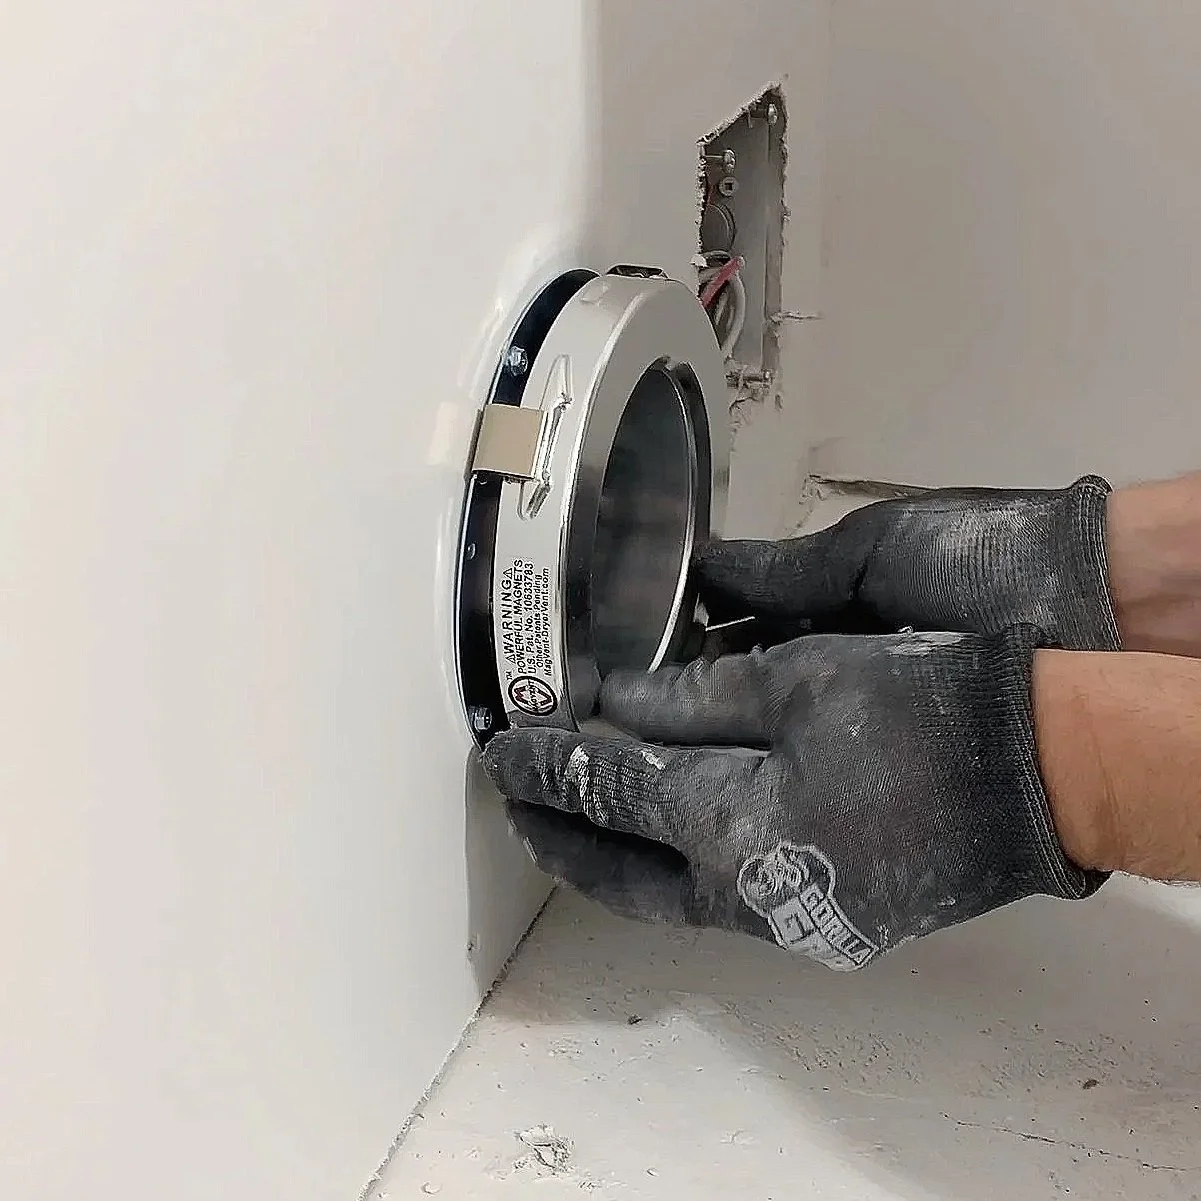
The MagVent wall unit has four clips that lock it securely to the mounting plate. Simply slide the housing into position until you hear it click.
At this point, the wall-side magnetic connection is fully installed.
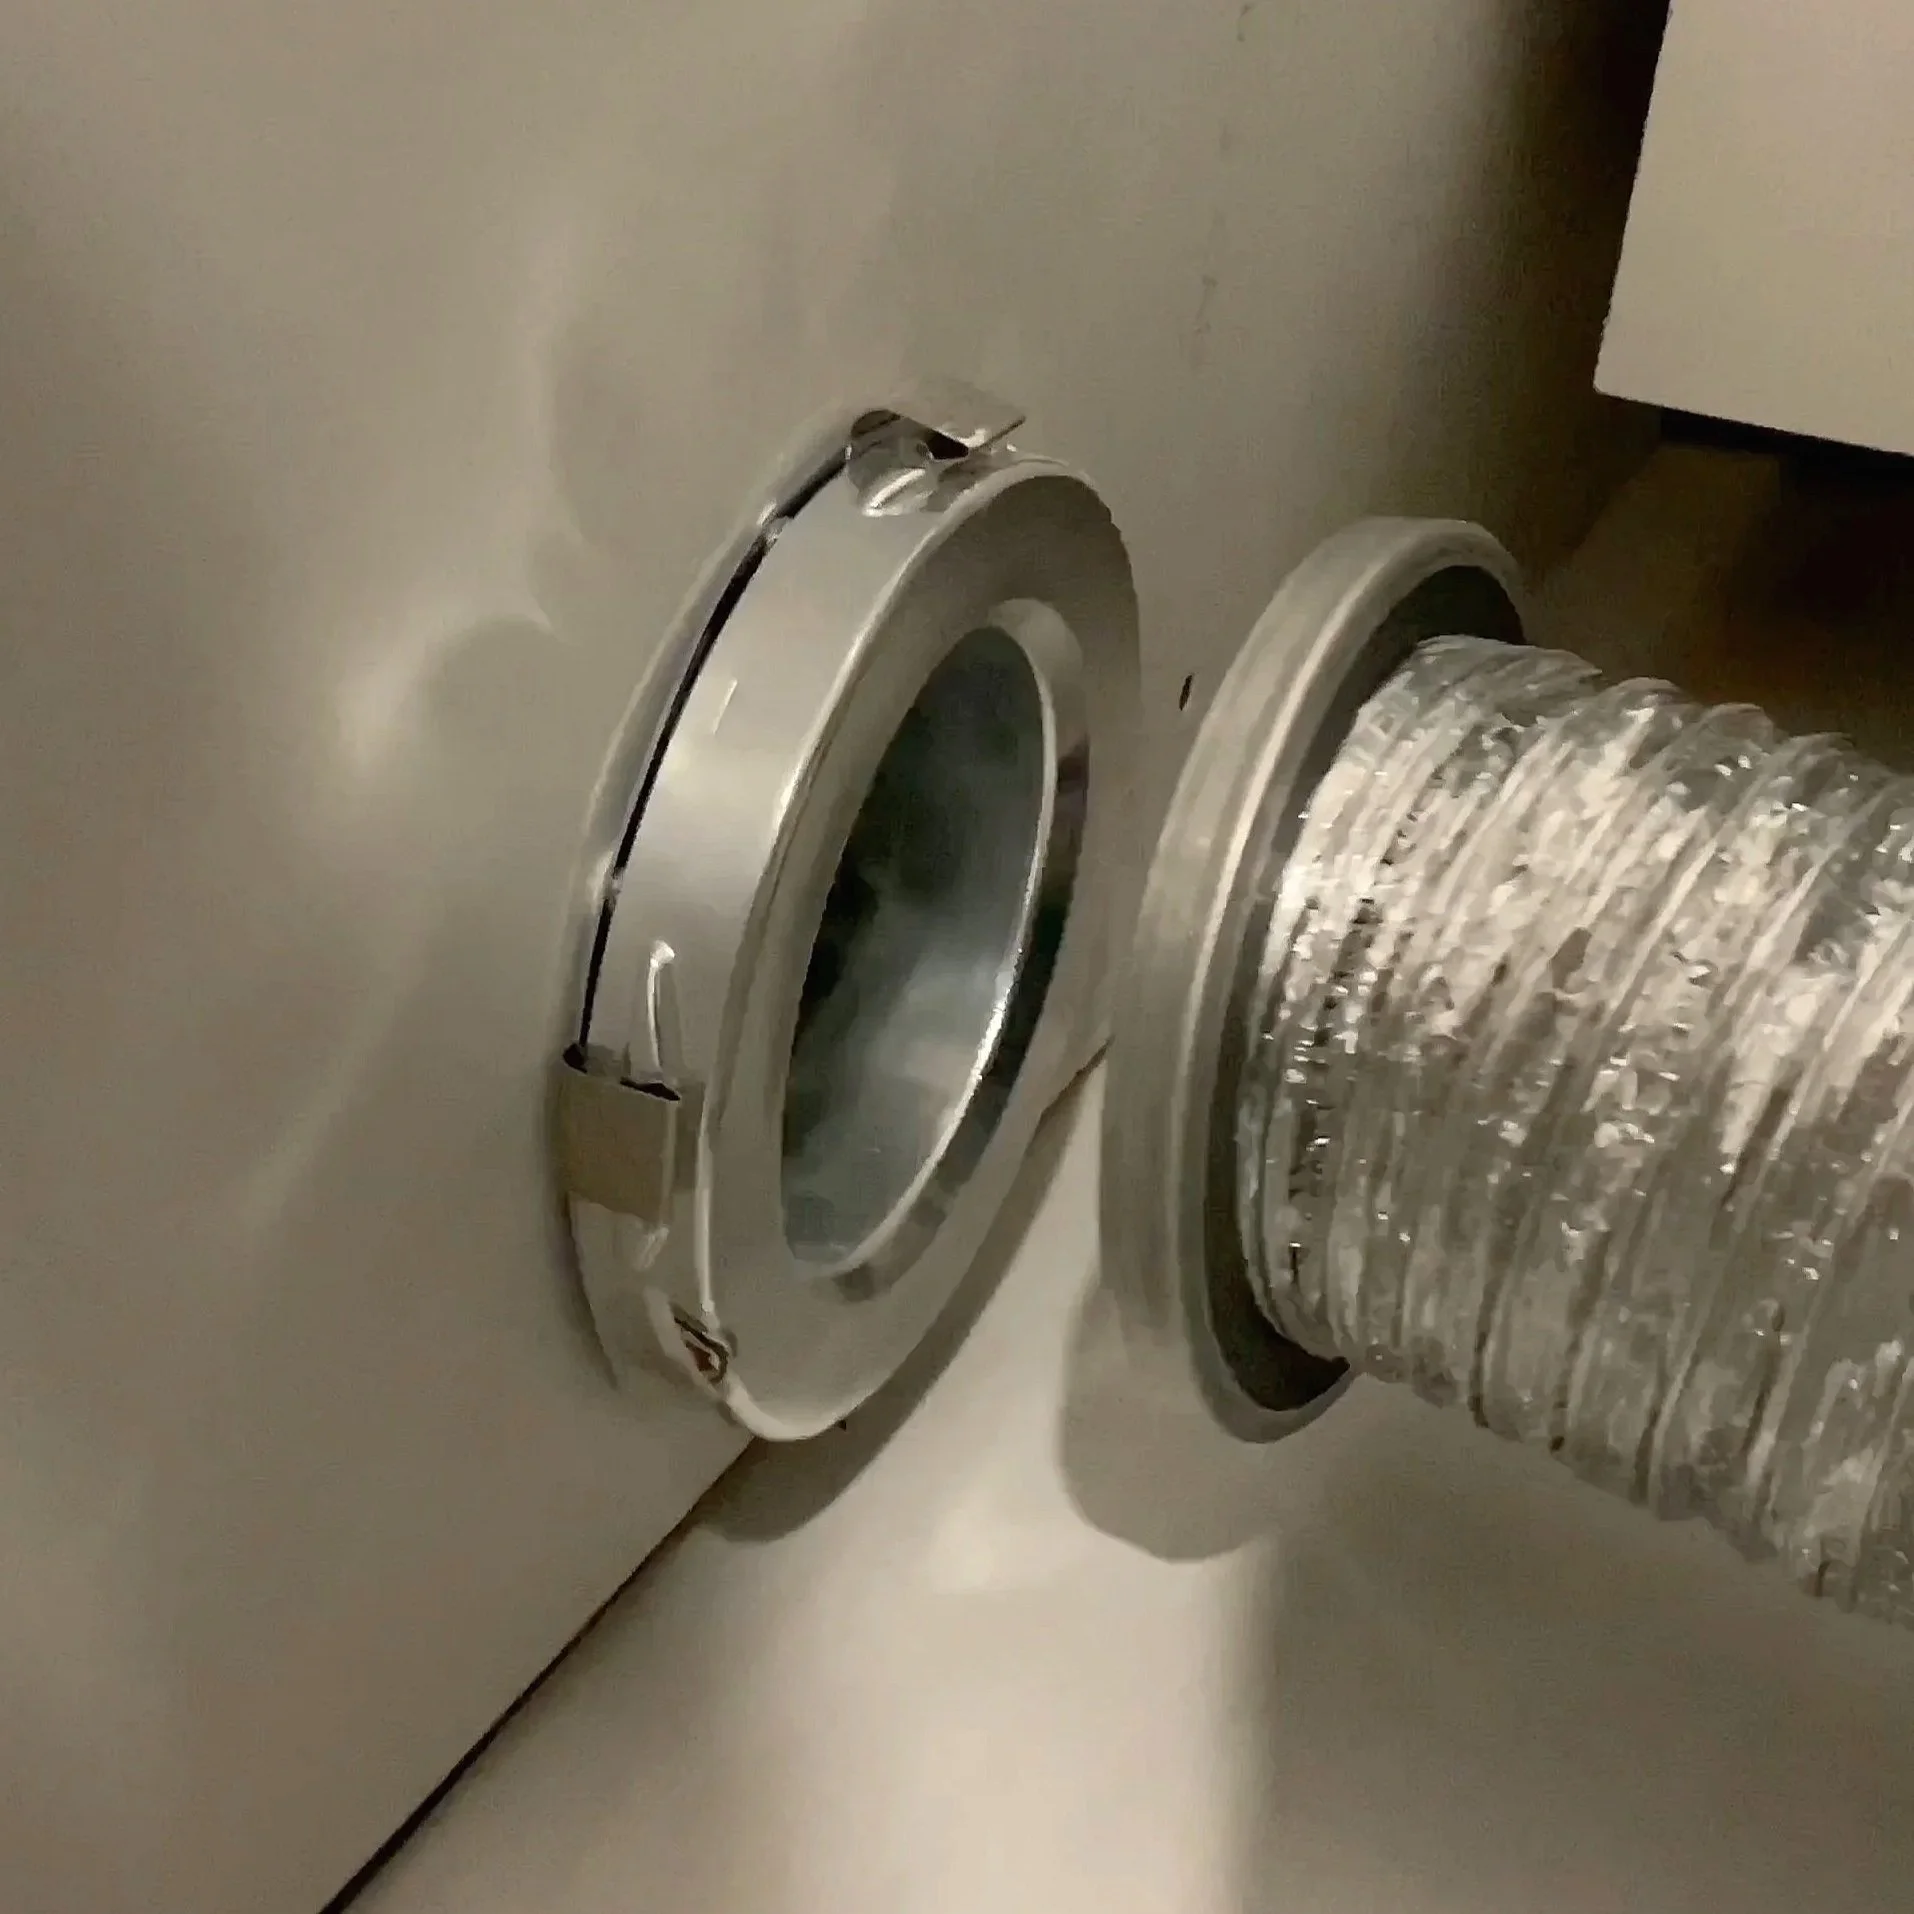
6. Prepare the Dryer-Side Magnetic Collar

Attach the remaining MagVent collar to the dryer’s exhaust port. This is the piece that will magnetically lock to the wall connector when you push the dryer back into place.
7. Slide the Dryer Into Position—MagVent Does the Work
This is the best part.
As you move the dryer back toward the wall:
The magnets self-align instantly
The connection snaps together automatically
You get a perfect, airtight fit every time
No struggling, no bending, no reaching behind the dryer.
Why the MagVent MV-180 Is Our Go-To
While MagVent makes several models, we often use the MV-180, which allows a straight-on connection directly through the wall. If your duct exits at an angle, the MV-90 may be the better choice.
Either way, the installation process is similar—and equally user-friendly.
Final Thoughts

Installing a MagVent system is one of the simplest ways to:
Improve dryer safety
Reduce lint buildup
Increase efficiency
Make maintenance effortless
With just a few tools and under an hour of work, you can upgrade your dryer vent to a system that practically connects itself.
To watch the full installation video, check out our YouTube tutorial here:
MagVent Installation Tutorial (Magnet Dryer Vent)
If you’d like help installing MagVent—or improving your home’s ventilation—Refresh Home Improvements is here to help.