
How to Repair Plaster Walls (The Right Way)
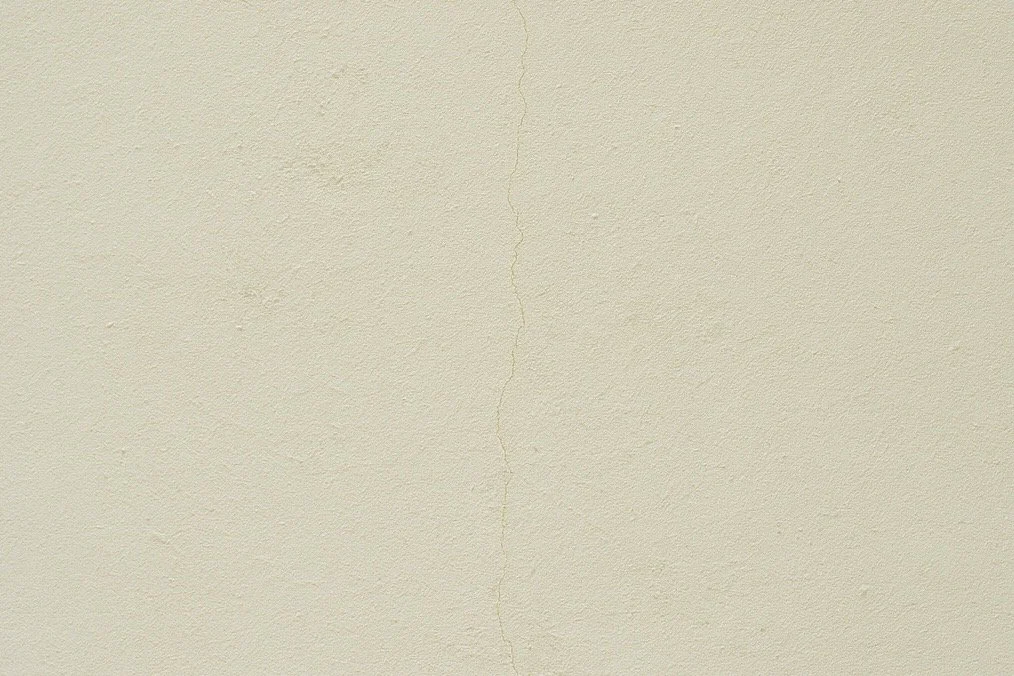
Tired of fixing the same plaster wall cracks over and over, only to have them reappear? You’re not alone. Many older homes—especially here in Toronto—still have beautiful plaster and lath walls, but they come with one frustrating flaw: hairline cracks that just won’t quit.
In this guide, we’ll show you a permanent repair method that actually works, reattaching loose plaster to the lath beneath and restoring your walls for good. If you’d like to give it a try, here’s a link to the Plaster Magic kit with everything you’ll need
Why Plaster Walls Crack
Plaster walls often develop cracks because of:
House settling and shifting over time
Loose plaster that separates from the wooden lath
Temperature and humidity changes causing expansion and contraction
The result? Those fine cracks that always seem to return no matter how many times you fill and paint them.
The good news: there’s a better, longer-lasting fix.
Step 1: Open and Clean the Cracks
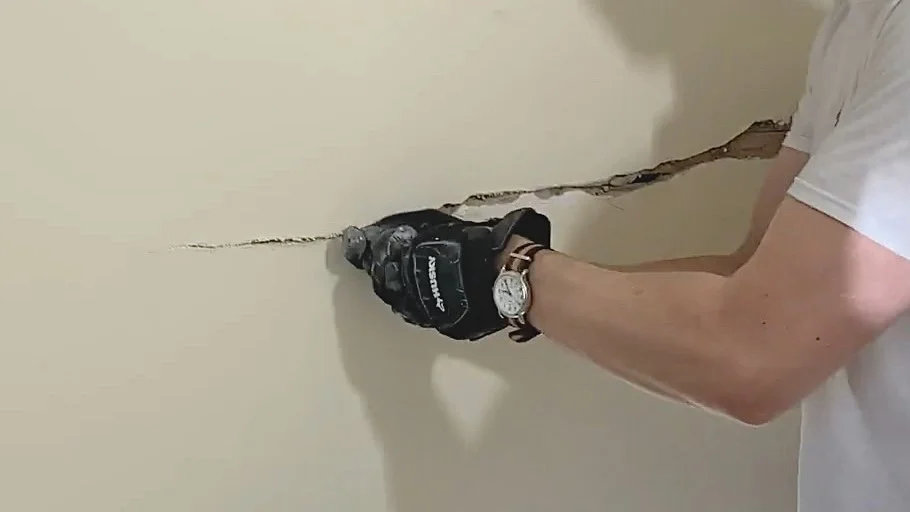
Start by widening the hairline cracks with a utility knife or oscillating tool. This removes any loose plaster, and gives the repair material something to grip.
Vacuum out any dust or debris.
Ensure the crack edges are clean and dry.
This step may feel counterintuitive, but a wider channel allows the adhesive and filler to bond much more effectively.
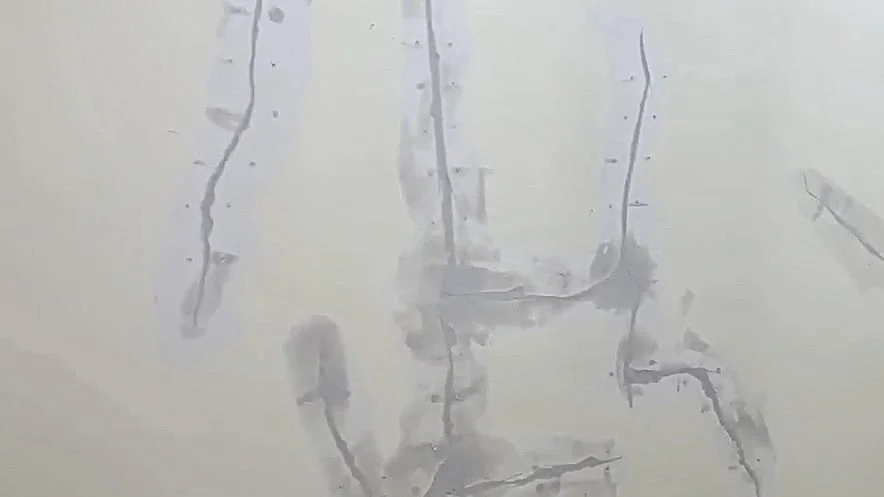
Step 2: Drill and Prime
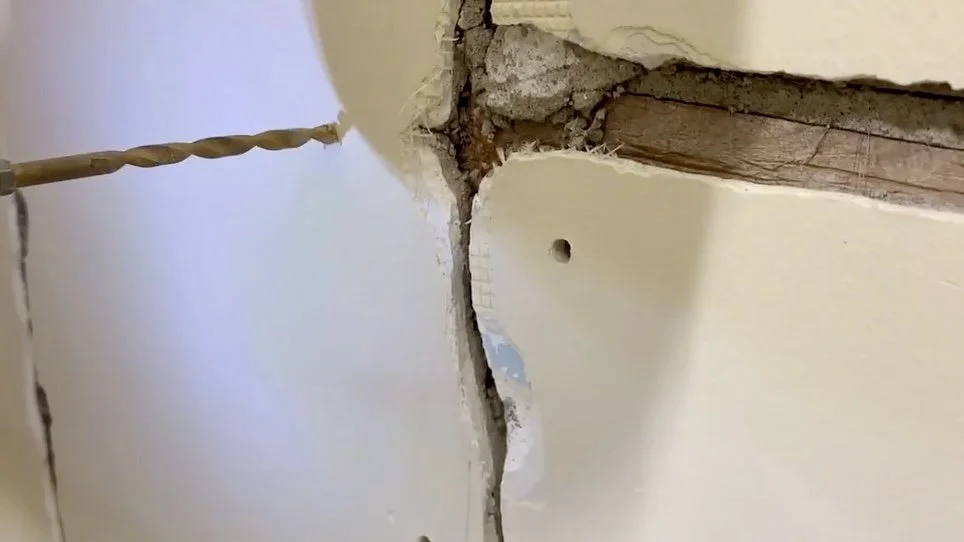
Next, drill small holes along both sides of the crack—every other lath strip—using a 3/16" drill bit. You want to drill through the plaster until you just touch the lath, but not through it.
Then, fill each hole with an all-purpose masonry primer . This important step helps the adhesive stick to the plaster by penetrating its porous surface and creating a stable, sealed base. It also reduces moisture absorption, prevents peeling or bubbling, and ensures the adhesive bonds properly to both the wood and the plaster.
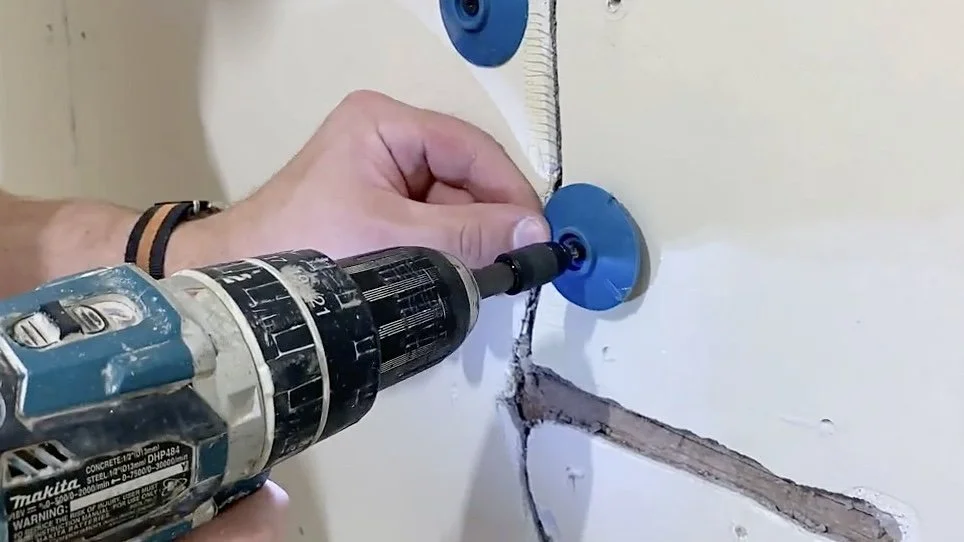
Step 3: Reattach the Plaster to the Lath
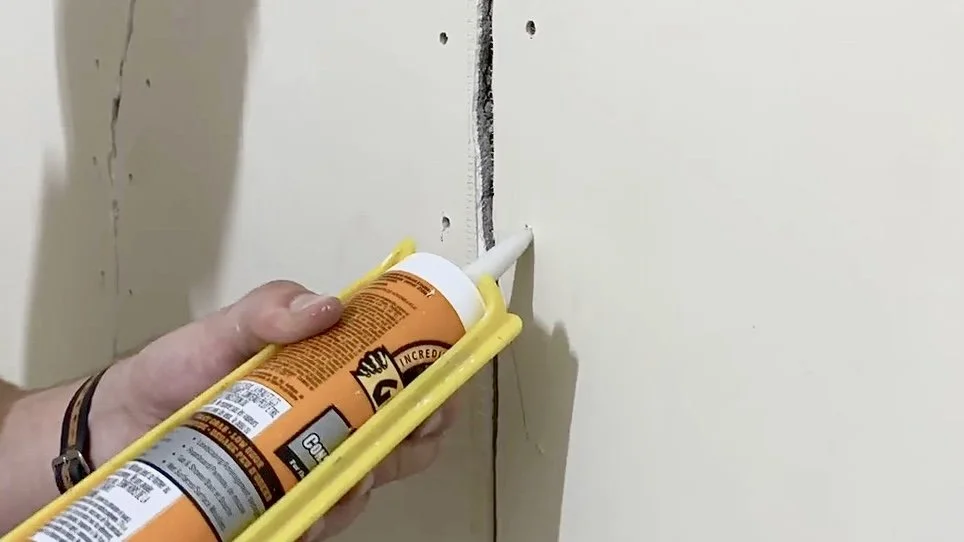
Once primed, inject an adhesive through each hole. As for which adhesive to use- select one that not only bonds to wood and masonry, but that also spreads easily inside the cavity (some of the thicker adhesives make this step more challenging than it needs to be). We used Gorilla Construction Adhesive in this video, but we found a product like Dynaflex Ultra from Dap to be our favourite adhesive due to its combination of consistency, flexibility, and strength.
After applying the adhesive:
Install screws with plastic washers (these are usually sold for securing housing/foundation membrane wrap) to pull the plaster snugly back against the lath.
Don’t over-tighten— create just enough pressure to hold the plaster in place without cracking it further.
You’re essentially re-gluing the plaster to the wall’s original wooden structure, ensuring it won’t separate again.
Step 4: Let It Cure and Remove Fasteners
Allow the adhesive to cure overnight. The next day:
Use a spatula or scraper behind each washer as you unscrew it.
This prevents the washer from sticking to the wall.
Once removed, you’ll see that the plaster is now solidly reattached to the lath—no flex, no movement, and no more future cracking.
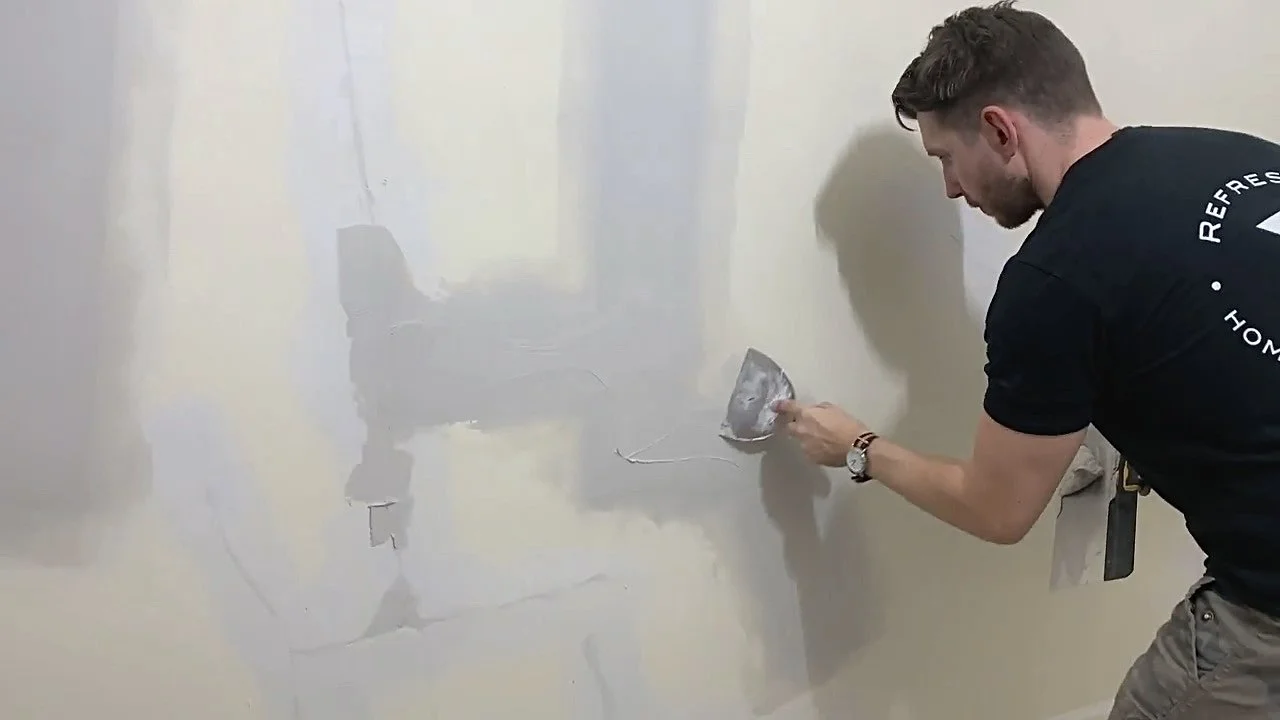
Step 5: Fill and Finish
With the structure restored, it’s time to make it look new again:
Fill any voids or holes with plaster, or a fast-setting compound like Durabond 90.
Once dry, apply joint tape over the repaired cracks.
Add two to three skim coats for a perfectly smooth finish.
Sand lightly between coats.
Prime and paint.
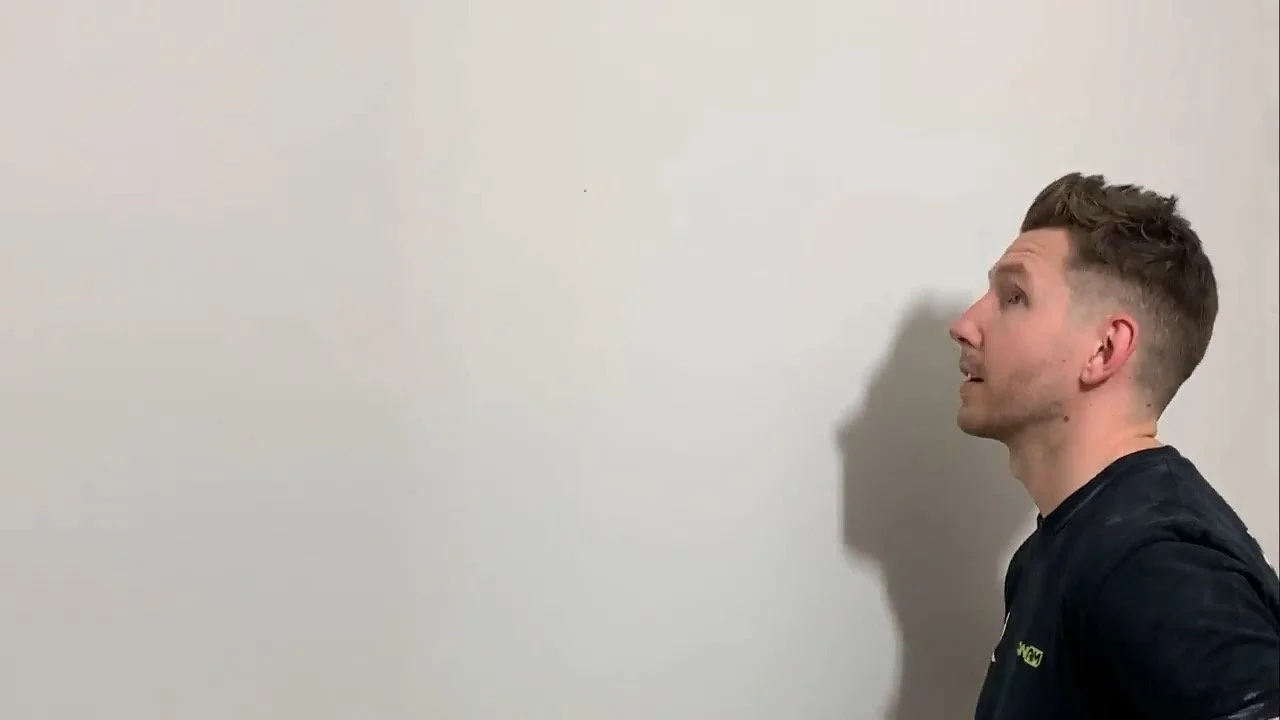
When done right, the wall will look flawless—and your repair will last for decades.
Why This Method Works
Most plaster wall “repairs” fail because they only patch the surface. This system works because it re-secures the plaster to the lath, eliminating movement that causes future cracking.
It’s more work upfront, but it’s a permanent fix that preserves the character of your old walls without resorting to drywall.
Final Results
Ready to See It in Action?
Want to see exactly how we reattached old plaster to make those cracks disappear for good? Watch the full process in our latest video — from drilling and gluing to skim coating and painting, we walk you through every step to get flawless results that last.
👉 Watch Now: How To Repair Plaster Walls