
Fast and Easy DIY Textured Wall Finish
Looking for a wall treatment that’s bold, modern, and easy to do yourself? Forget popcorn ceilings, orange peel textures, or knockdown finishes. With just two simple ingredients—paint and drywall compound—you can create a stunning troweled plaster wall finish that looks professional, even if it’s your first try.
In this tutorial, we’ll walk you through the process from start to finish so you can upgrade your walls with texture and color at the same time.
Step 1: Gather Your Materials
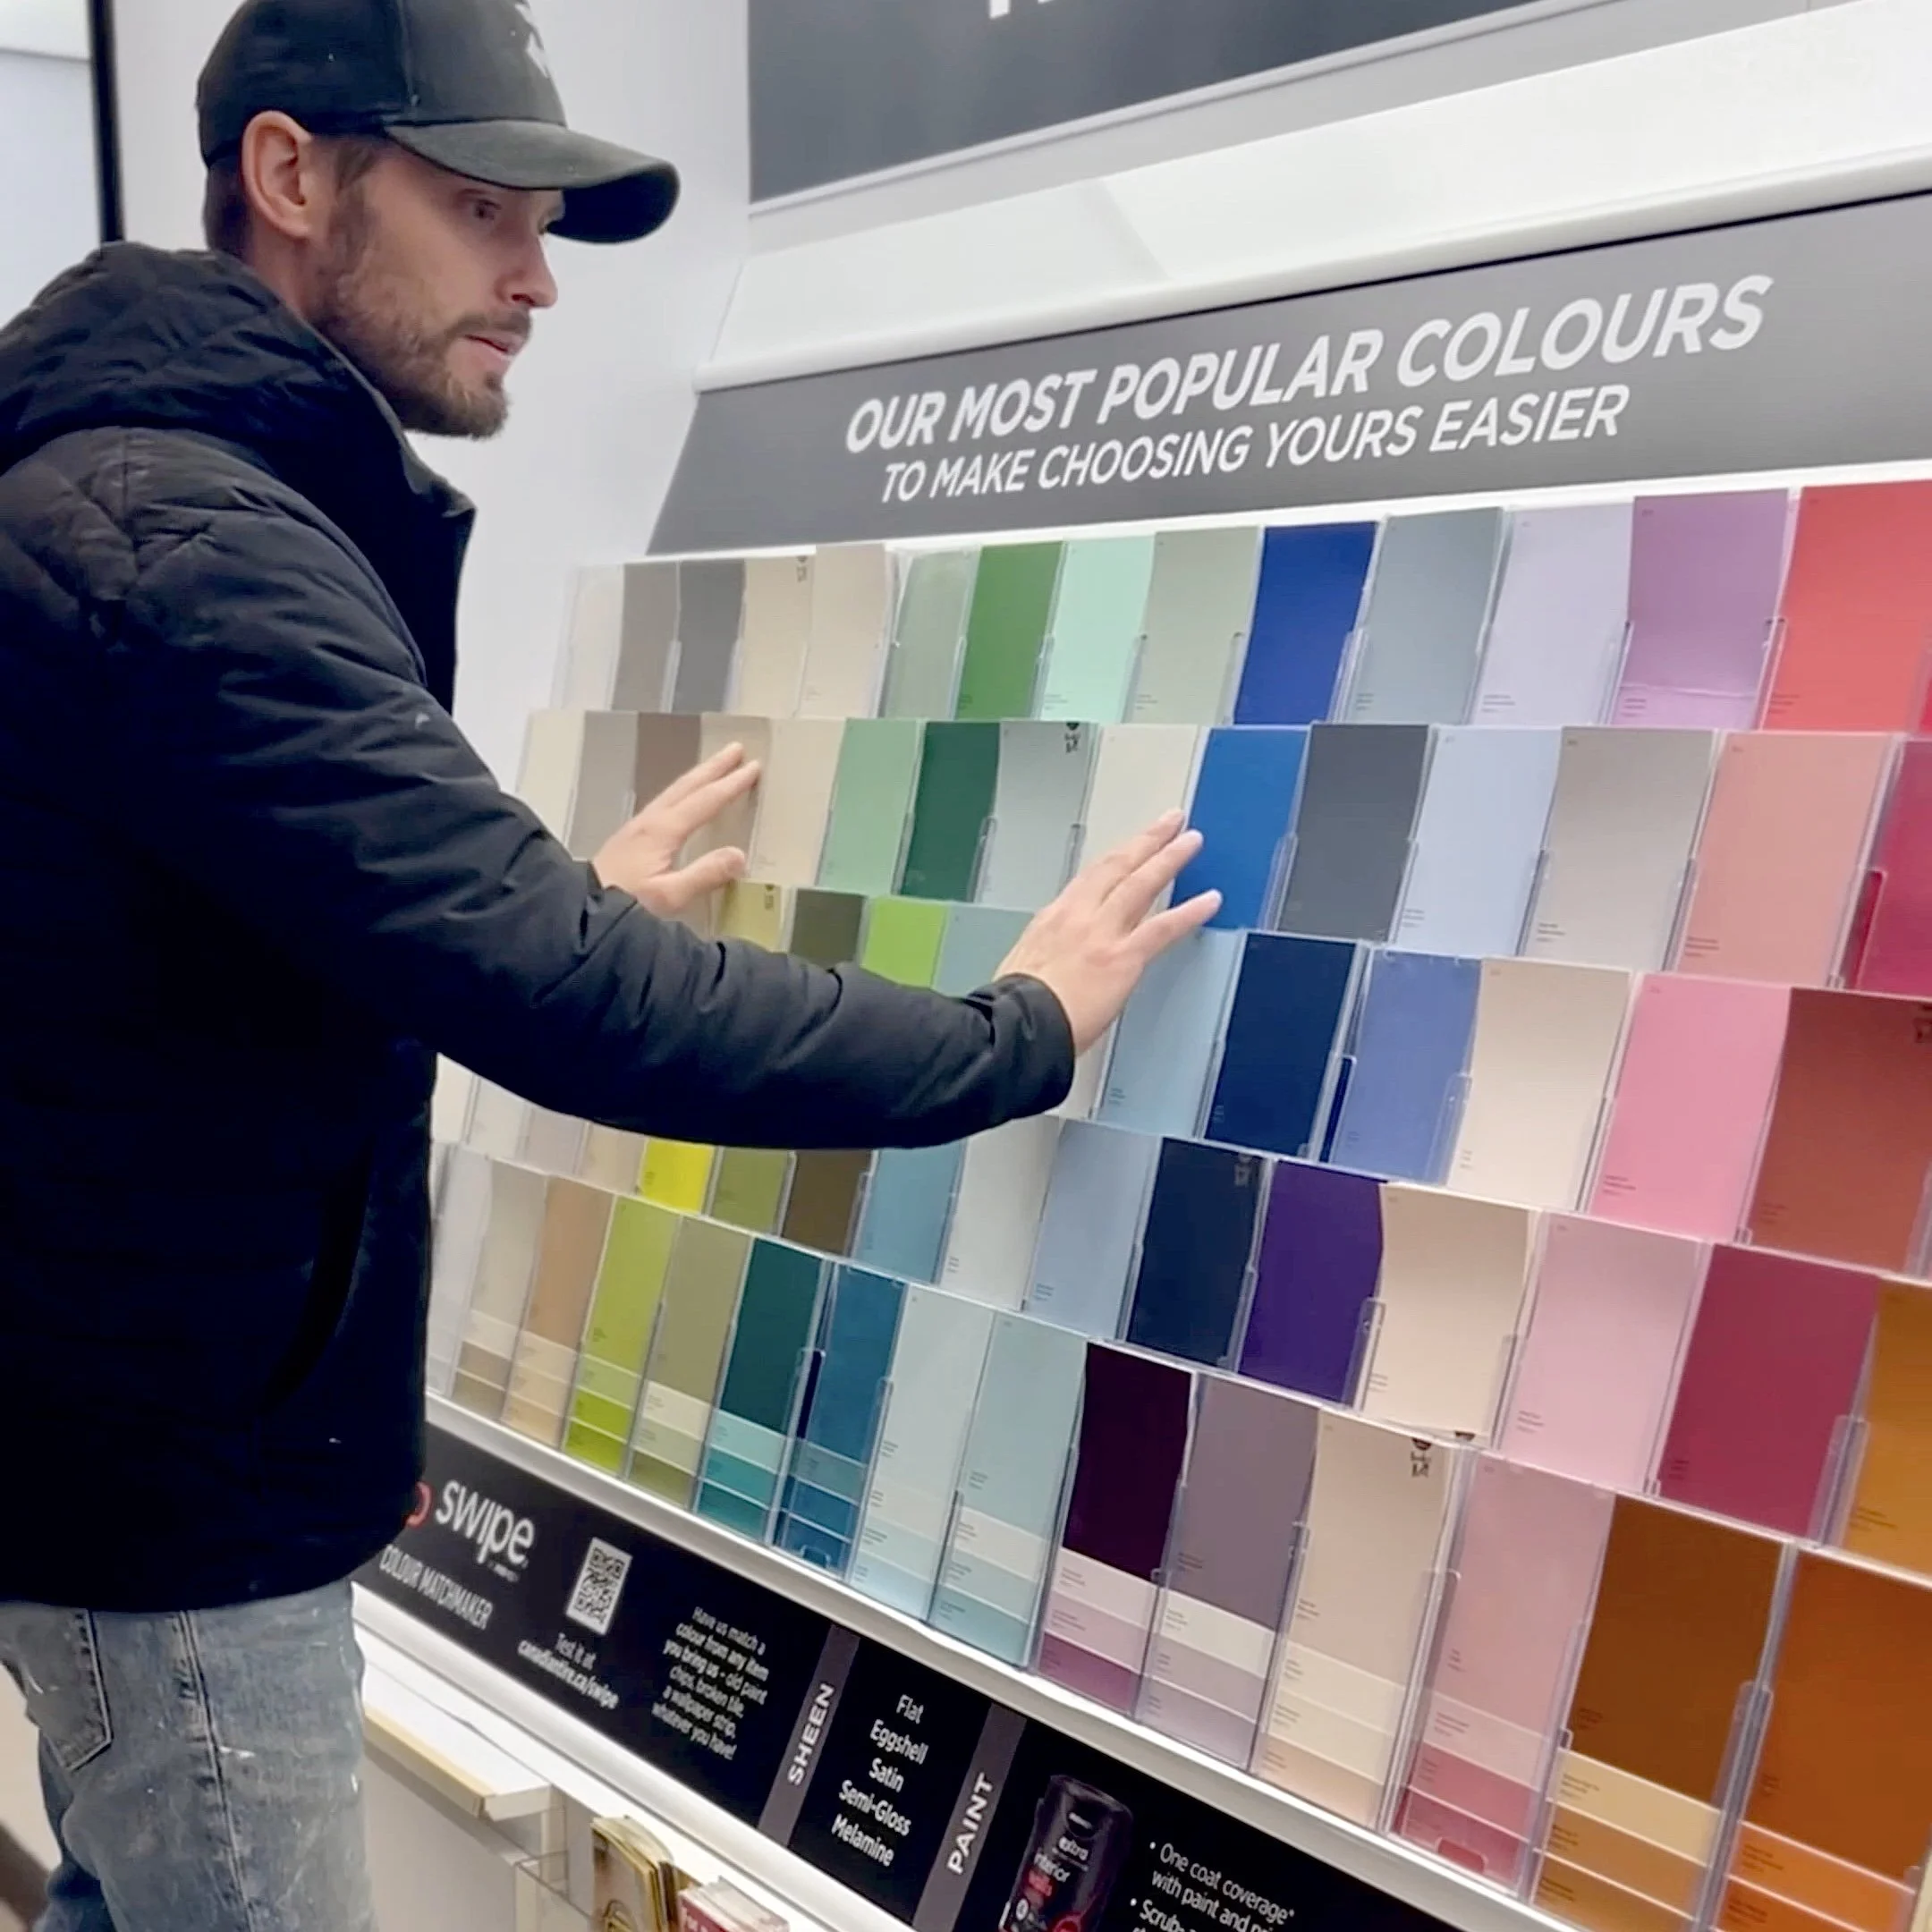
Picking a paint colour.
You don’t need fancy tools or expensive products for this project. All you need is:
Paint (we used: Premier Ready to Roll Interior Eggshell: Graphite)
Drywall compound (also called joint compound or “mud”)
A mixing bucket
A paint roller
A trowel (any size works)
A mixing attachment for your drill (or a sturdy stick if you’re going old-school)
Step 2: Mix the Paint and Compound
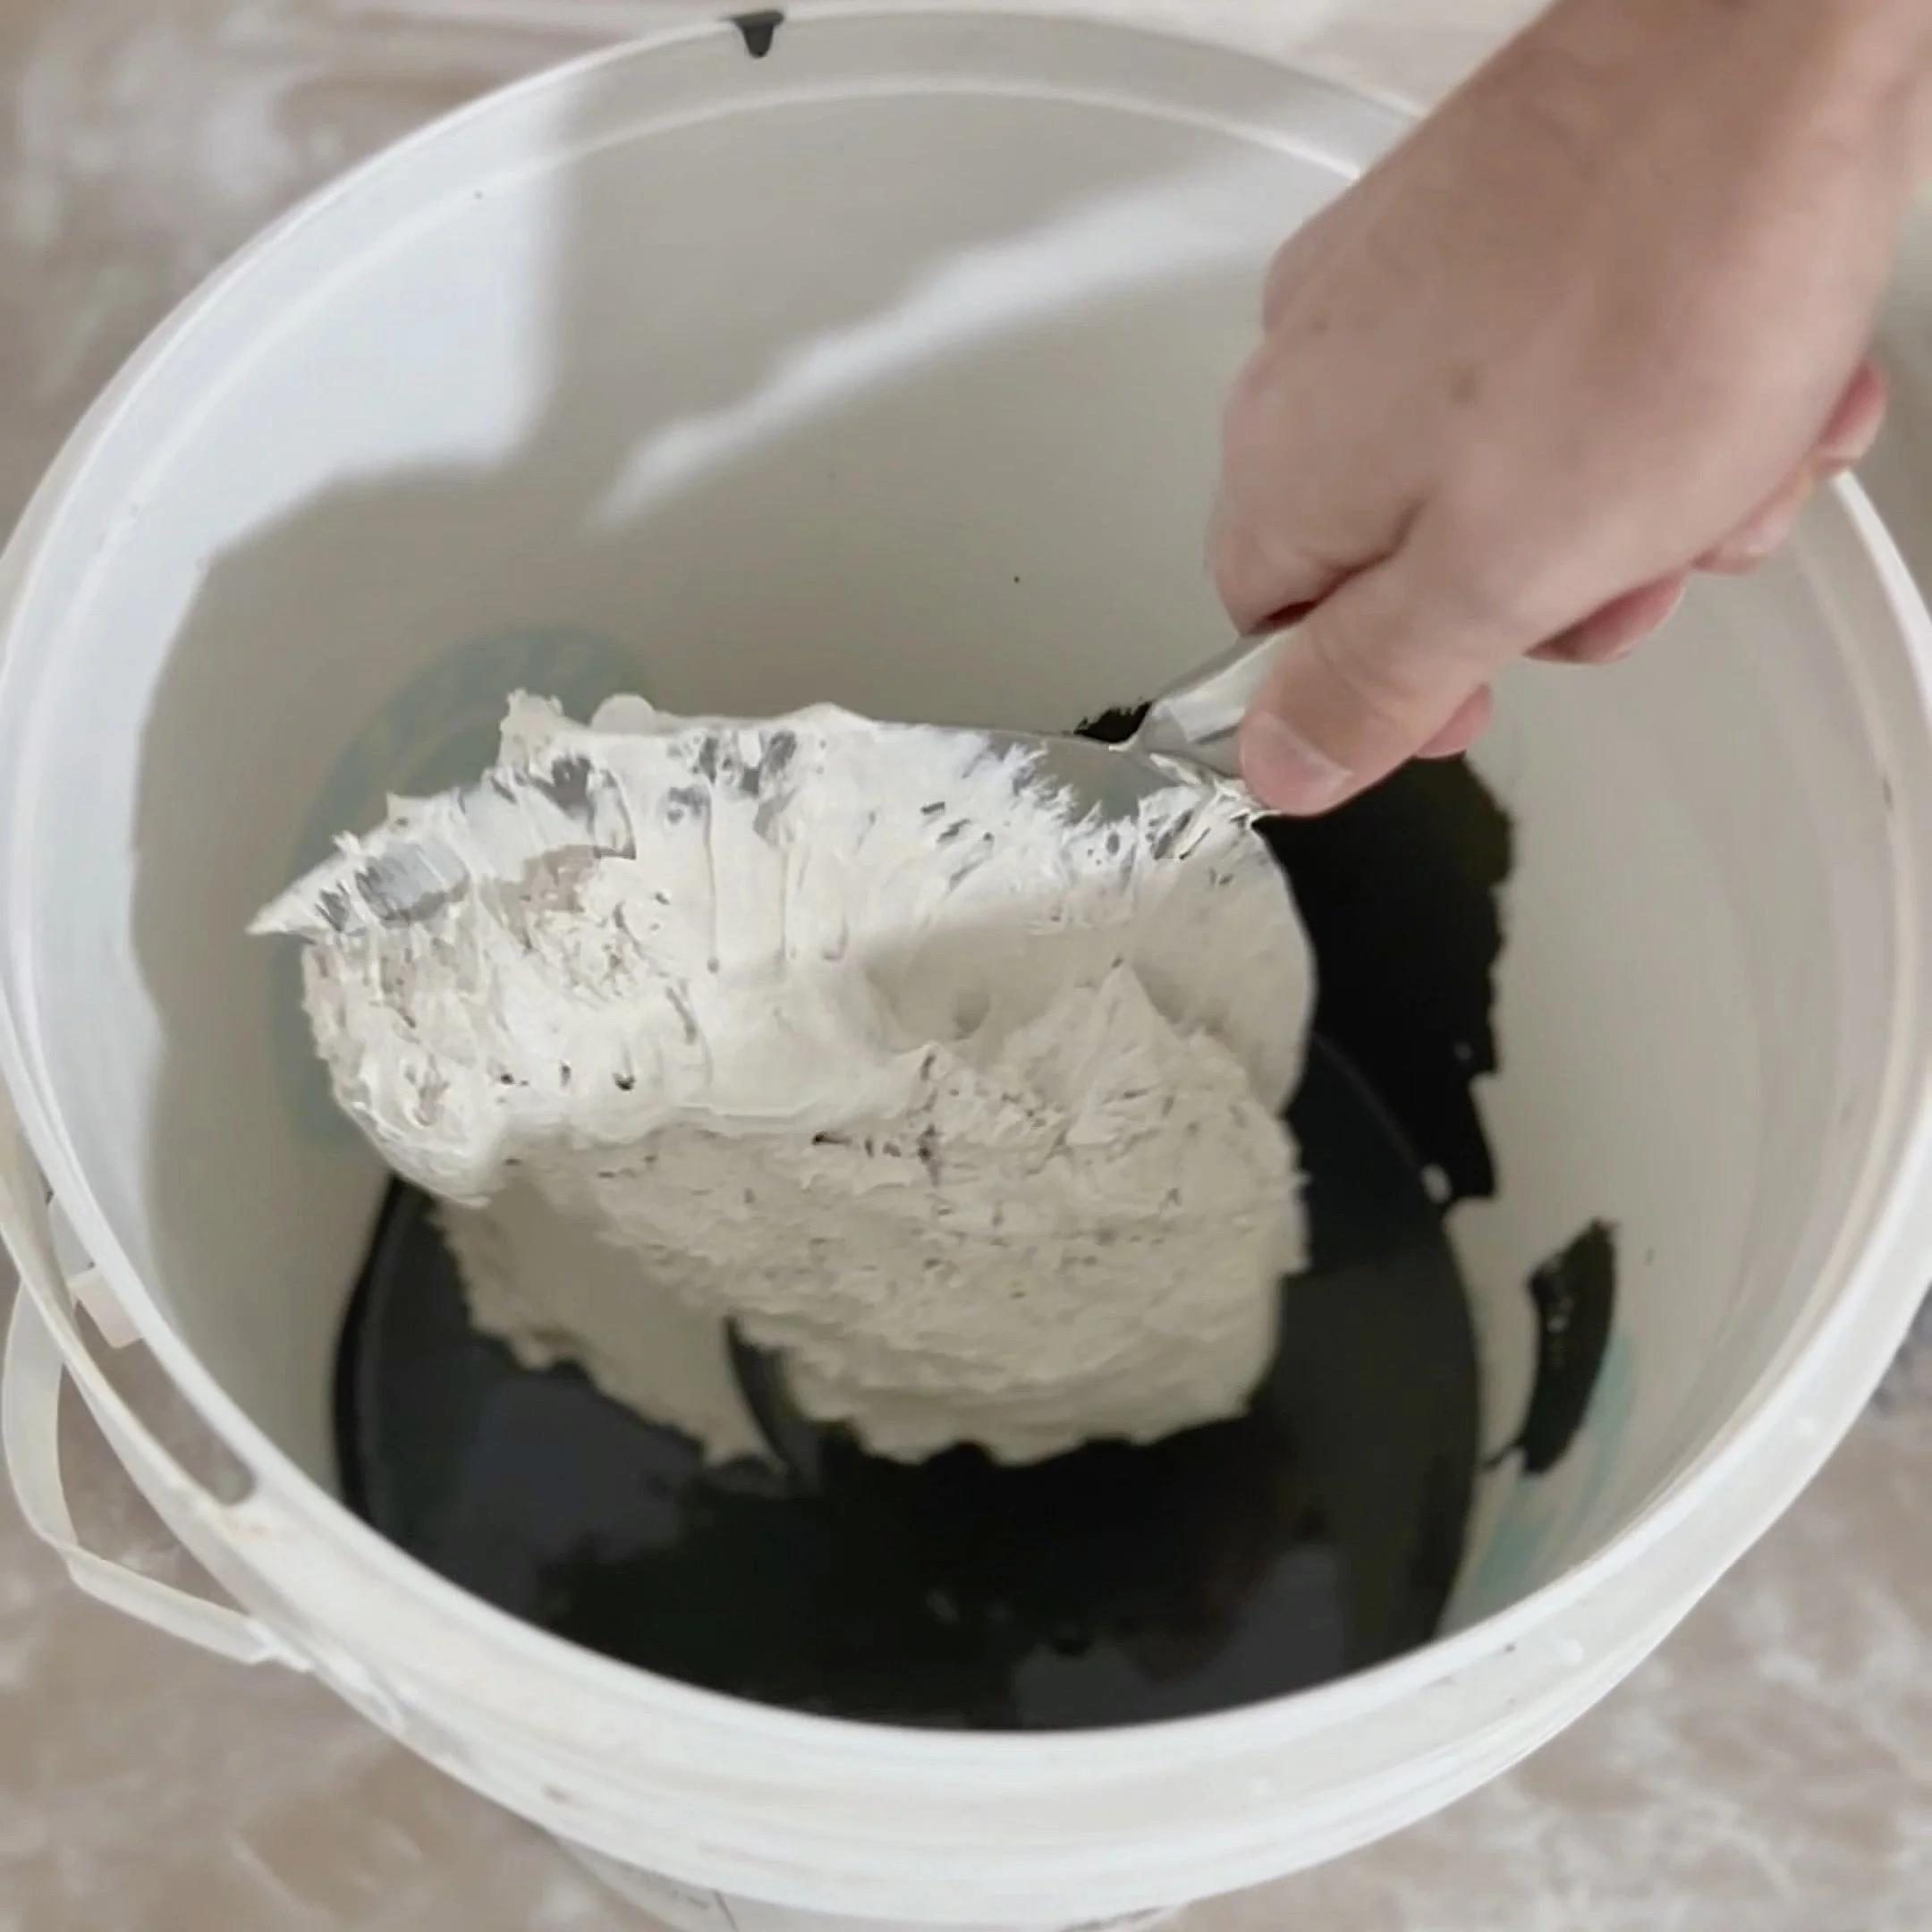
Adding a scoop of compound to the paint.
In your bucket, combine two parts paint with one part drywall compound. This ratio gives you a smooth, workable consistency that’s easy to apply.
👉 Pro Tip: Mix enough for your entire project at once. If you try to remix later, it can be hard to match the exact color.
If the mixture feels too runny and keeps sliding off your trowel, add a little more compound. If it feels too thick, thin it out with extra paint. Aim for a creamy, spreadable texture.
Step 3: Apply the Mixture to the Wall
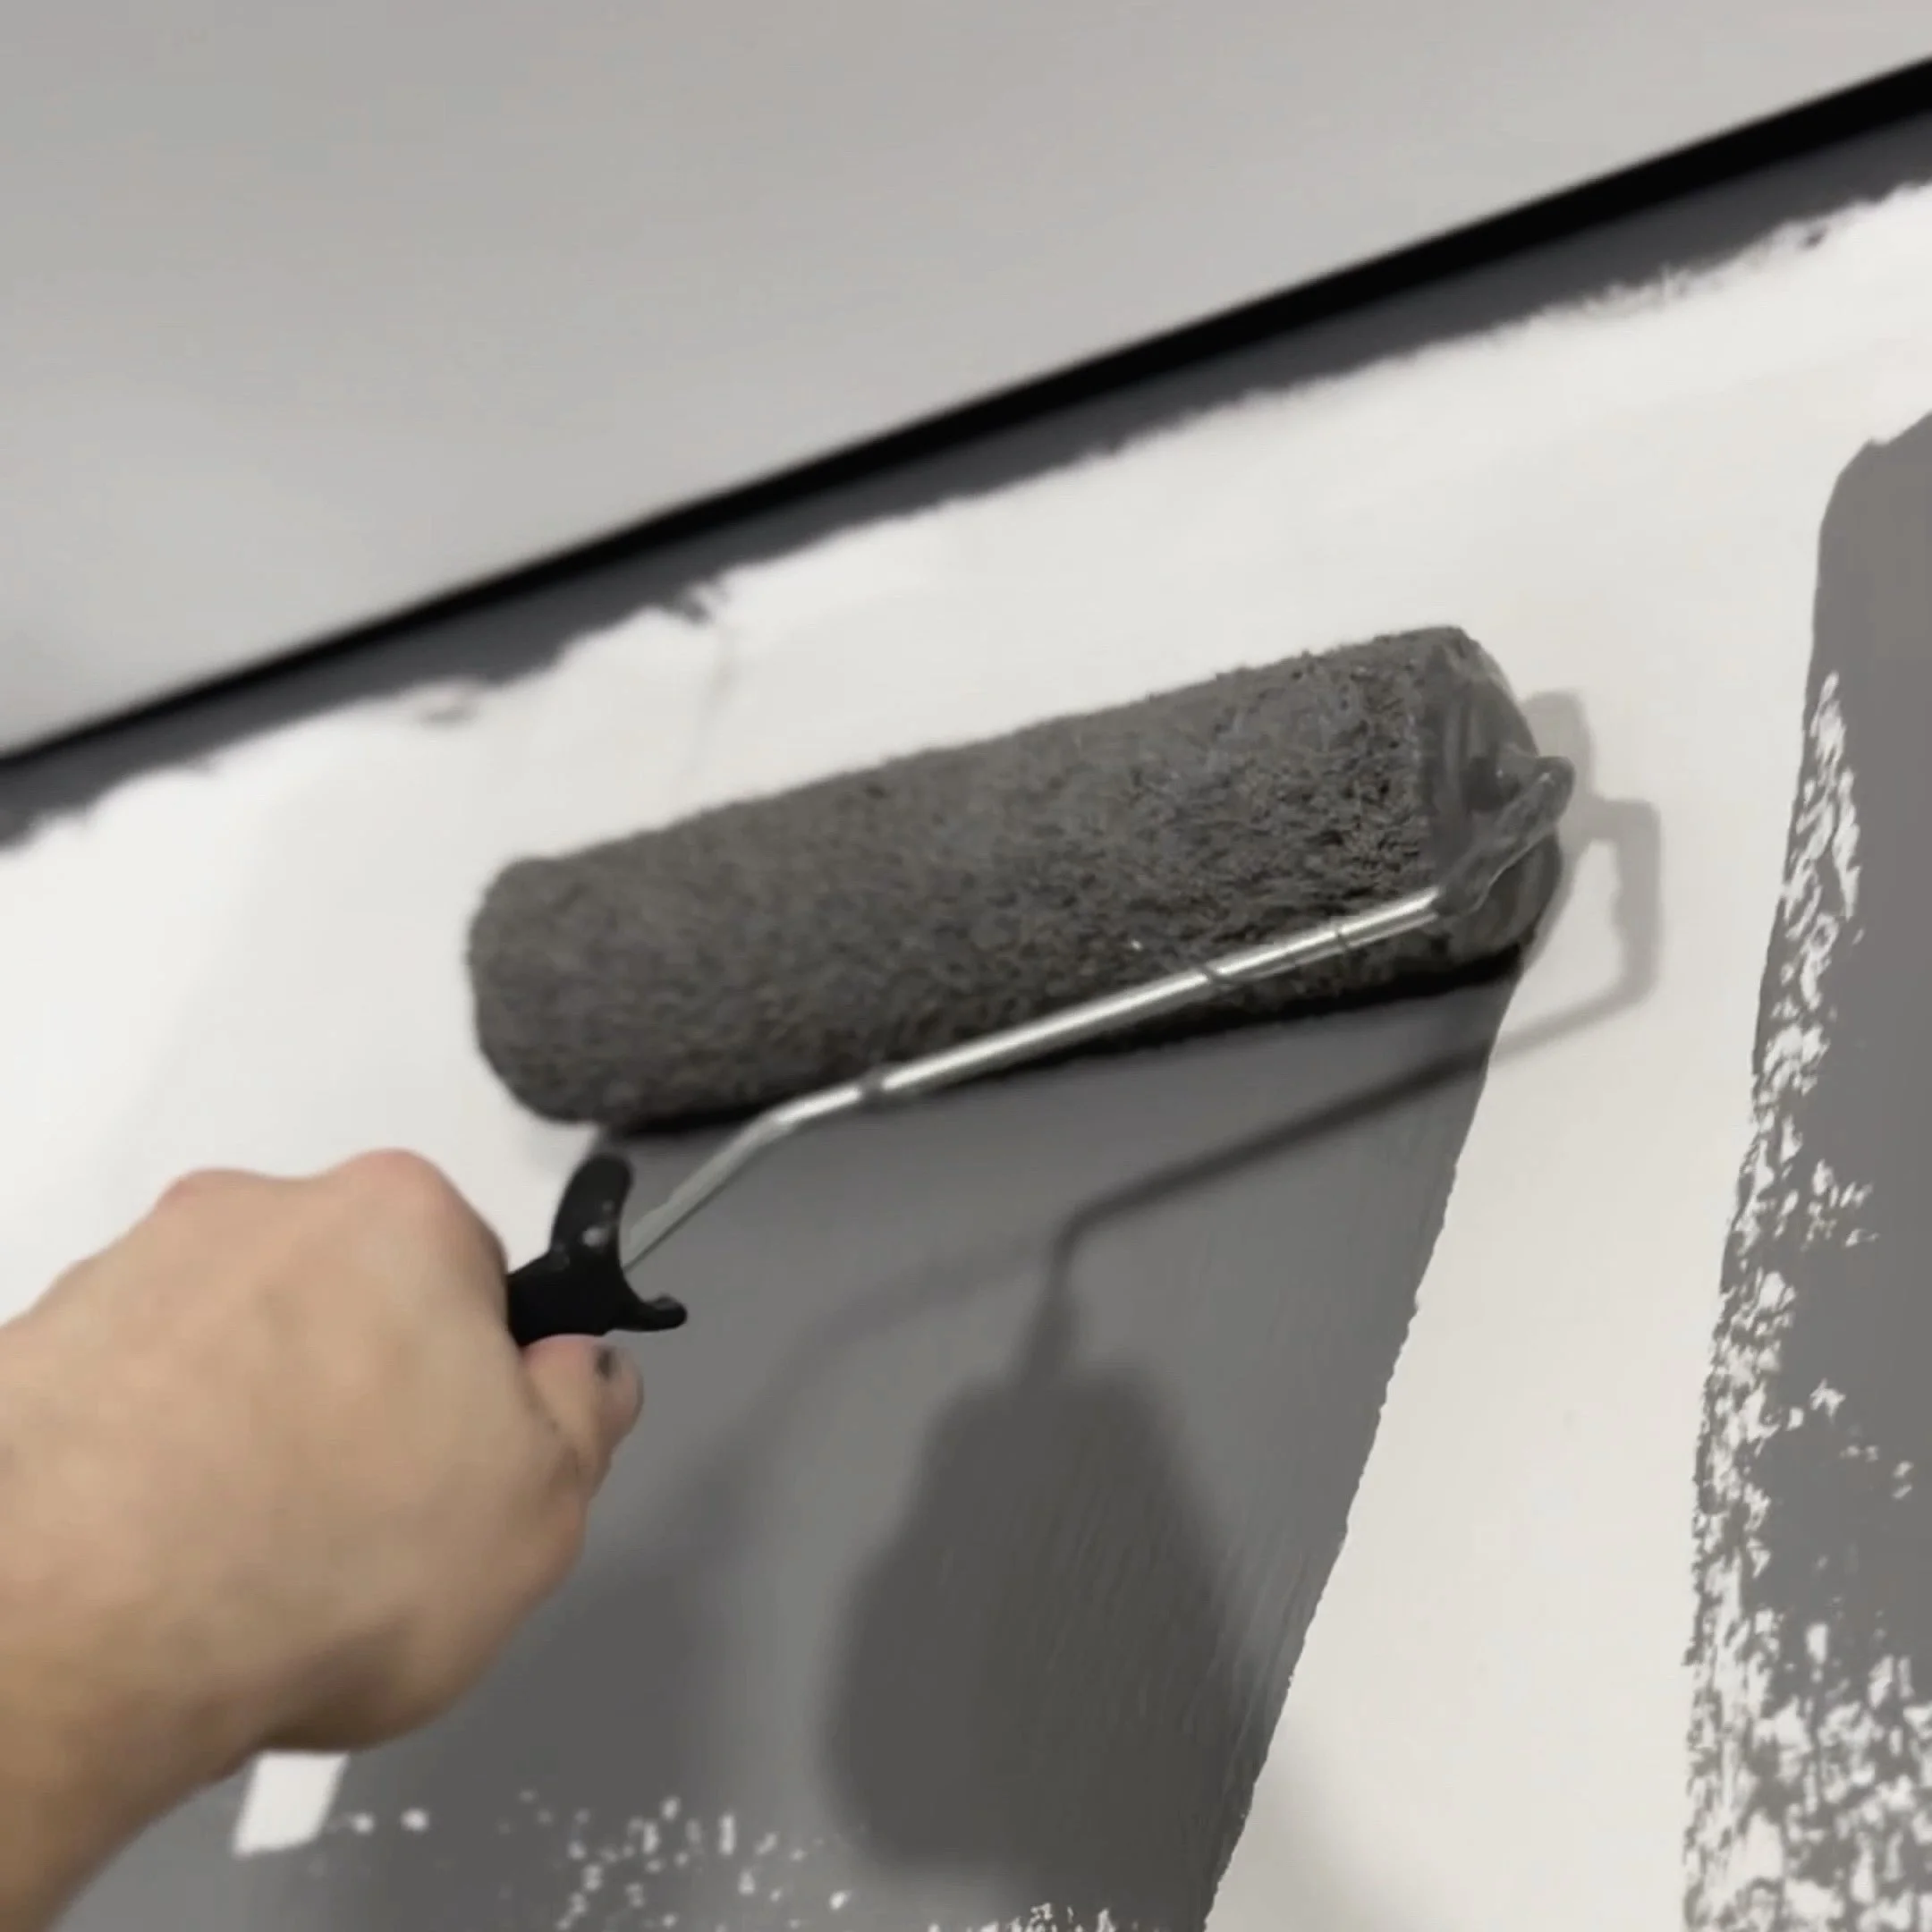
Applying our mud and paint mixture to the wall with a roller.
Start by rolling the mixture directly onto the wall with a paint roller. This helps spread the material quickly and evenly. For edges and corners, you can use a brush.
Once the mixture is on the wall, use your trowel to smooth, spread, and shape the texture. Don’t stress—this finish is very forgiving, and you’ll have plenty of working time to adjust patterns as you go.
Step 4: Play with Texture
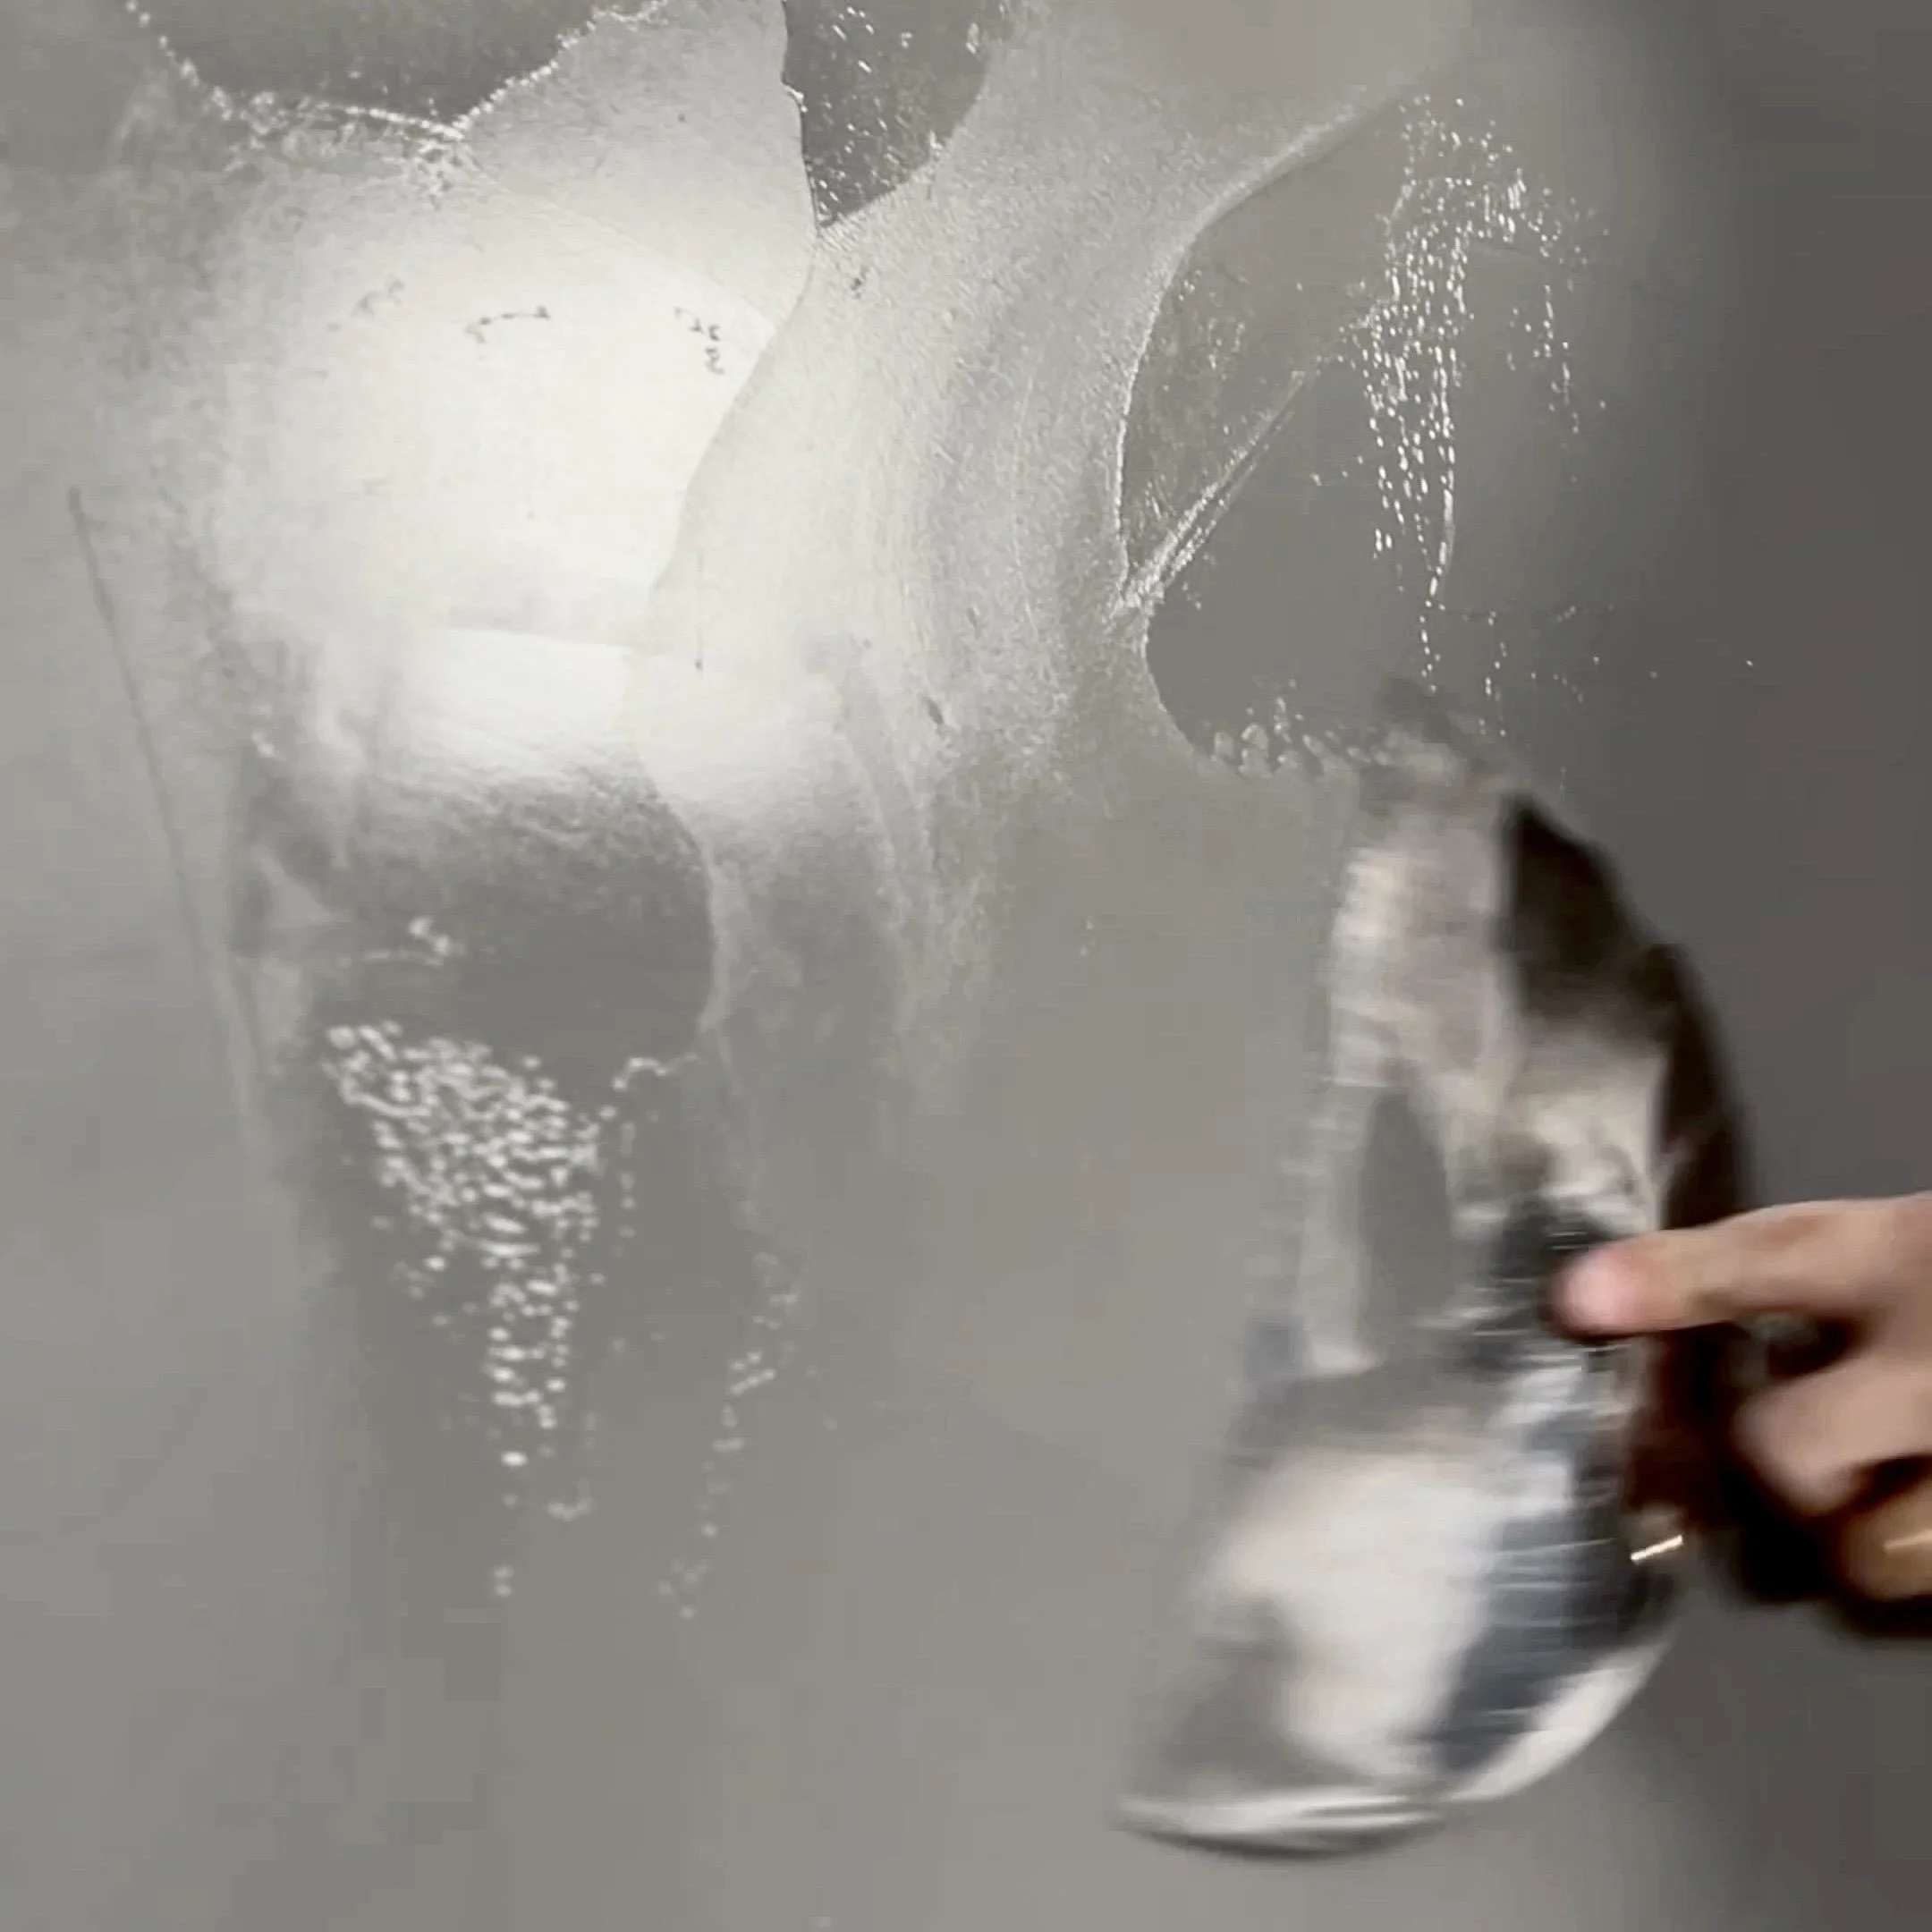
Texturizing the compound and paint mixture with a large taping knife.
This is where you make the wall your own. Try:
Long sweeping strokes for a softer look
Shorter, choppier strokes for a bolder texture
Layering thin and thick areas for depth
There’s no right or wrong way to do it. Every wall will turn out unique—and that’s the beauty of this technique.
Step 5: Let It Dry and Admire Your Work
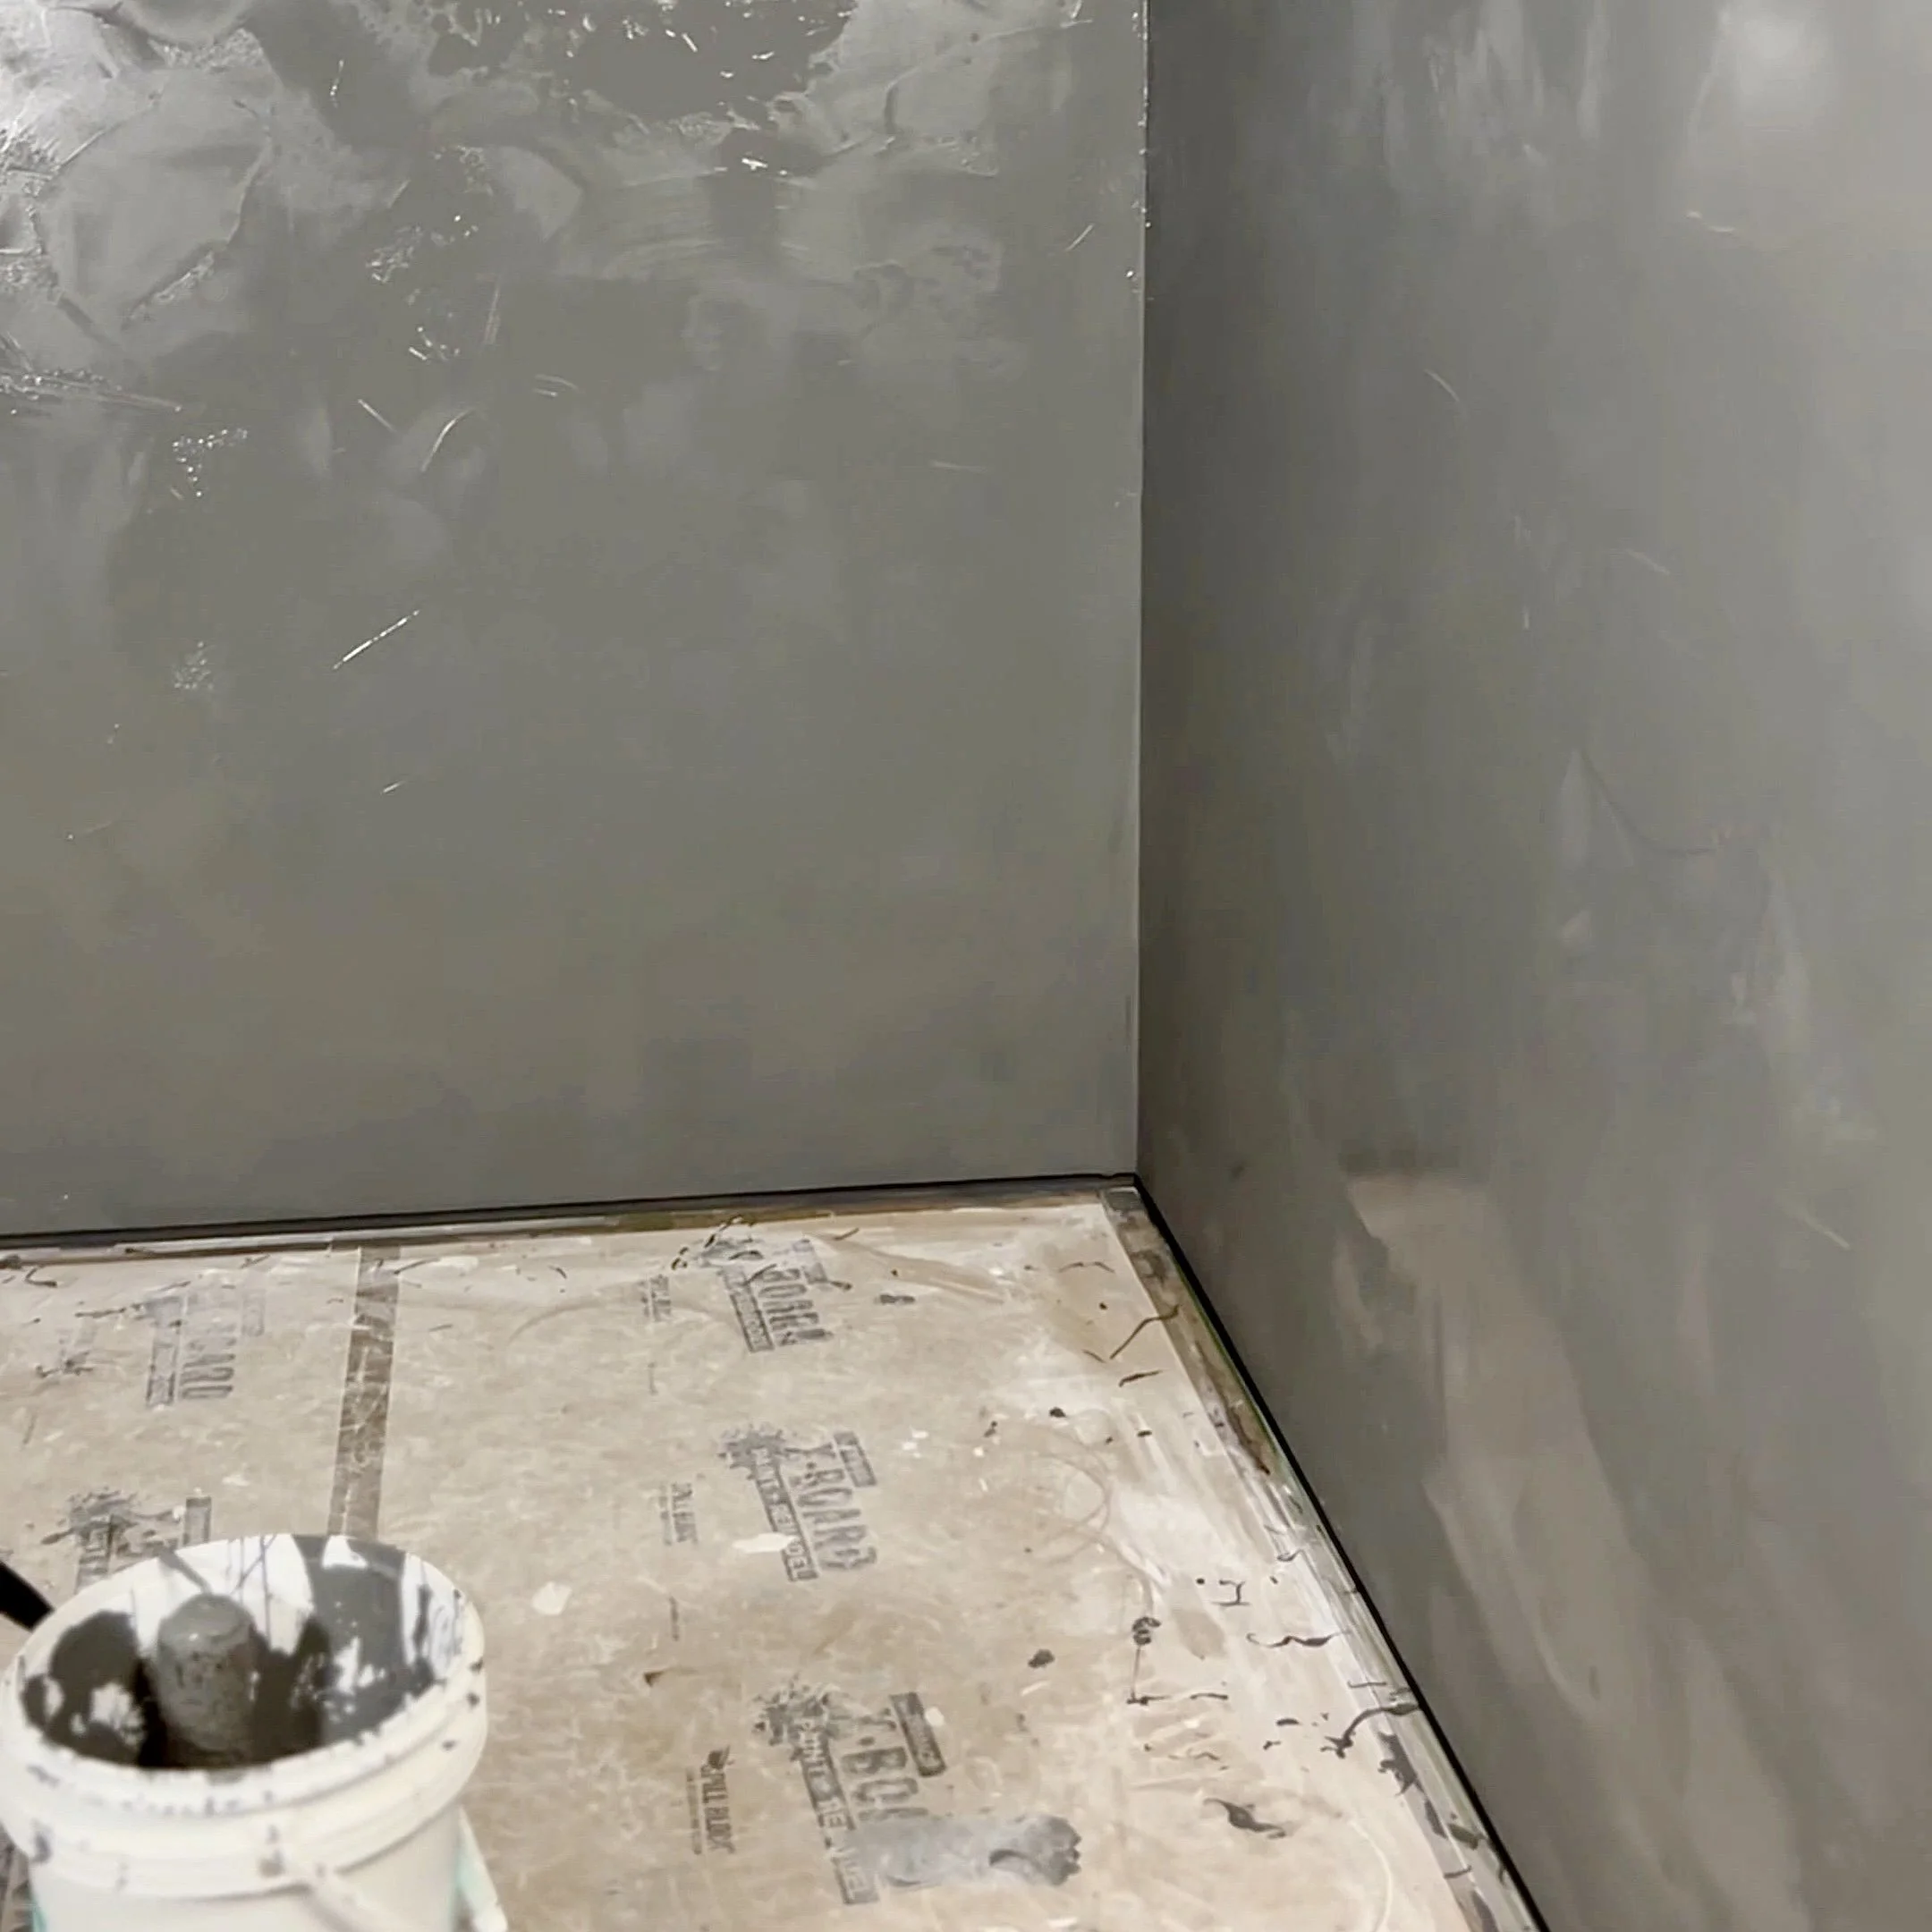
Textured walls, after application is complete.
Once your wall is covered and textured to your liking, let it dry completely. Step back and admire the transformation—you’ve created a modern plaster-style finish with nothing more than paint and drywall compound.
This technique works beautifully for accent walls, full-room makeovers, or even small statement areas like behind a headboard or in a home office.
Enjoying Your Modern Textured Wall
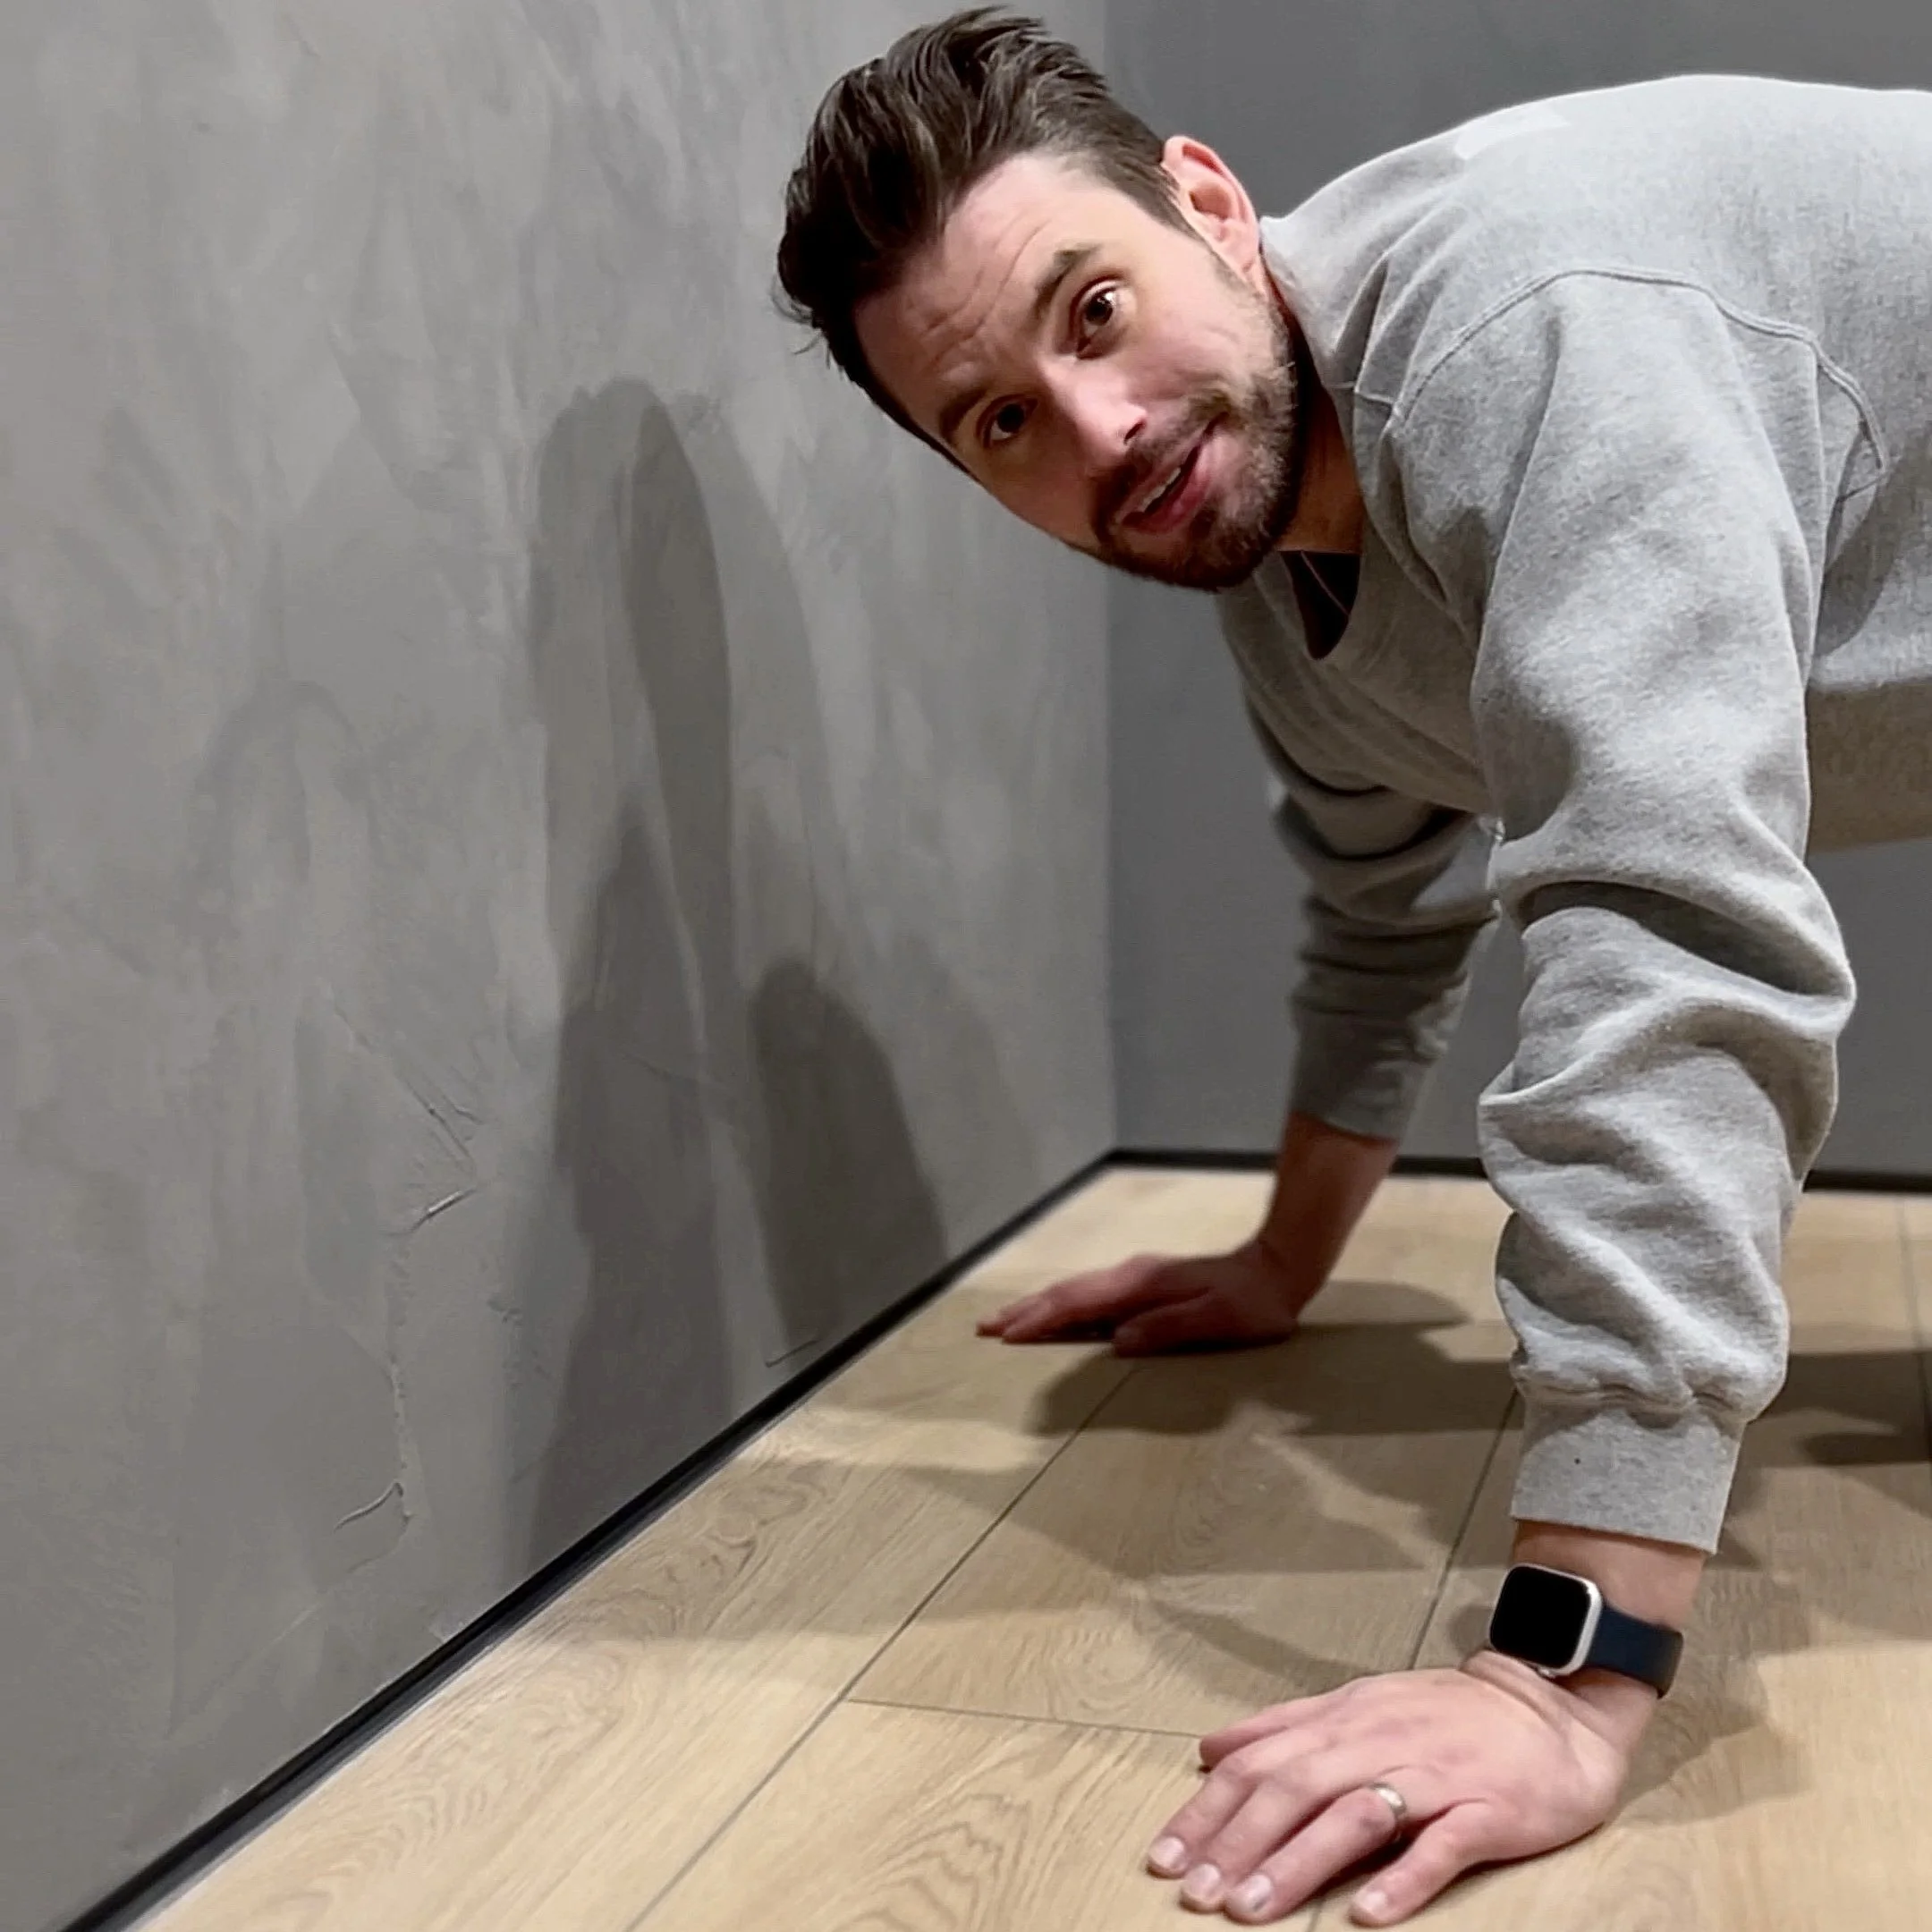
Closer look at where the textured walls transition into the reveal bead.
That’s it! No special skills, no expensive products, just a bold, DIY-friendly wall finish that looks like it came straight out of a design magazine.
Watch the full tutorial here: 👉 Fast and Easy Modern Textured Wall Finish! on YouTube. Next time you’re choosing between paint or wallpaper, remember—you now have a third option: a modern textured plaster wall you can create yourself.