
Trimless Door - Installing the EzyJamb
Trimless interiors are having a serious moment — and for good reason. Removing casings, trims, and bulky moldings around doorways is one of the easiest ways to create a sleek, modern, minimalist home that looks architect-designed. But for builders and installers, achieving that ultra-clean look comes with a major technical challenge:
How do you transition drywall cleanly into a doorway without casing… while keeping everything strong, square, and long-lasting?
Enter @EZConcepts and their brilliant solution:
The EzyJamb — an all-in-one frameless metal door jamb system that integrates seamlessly into drywall.
In our video, “Frameless Door Jamb Solution | EZ Concepts EzyJamb,” we walk through exactly how we install the system and why it’s now one of our favourite ways to achieve a trimless, contemporary finish.
What Is the EZ Concepts EzyJamb?
The EzyJamb is a galvanized steel, drywall-ready door jamb that eliminates the need for traditional casing. The system becomes part of the wall itself, allowing the door to sit perfectly flush for a clean, uninterrupted aesthetic.
Why homeowners and designers love it:
Seamless minimalist look
No trims, casing, or visual clutter
Fits right into modern interior styles
Incredibly durable — won’t crack like wood jambs
Works with concealed RocYork hinges
Allows a full 180° door swing
For installers, it’s also incredibly practical:
hardware and casing in one, easy to assemble, and built to last.
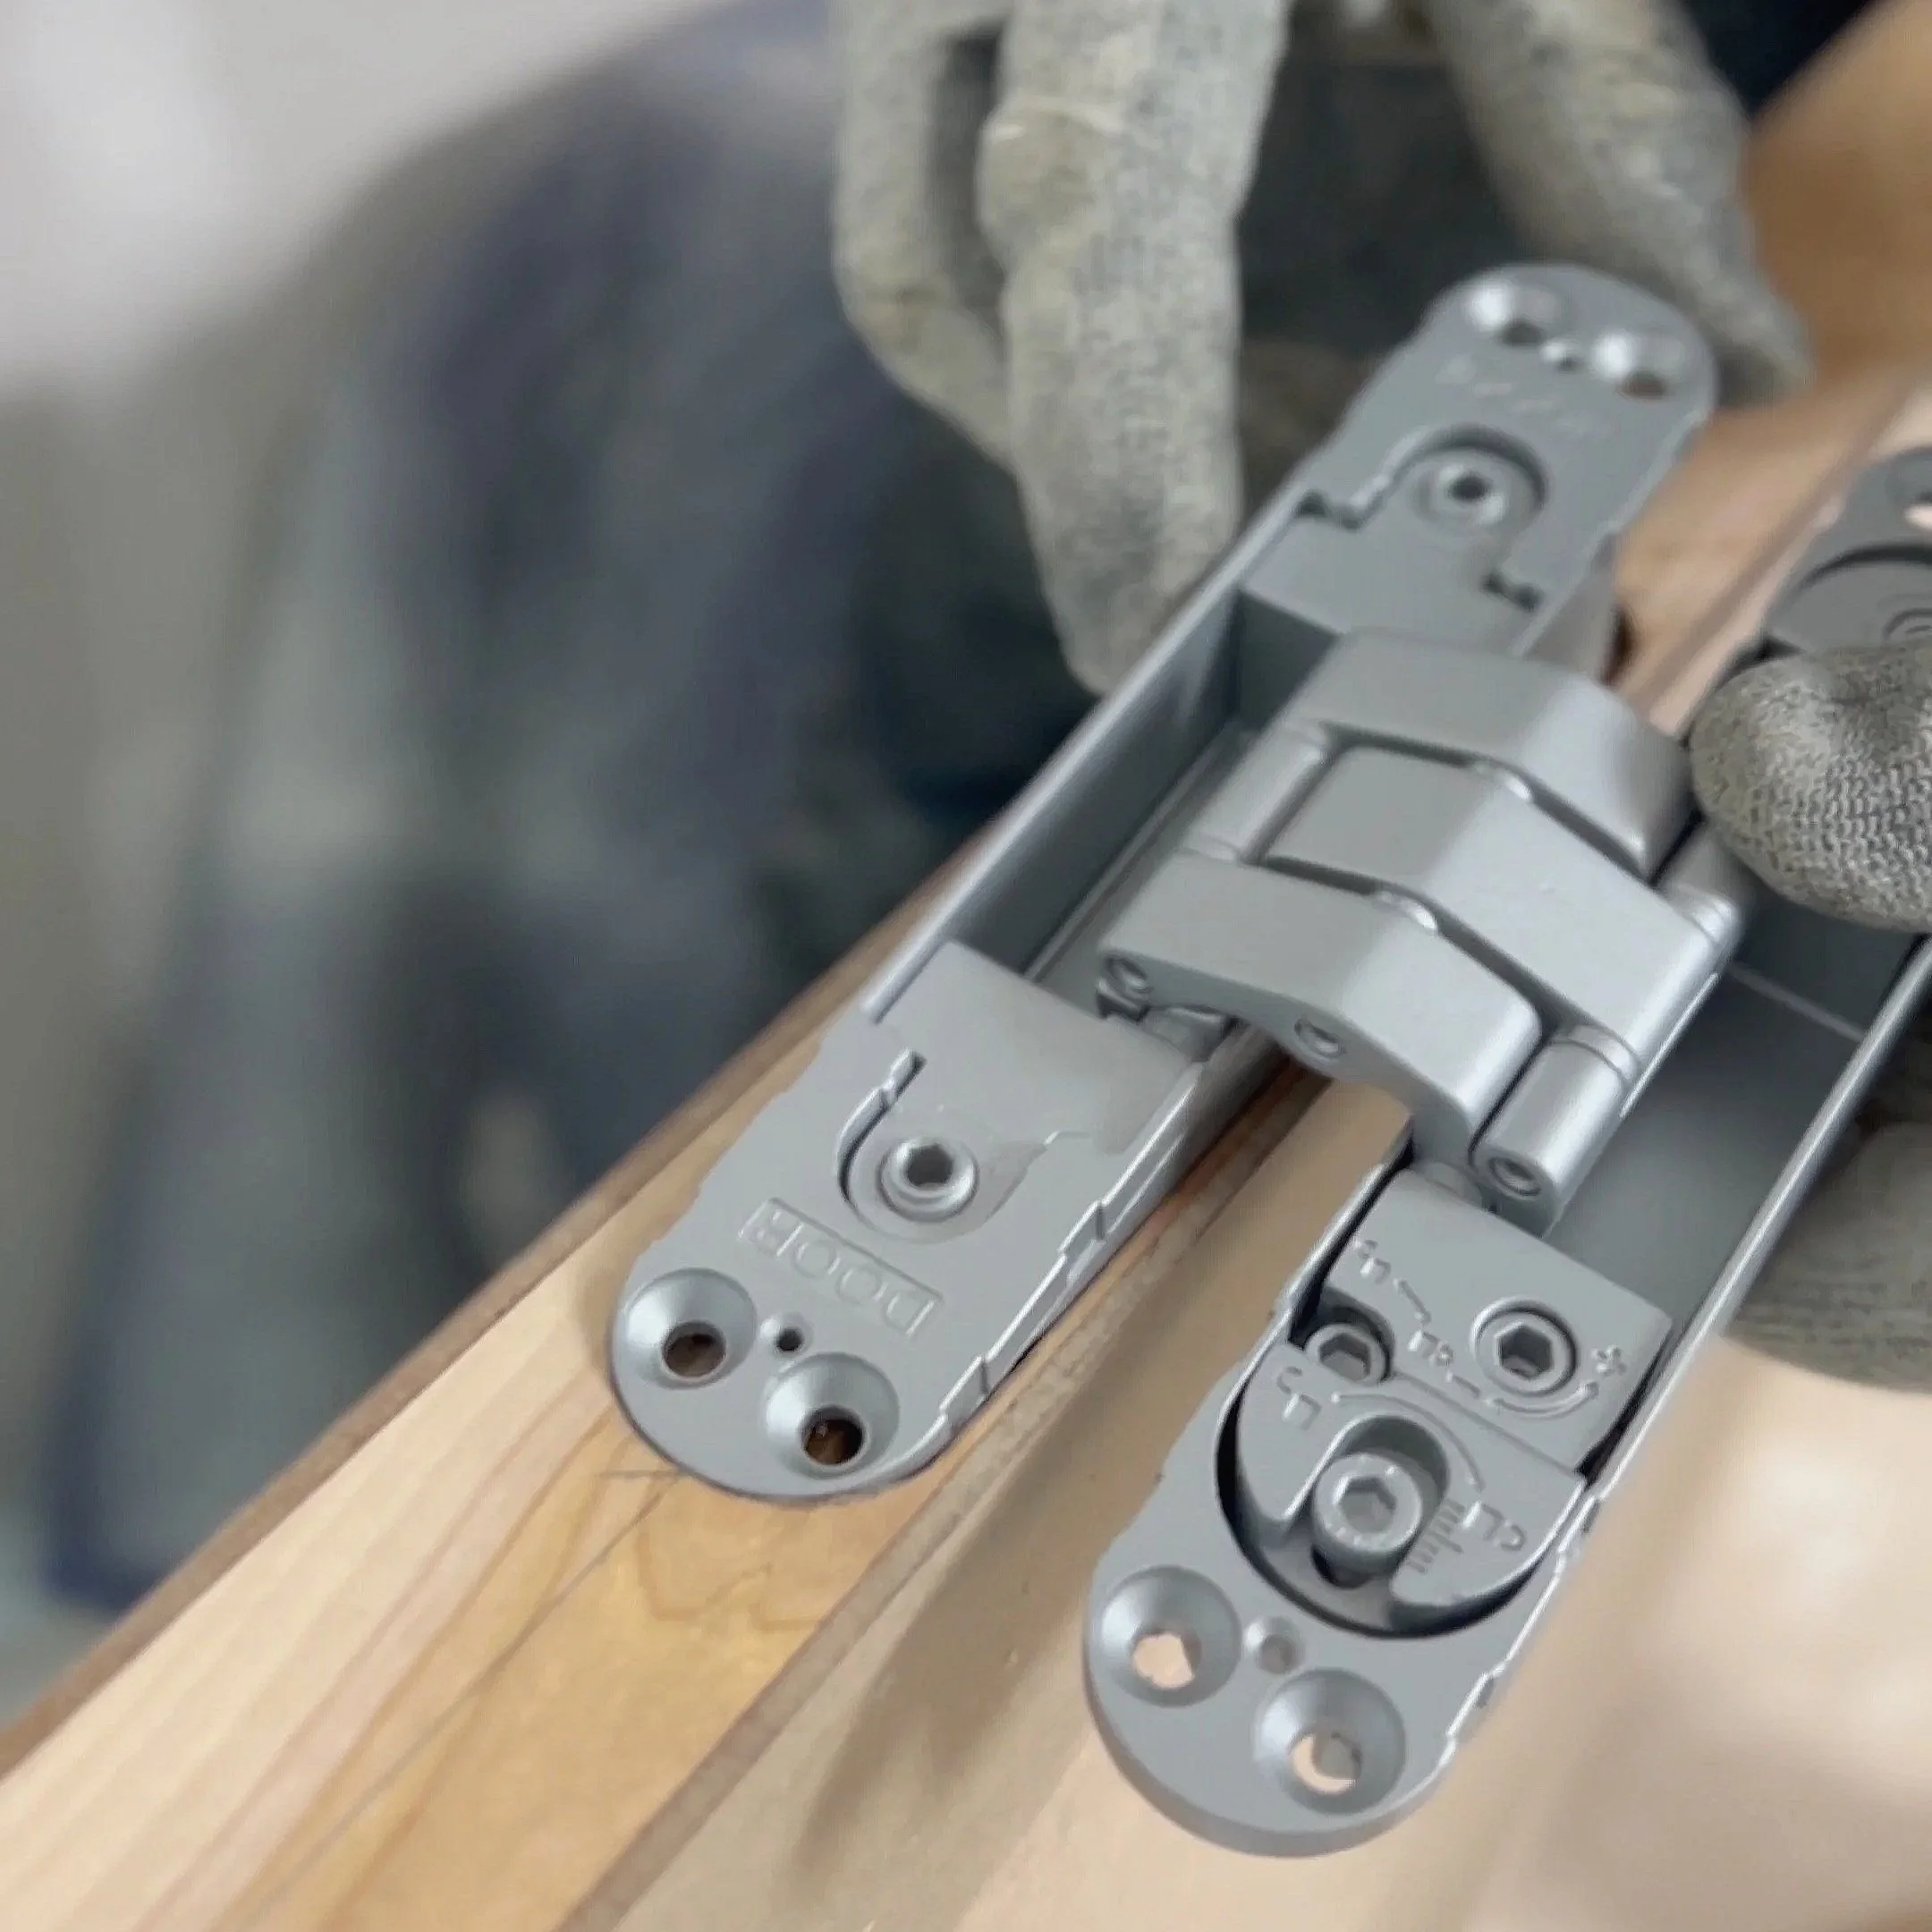
Step 1: Prep the Rough Opening (Especially for Concealed Hinges)
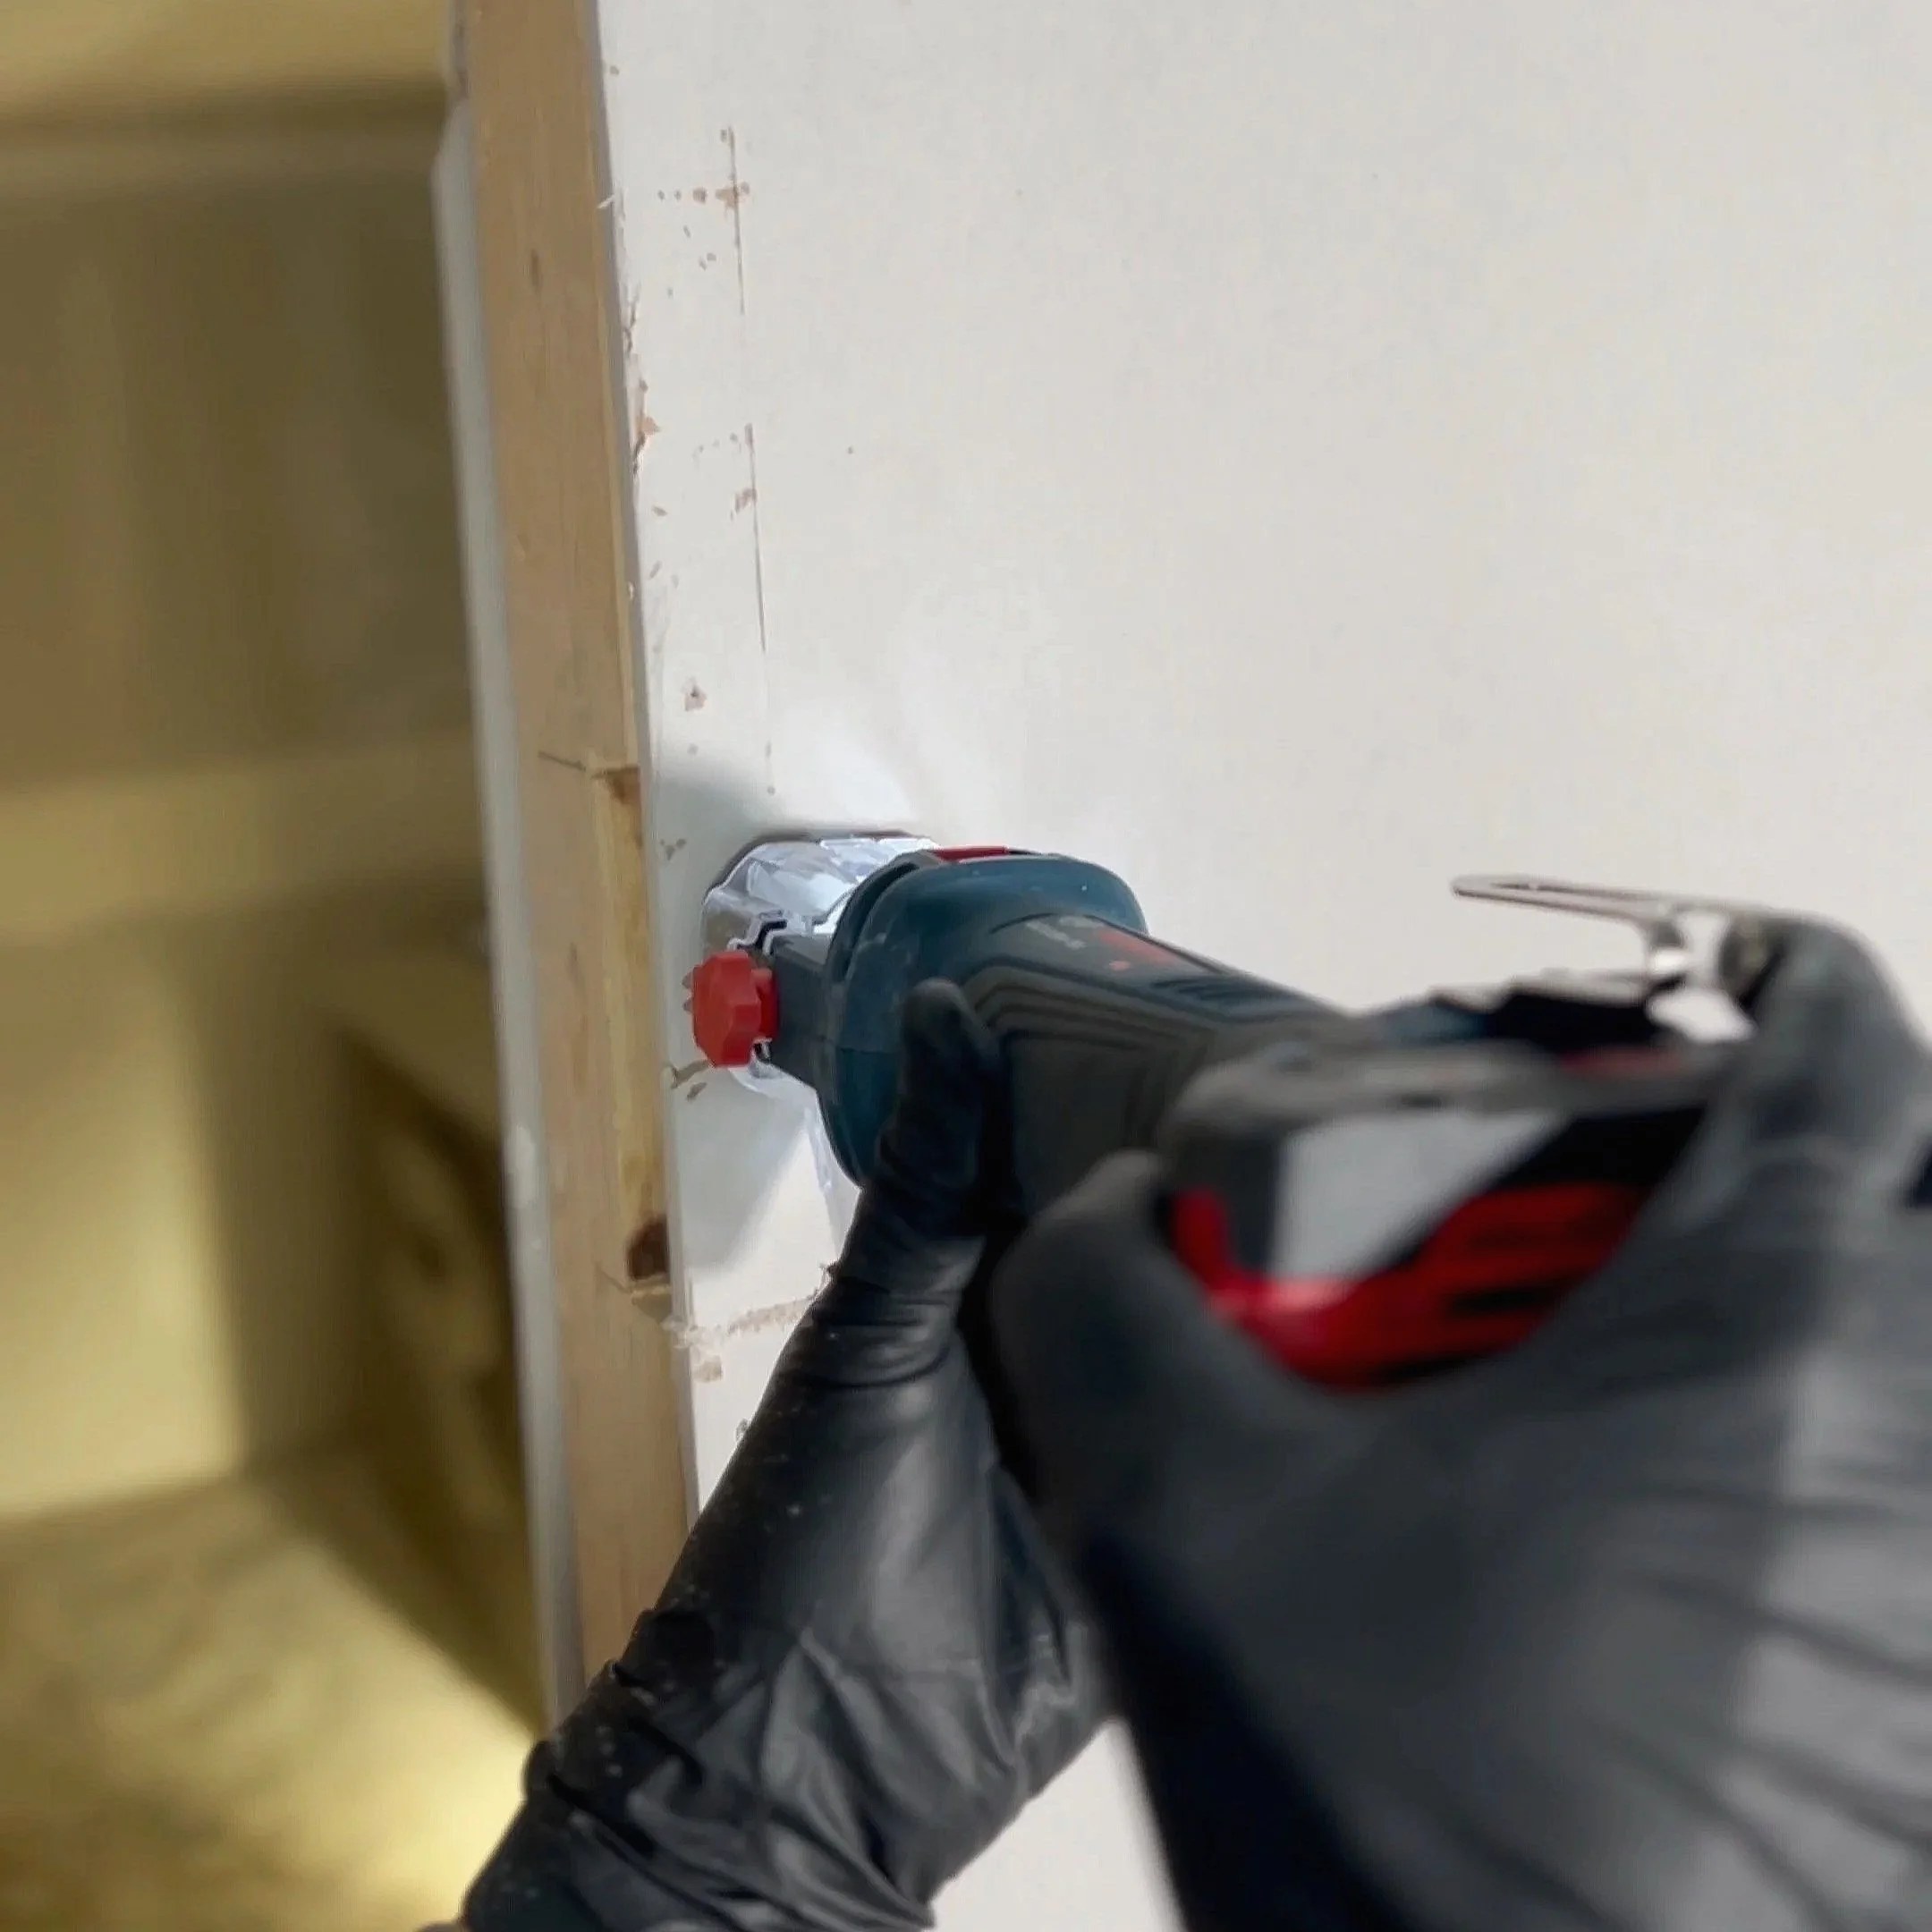
Before installing the EzyJamb, we had to adjust the rough framing to accommodate RocYork concealed hinges. These hinges are thicker than traditional ones and sit flush inside the door and jamb — which means removing some of the existing framing to give them room to recess properly.
This step ensures:
The hinges slide in cleanly
The jamb sits flat against the wall
Everything lines up later when the door is fitted
It’s a crucial step for anyone planning a trimless, flush-to-wall door.
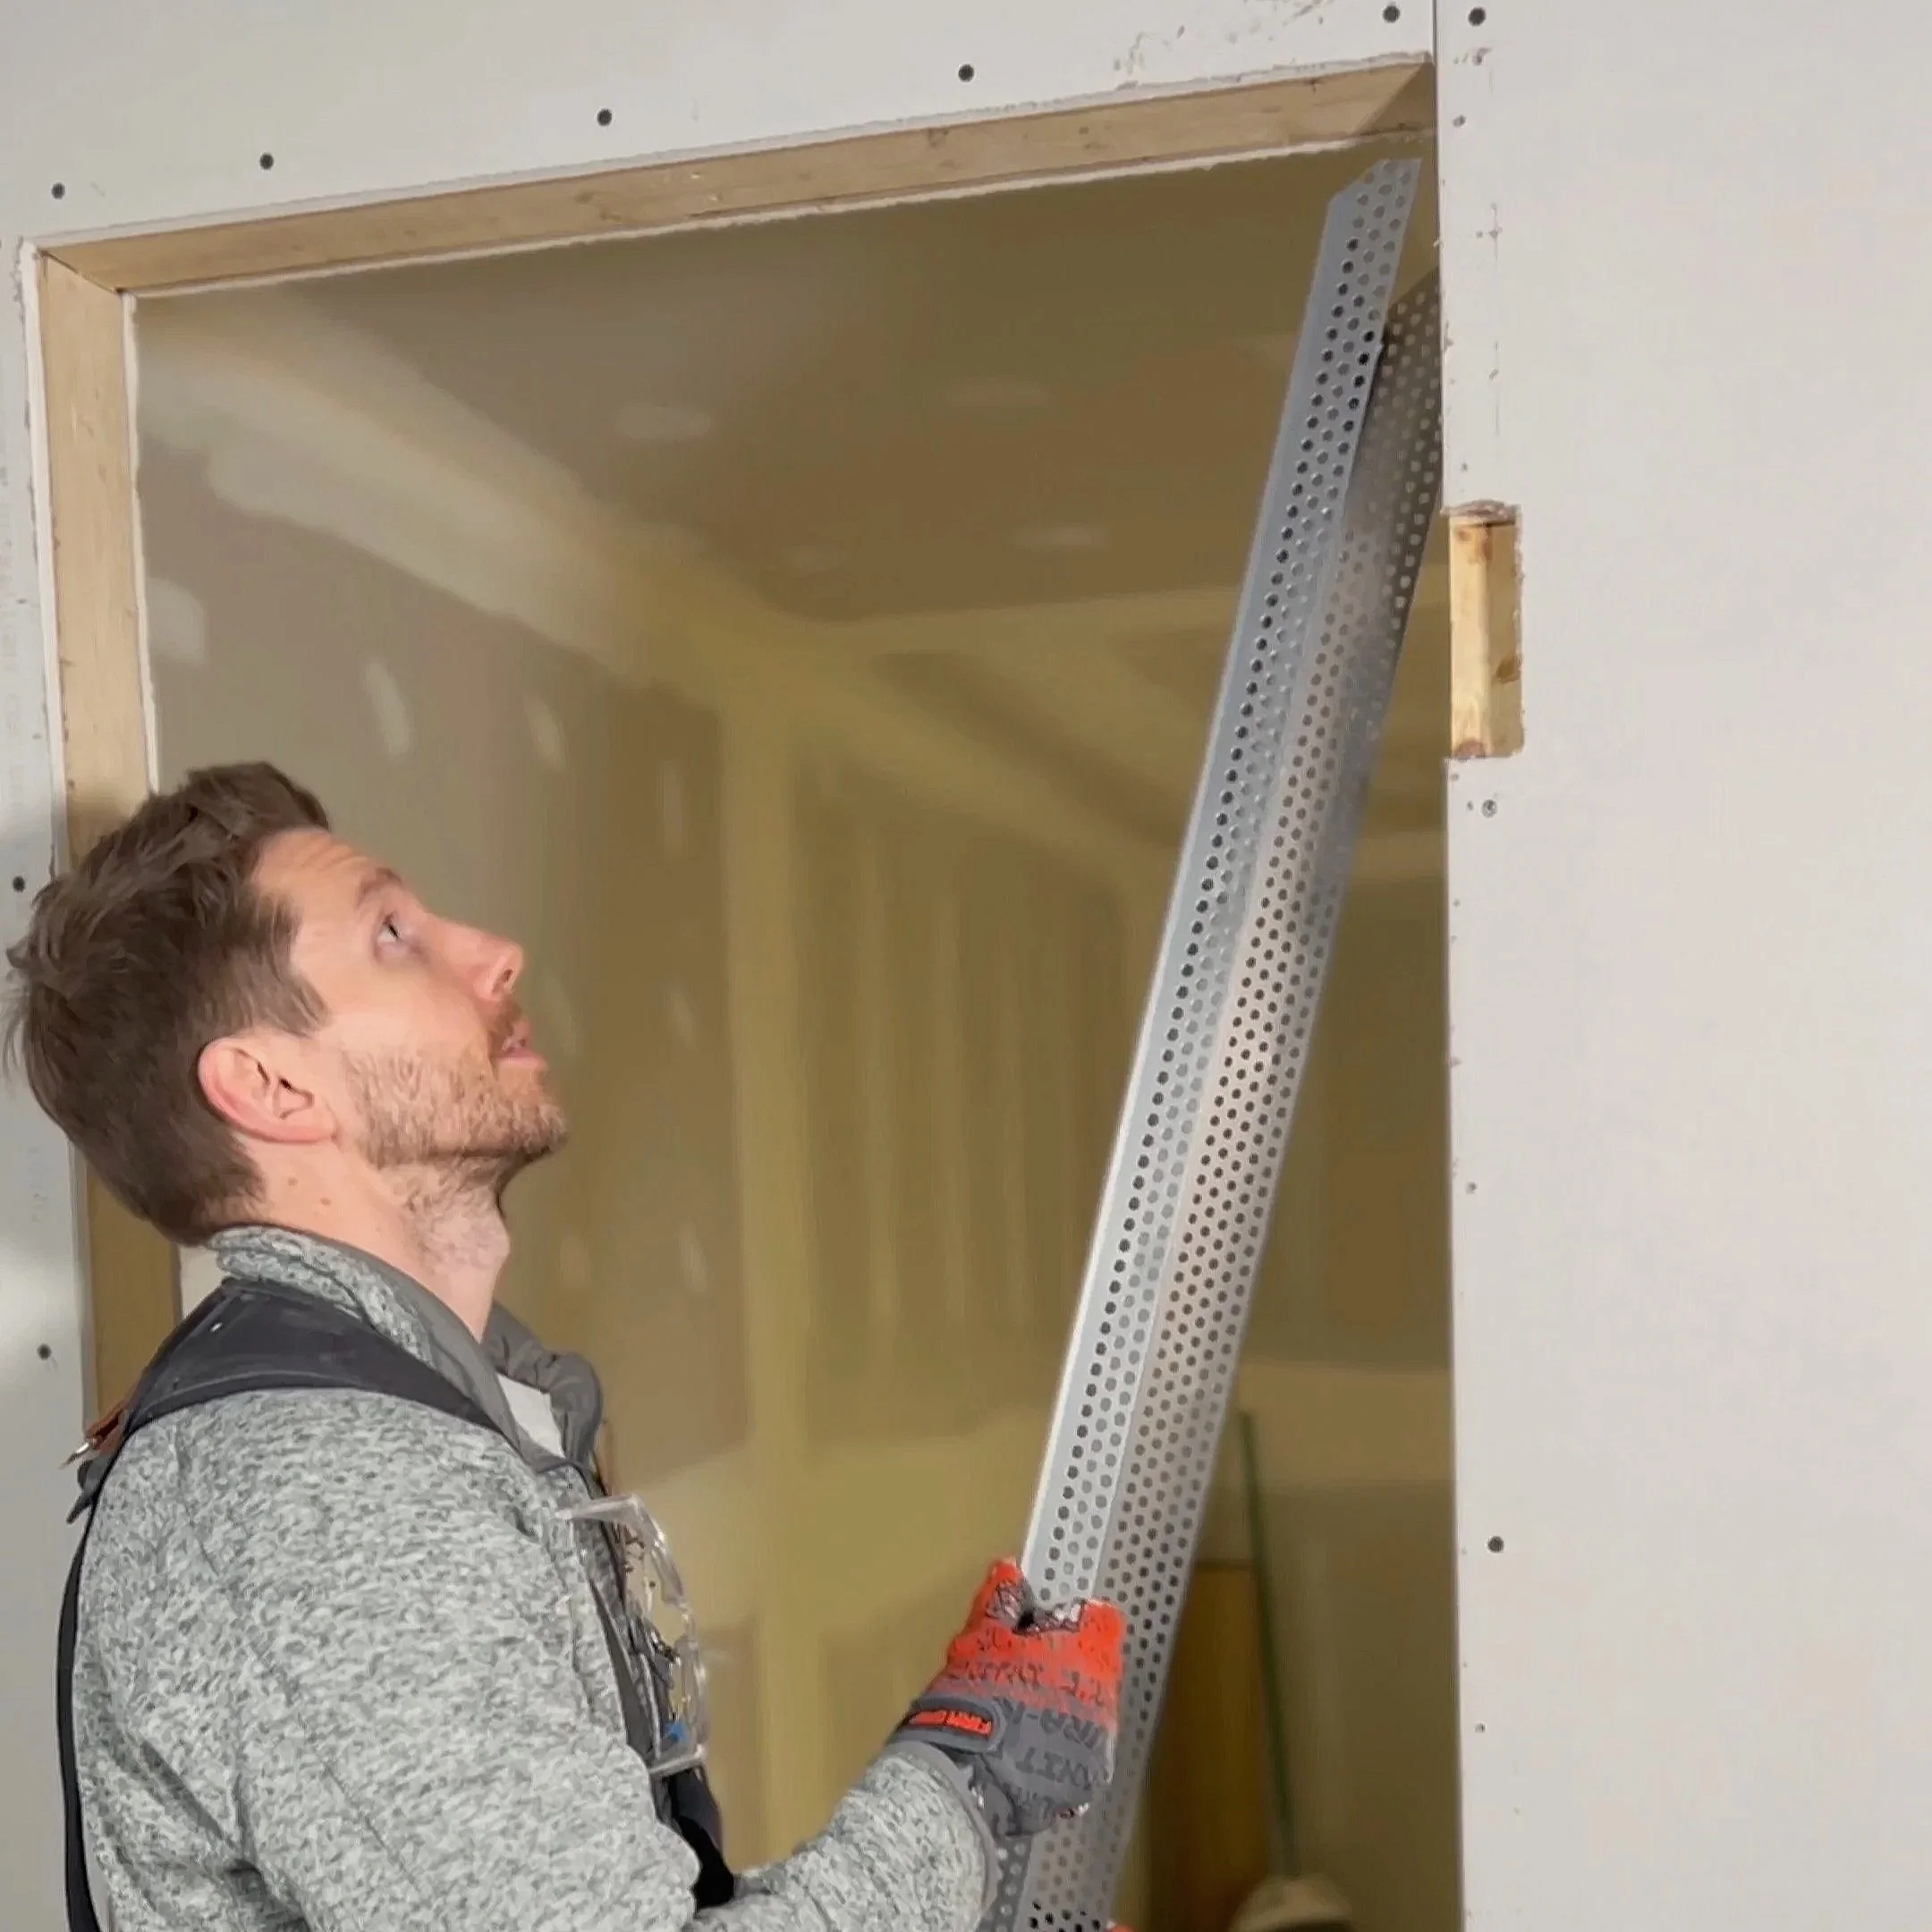
Step 2: Assemble the Jamb
The EzyJamb comes in three parts:
The header
Two vertical side pieces
Interlocking metal flanges to hug the drywall
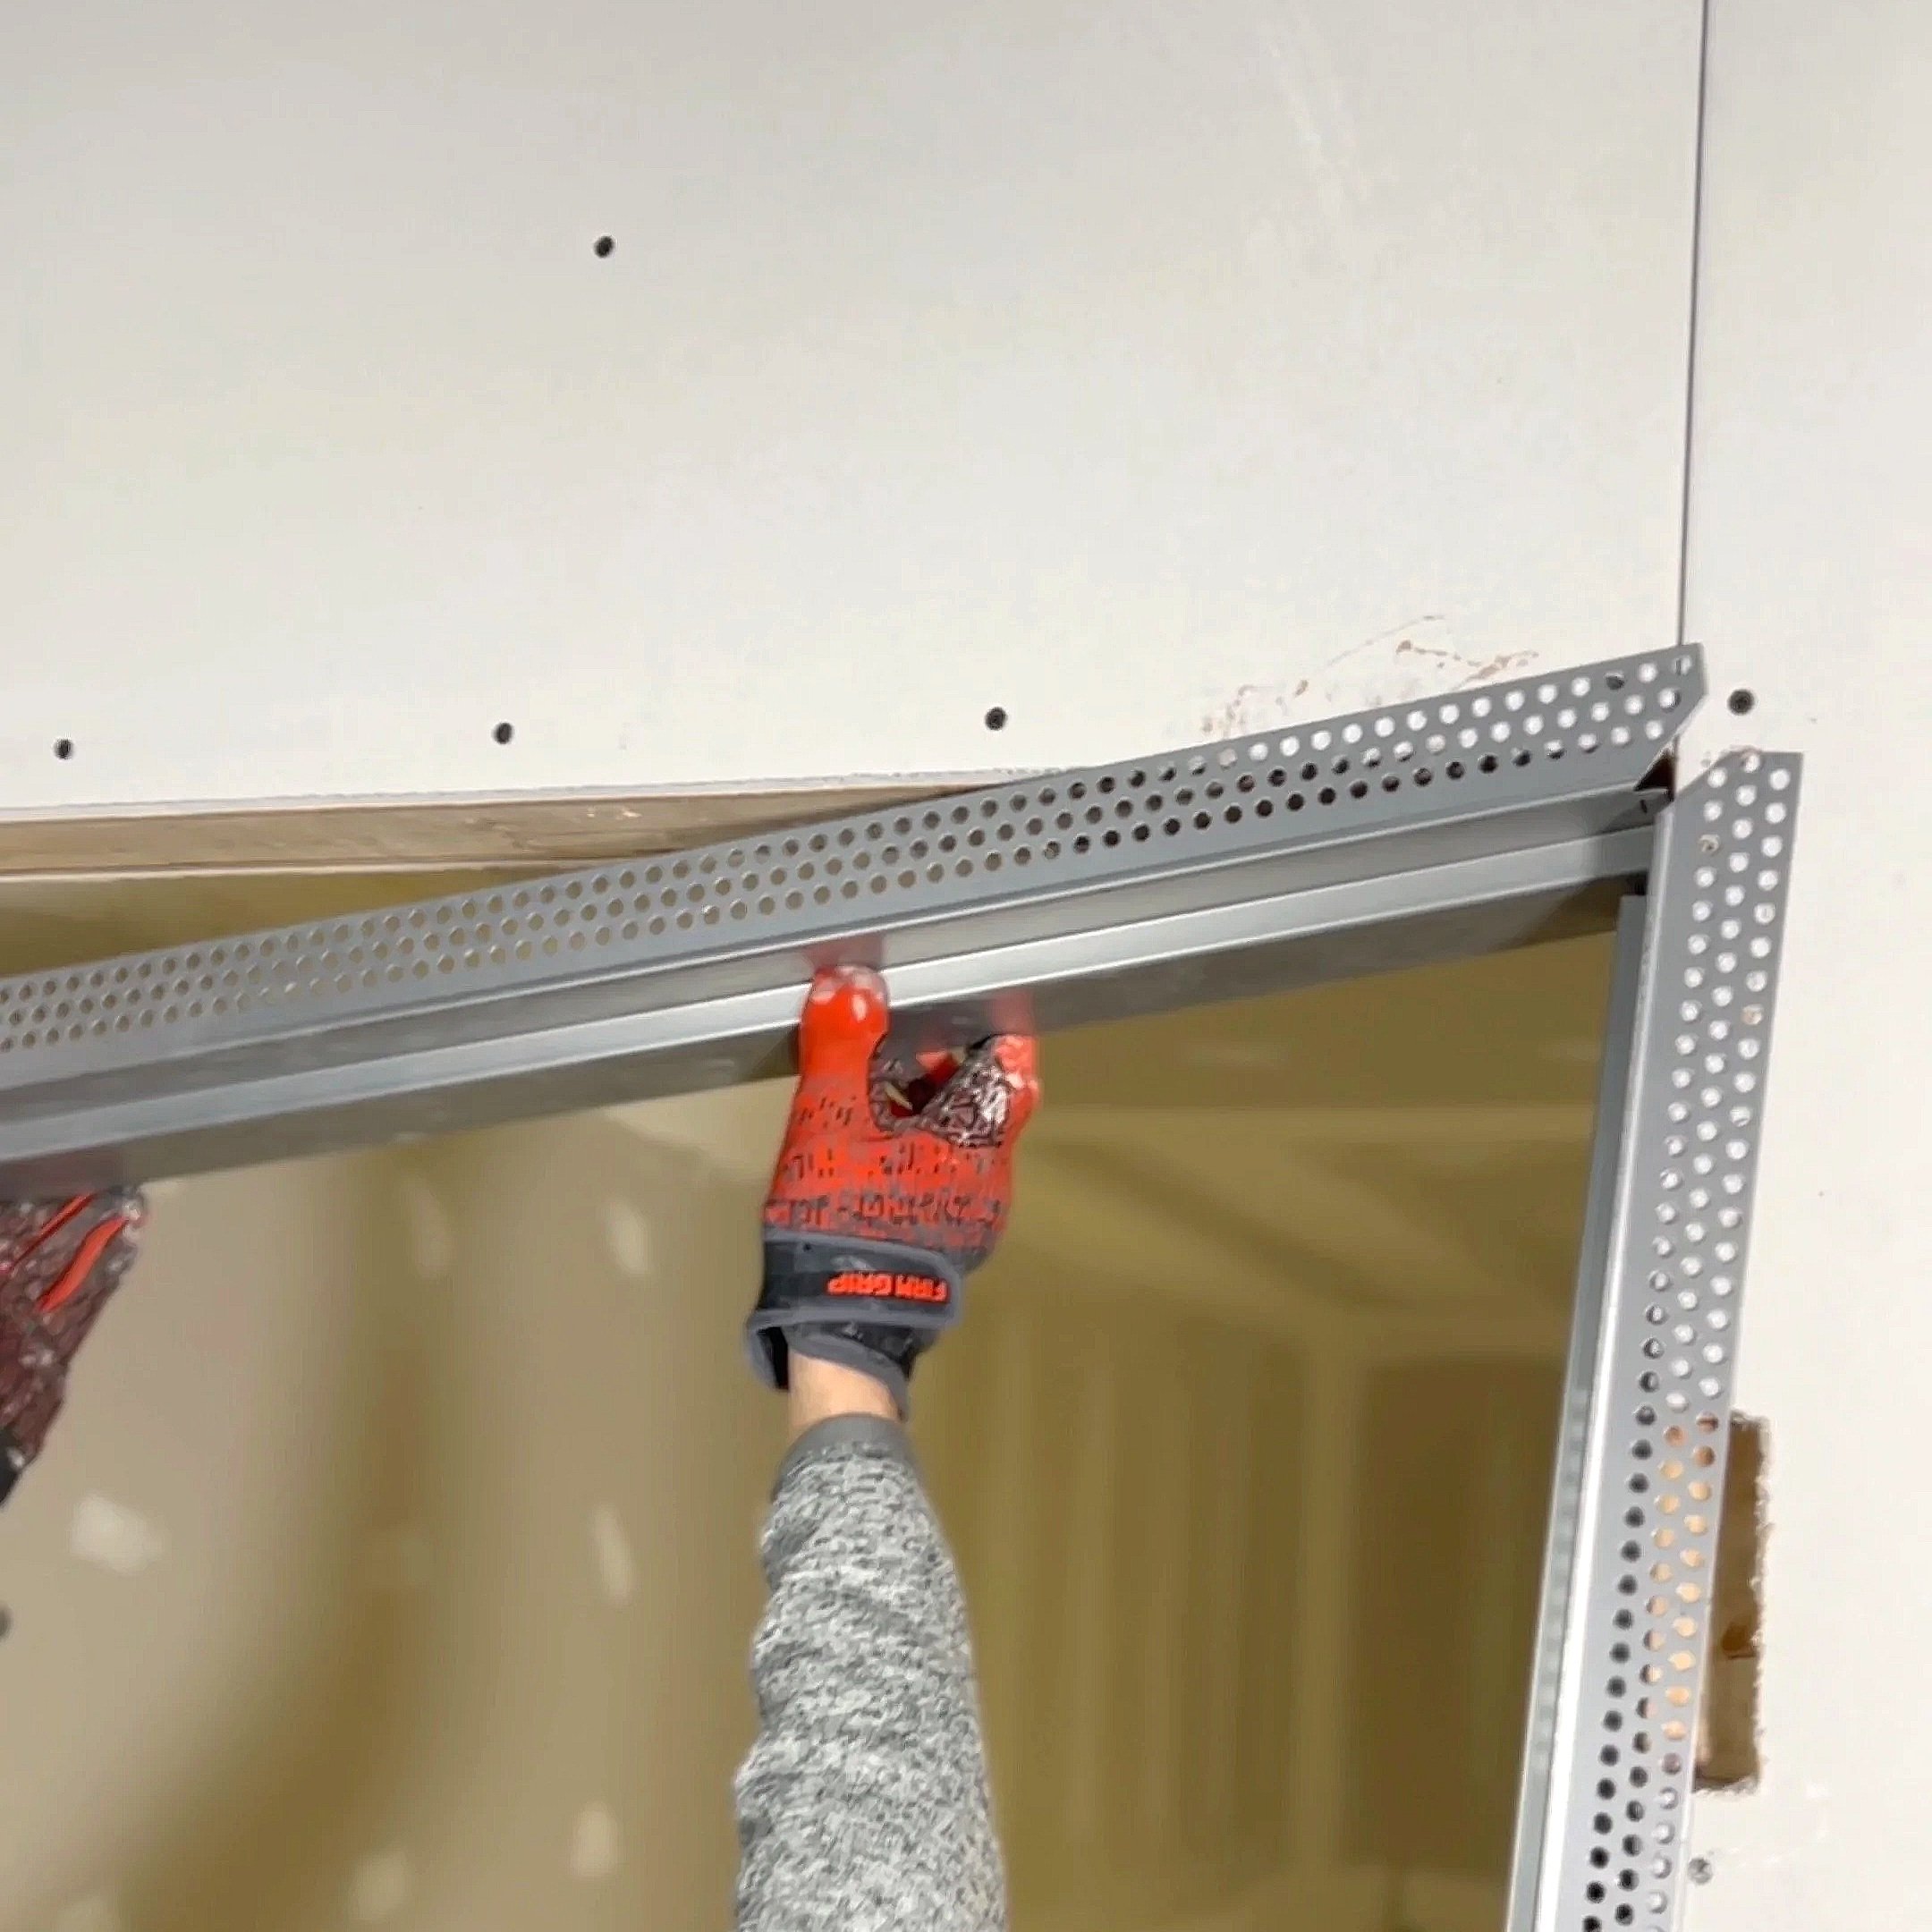
These pieces clip together quickly, creating a single solid frame that is ready to mount.
Once assembled, the next step is ensuring everything is:
Perfectly level
Perfectly square
Evenly spaced on both sides
This prevents twisting or pulling as you fasten the jamb.
Step 3: Screw the Jamb to the Drywall and Framing
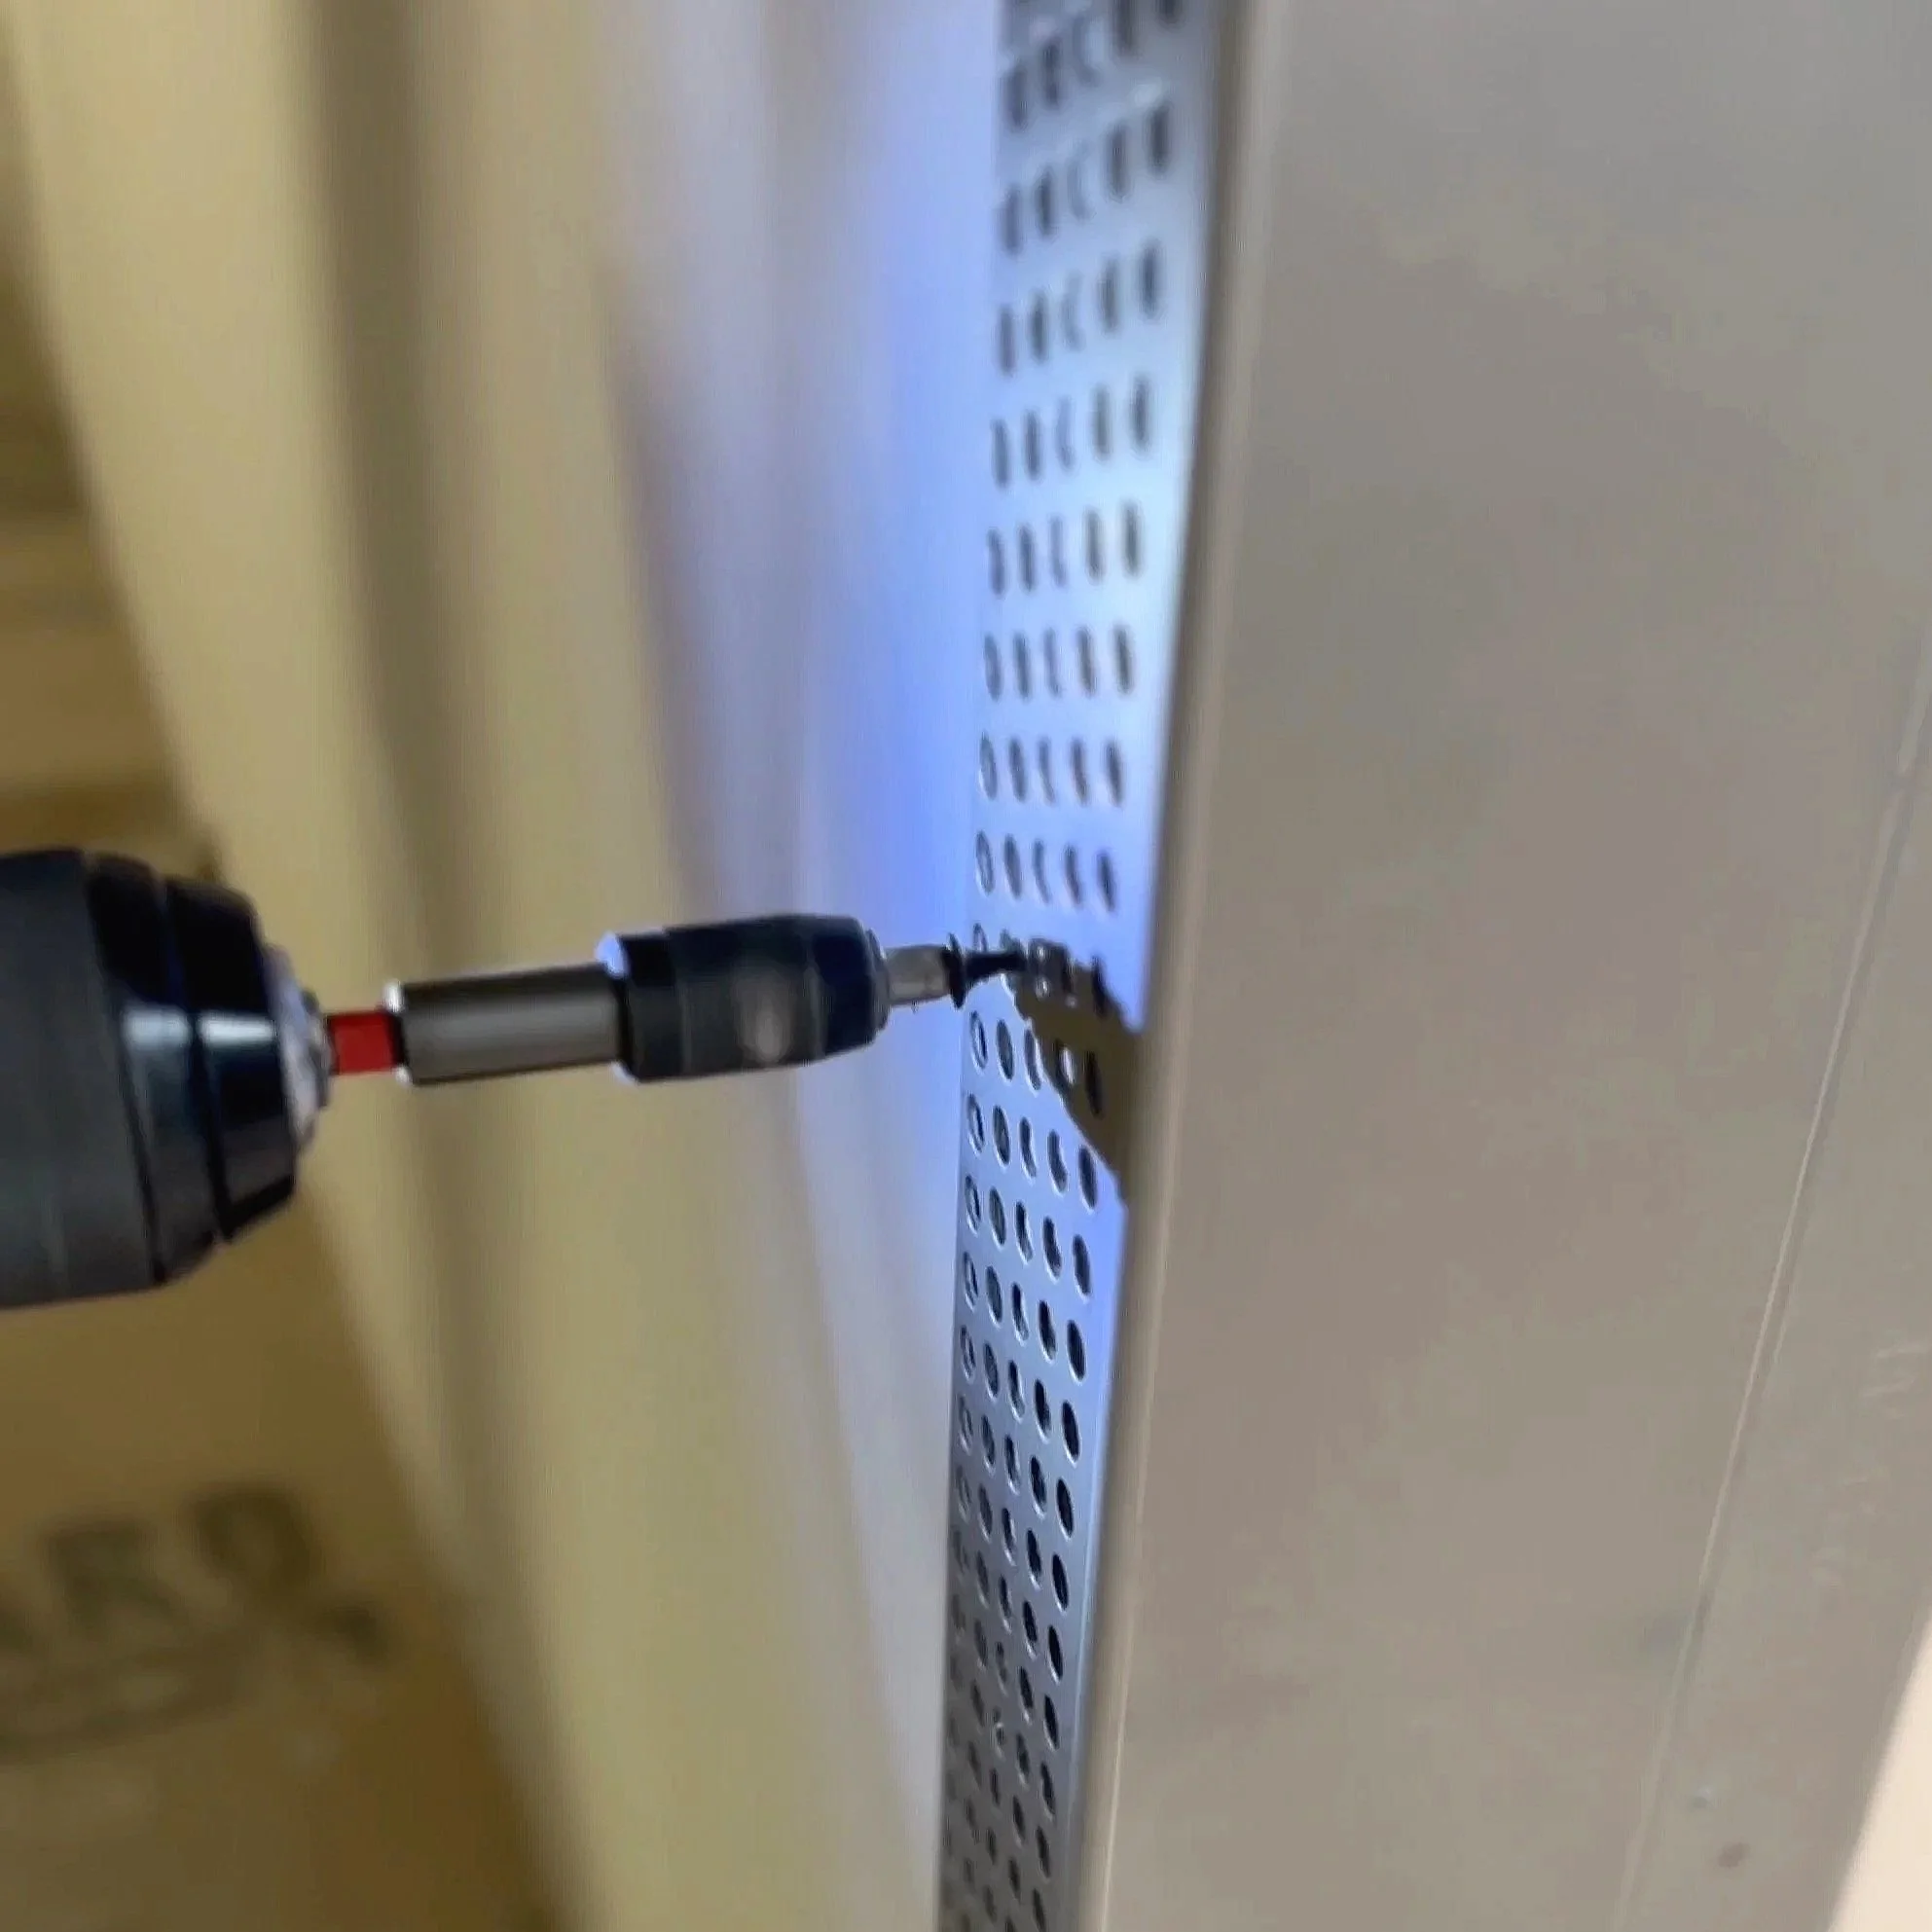
With the frame aligned, we screw it directly through the drywall and into the structural framing behind it. Even spacing is key:
👉 Fasten both sides gradually and evenly
This prevents the jamb from shifting to one side and throwing the door off alignment.
Once installed, the frame is solid, rigid, and ready for finishing.
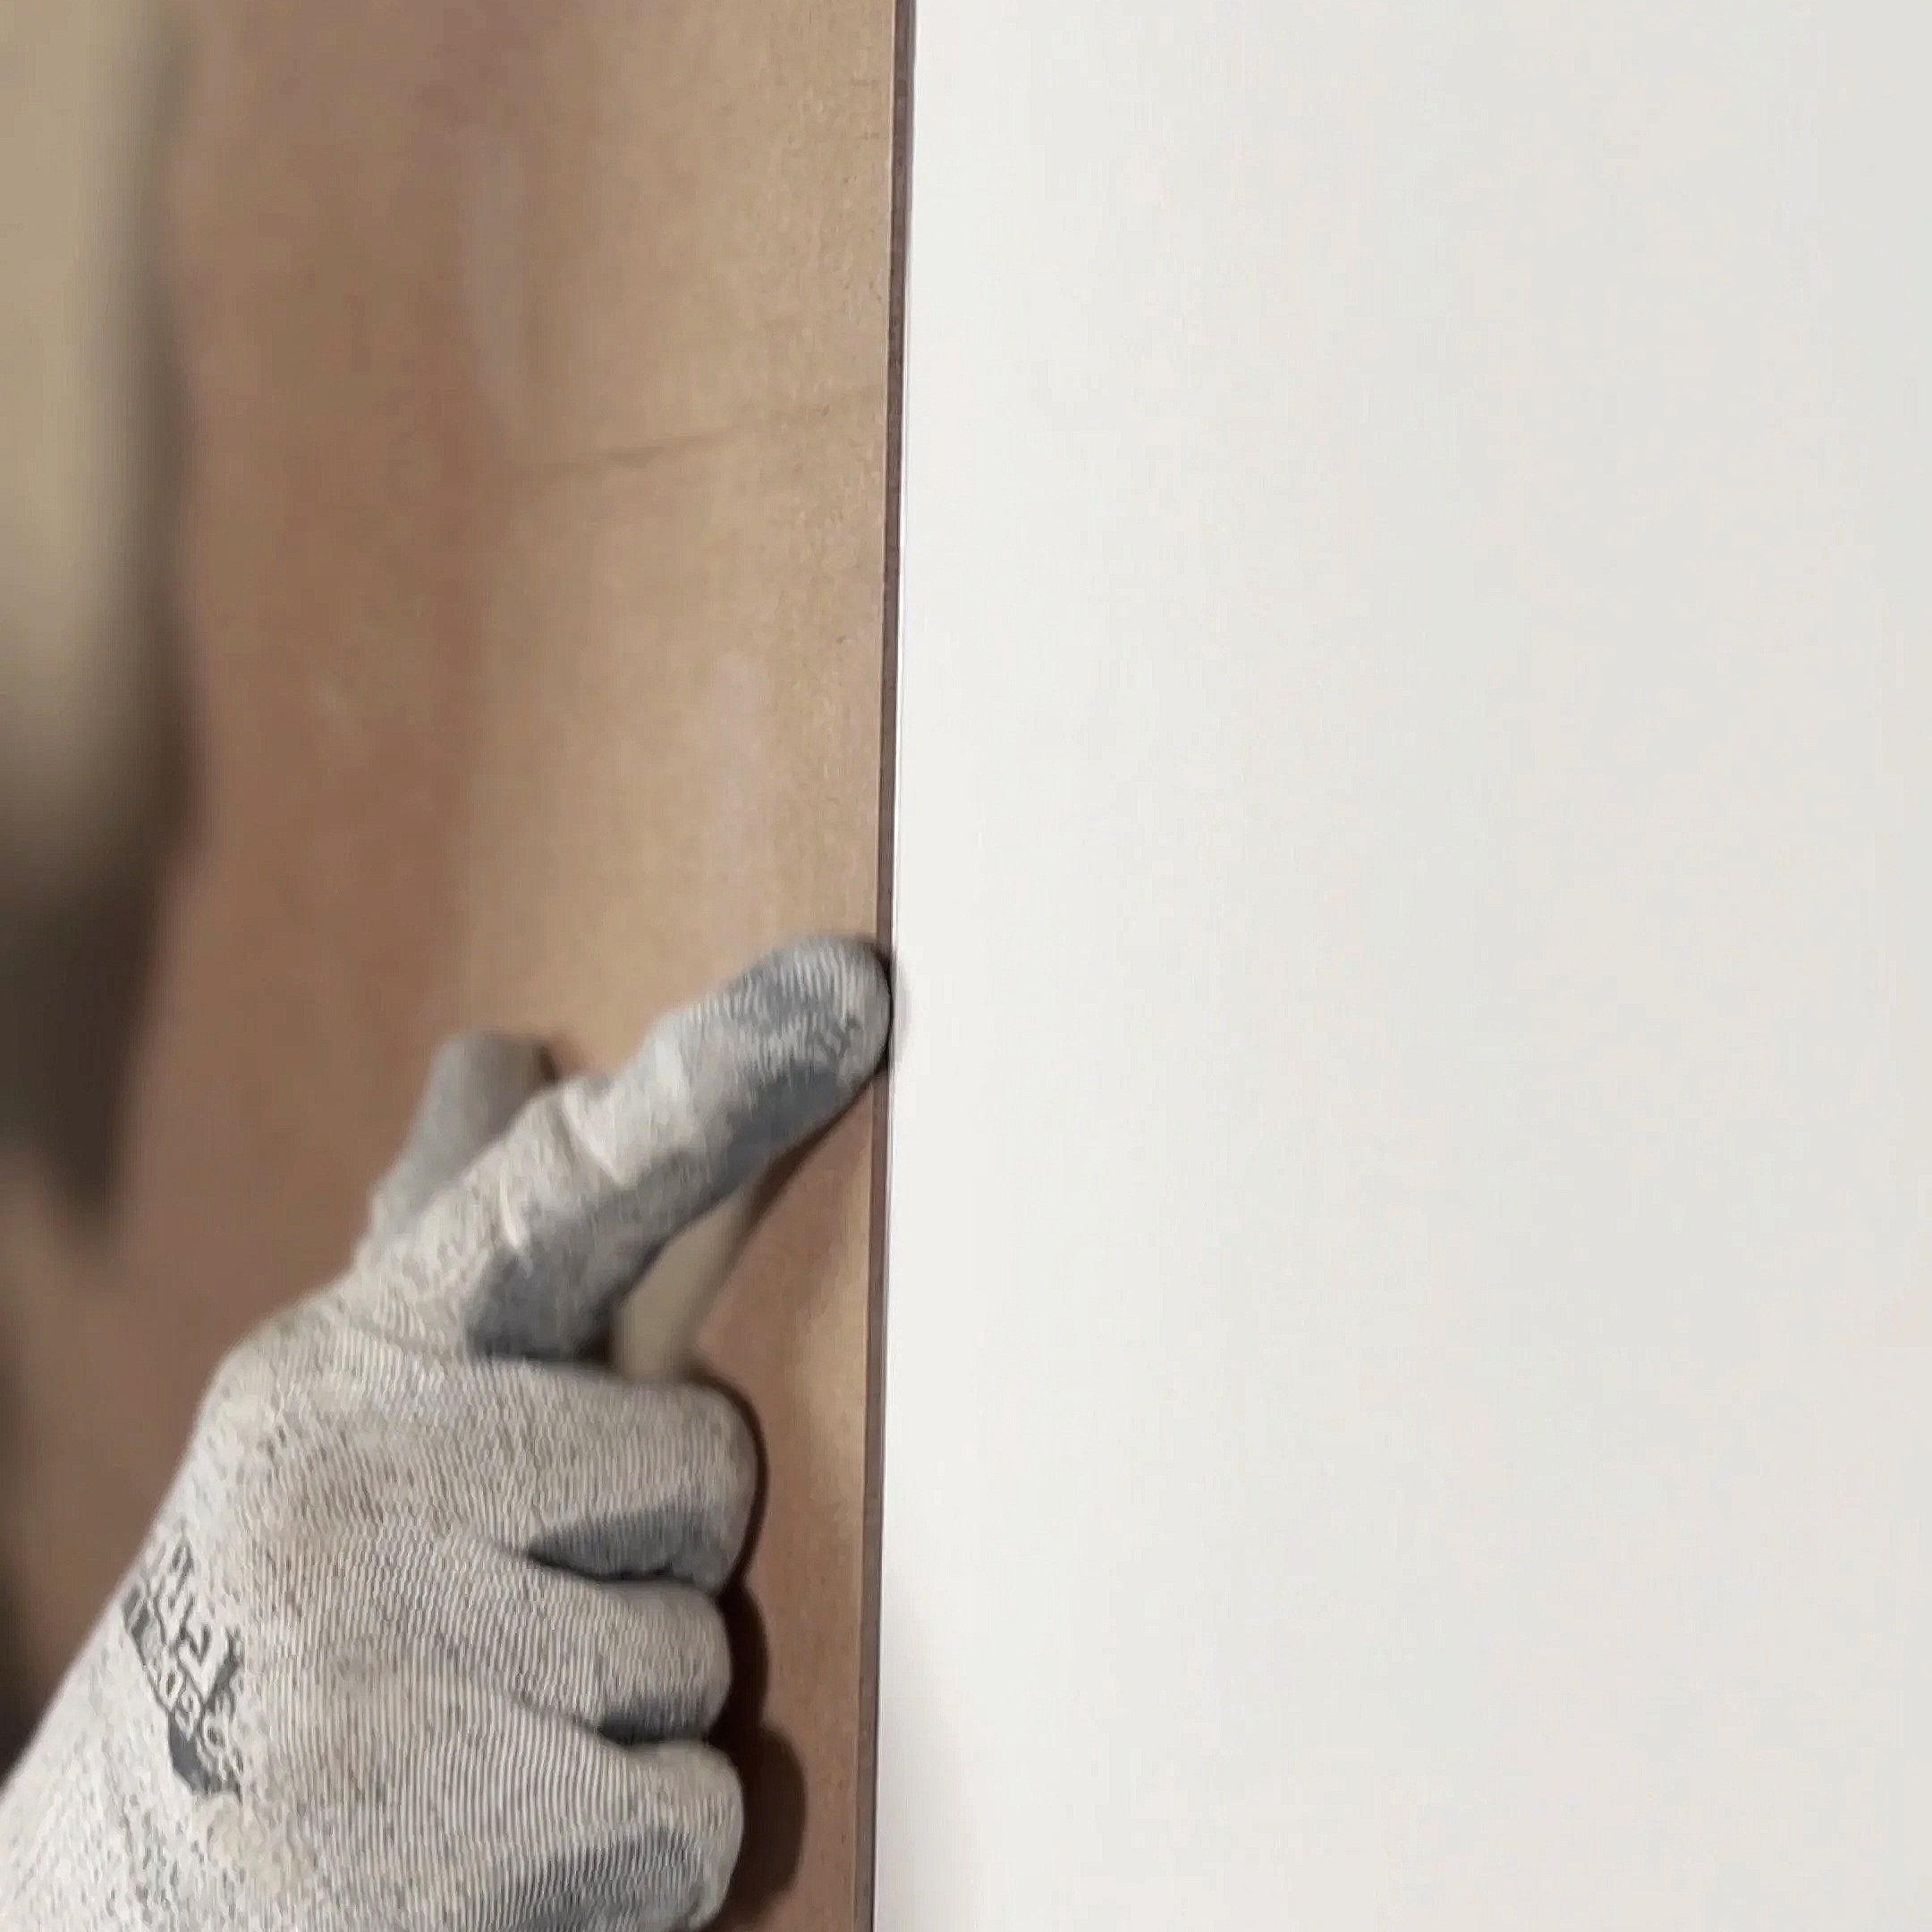
Step 4: Tape, Mud, and Create a Seamless Wall-to-Jamb Transition
Here’s where the magic happens.
To achieve the truly “frameless” look, we:
Tape around the jamb edges
Apply drywall compound to blend the metal into the wall
Use our compound applicator tube for clean, fast application
Apply multiple coats, letting each dry before sanding
Quick Tip:
Since we removed the drywall while routing out the wooden doorframe for the concealed hinge pockets, we covered the hinge pockets with paper tape temporarily to prevent compound from filling them. If you’re able to leave the drywall on while creating your hinge pockets in the wooden doorframe, you can skip this step.
Once sanded, the jamb is perfectly integrated into the wall surface.
Step 5: Fit the Door (Using RocYork Concealed Hinges)
At this point, the jamb is finished and ready for paint or door installation. We chose to install the door next — and, in true Refresh style, we decided to make our own.
This meant:
Cutting the door to the exact width and height specified
Routing and drilling recesses for the RocYork hinges
Ensuring the hinges sit perfectly flush with the surface
Once attached, the hinges slide effortlessly into the factory-cut hinge pockets in the jamb.
Adjustment Options
The RocYork hinges allow:
Vertical adjustment
Horizontal adjustment
Depth adjustment
Using just an Allen key, you can dial in the door until it's perfectly flush and perfectly aligned.
Final Result: A Clean, Modern, Trimless Doorway
When installed correctly, the EZ Concepts EzyJamb gives you:
A frameless, flush-mounted door
Zero casing
No visible hardware
A perfectly modern, minimalist profile
The type of finish that instantly elevates a room.
This system is strong, durable, and visually stunning — a huge leap forward for builders trying to meet demand for sleek, contemporary interior design.
If you want that high-end designer look without spending a fortune on custom millwork, the EzyJamb system is absolutely worth it.
Learn More About EZ Concepts Products
For detailed specifications, installation guides, hinge options, and more, check out EZ Concepts here:
👉 https://ezconcept.com/products/ezyjamb/