
Microcement + Paint Facelift: How to Renovate Your Bathroom Without Any Demolition!
What if you could take a dated, cracked, borderline gross bathroom and turn it into something modern and beautiful—without ripping anything out?
Believe it or not, that’s exactly what we did with this project. Instead of demolition, new tile, and a full rebuild, we used a combination of DIY-friendly microcement resurfacing, strategic painting (yes, even tub and tile), and simple fixture upgrades to create a bathroom that looks completely different—while keeping the existing bones in place.
If you want the biggest visual transformation for the least mess (and the least ‘going backwards’), this approach is worth considering.
Why a No-Demo Bathroom Renovation Works
A traditional bathroom reno usually means:
tearing out tile
replacing waterproof boarding
replacing countertops and vanities
dust, dumpsters, and downtime
But if your layout works and your surfaces are structurally sound (even if ugly), you can often get a dramatic facelift by:
resurfacing instead of replacing
painting instead of re-tiling
updating hardware/fixtures for instant impact
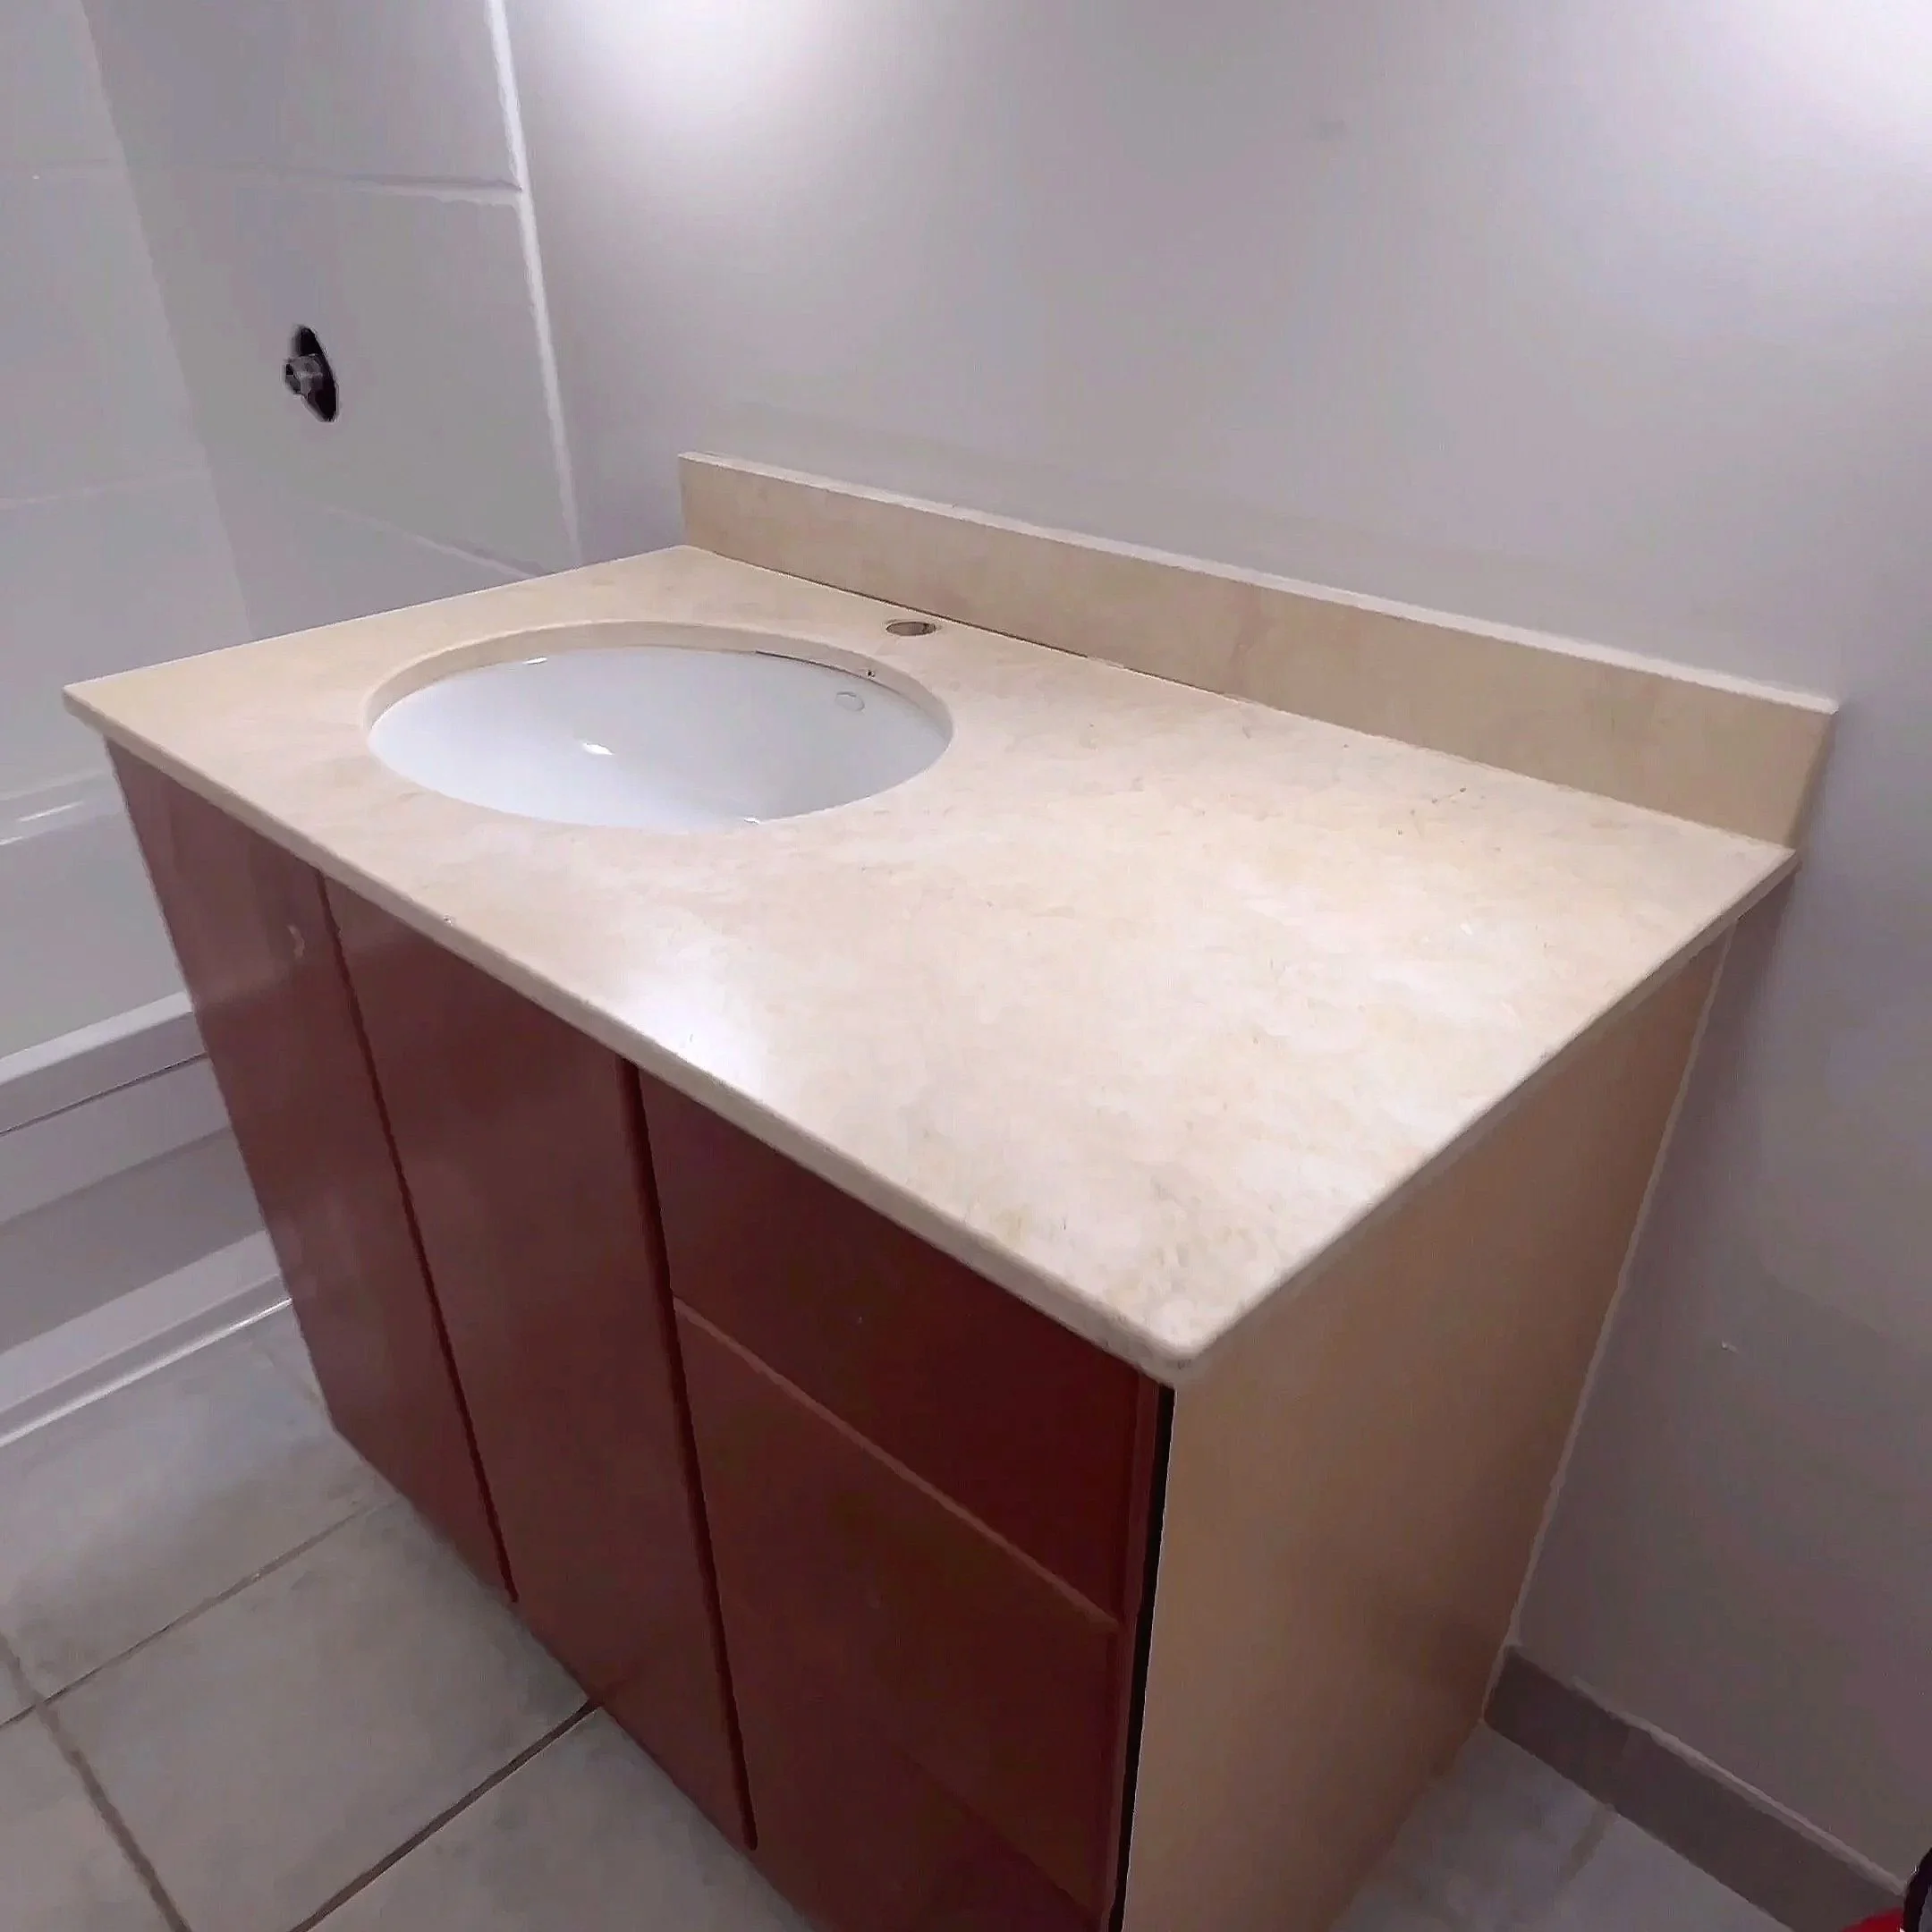
In this bathroom, the old travertine countertop was badly cracked—the whole thing was split. Rather than replace it, we resurfaced it with microcement so it looked brand new without removal.
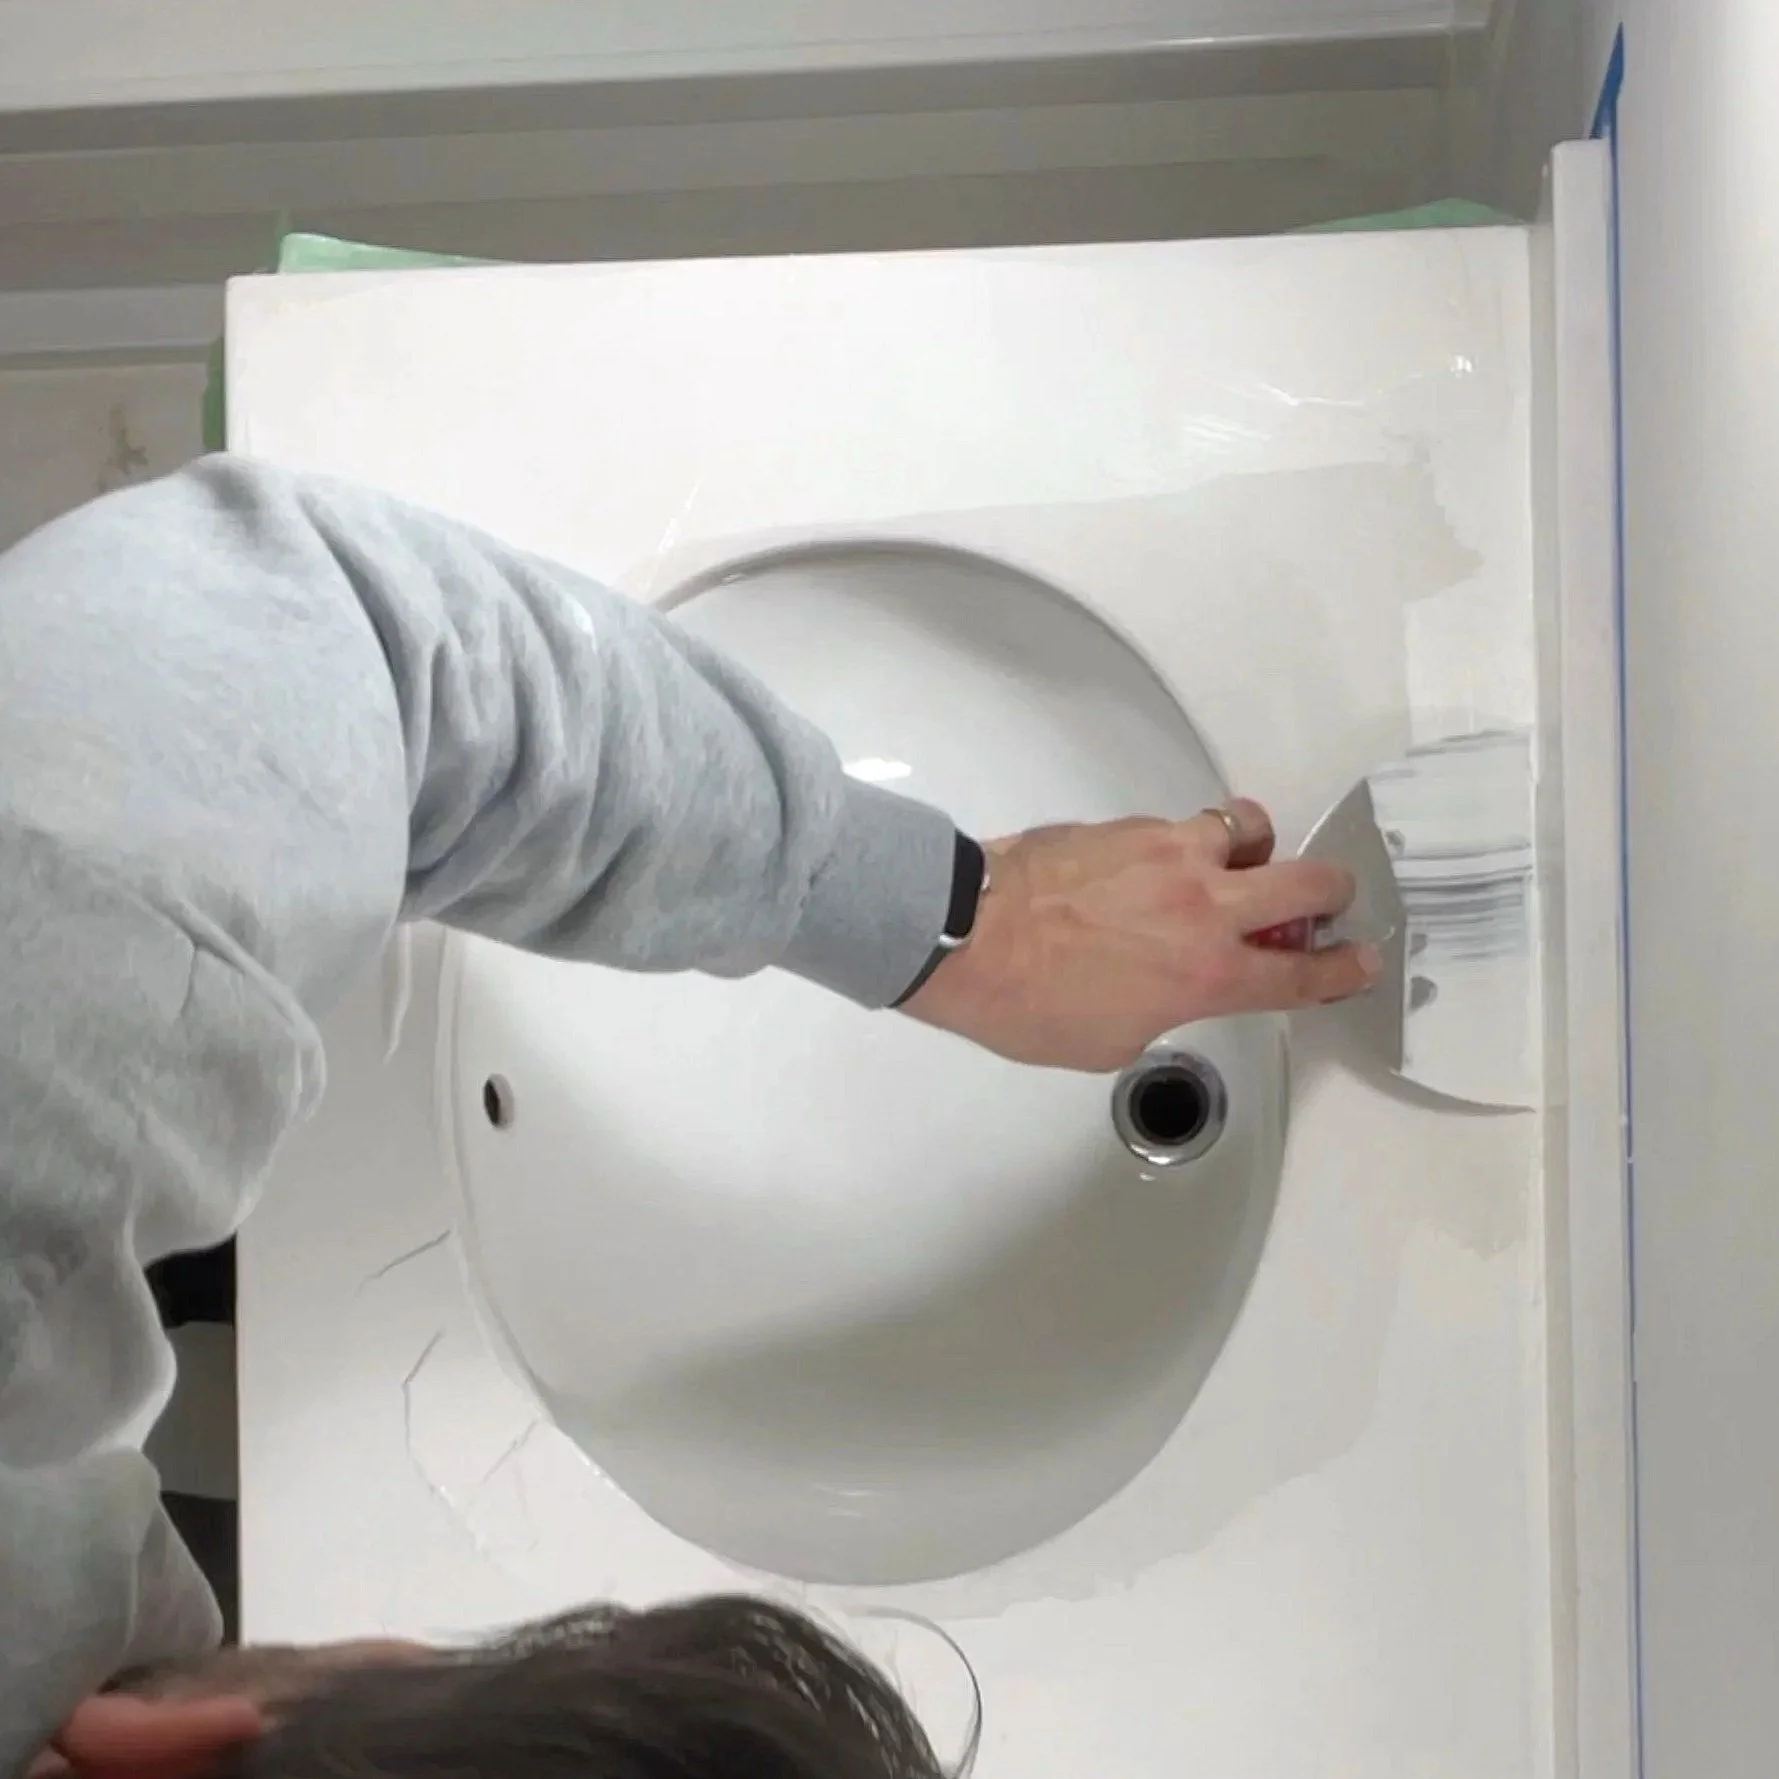
Step 1: Microcement the Countertop (Over the Existing Travertine)
We used SmartCret microcement to refinish the countertop directly over the existing surface. If you purchase a kit from them, it comes with detailed step-by-step instructions (and you should always follow the directions as indicated by the manufacturer)- but we’ll explain each step that we did here:
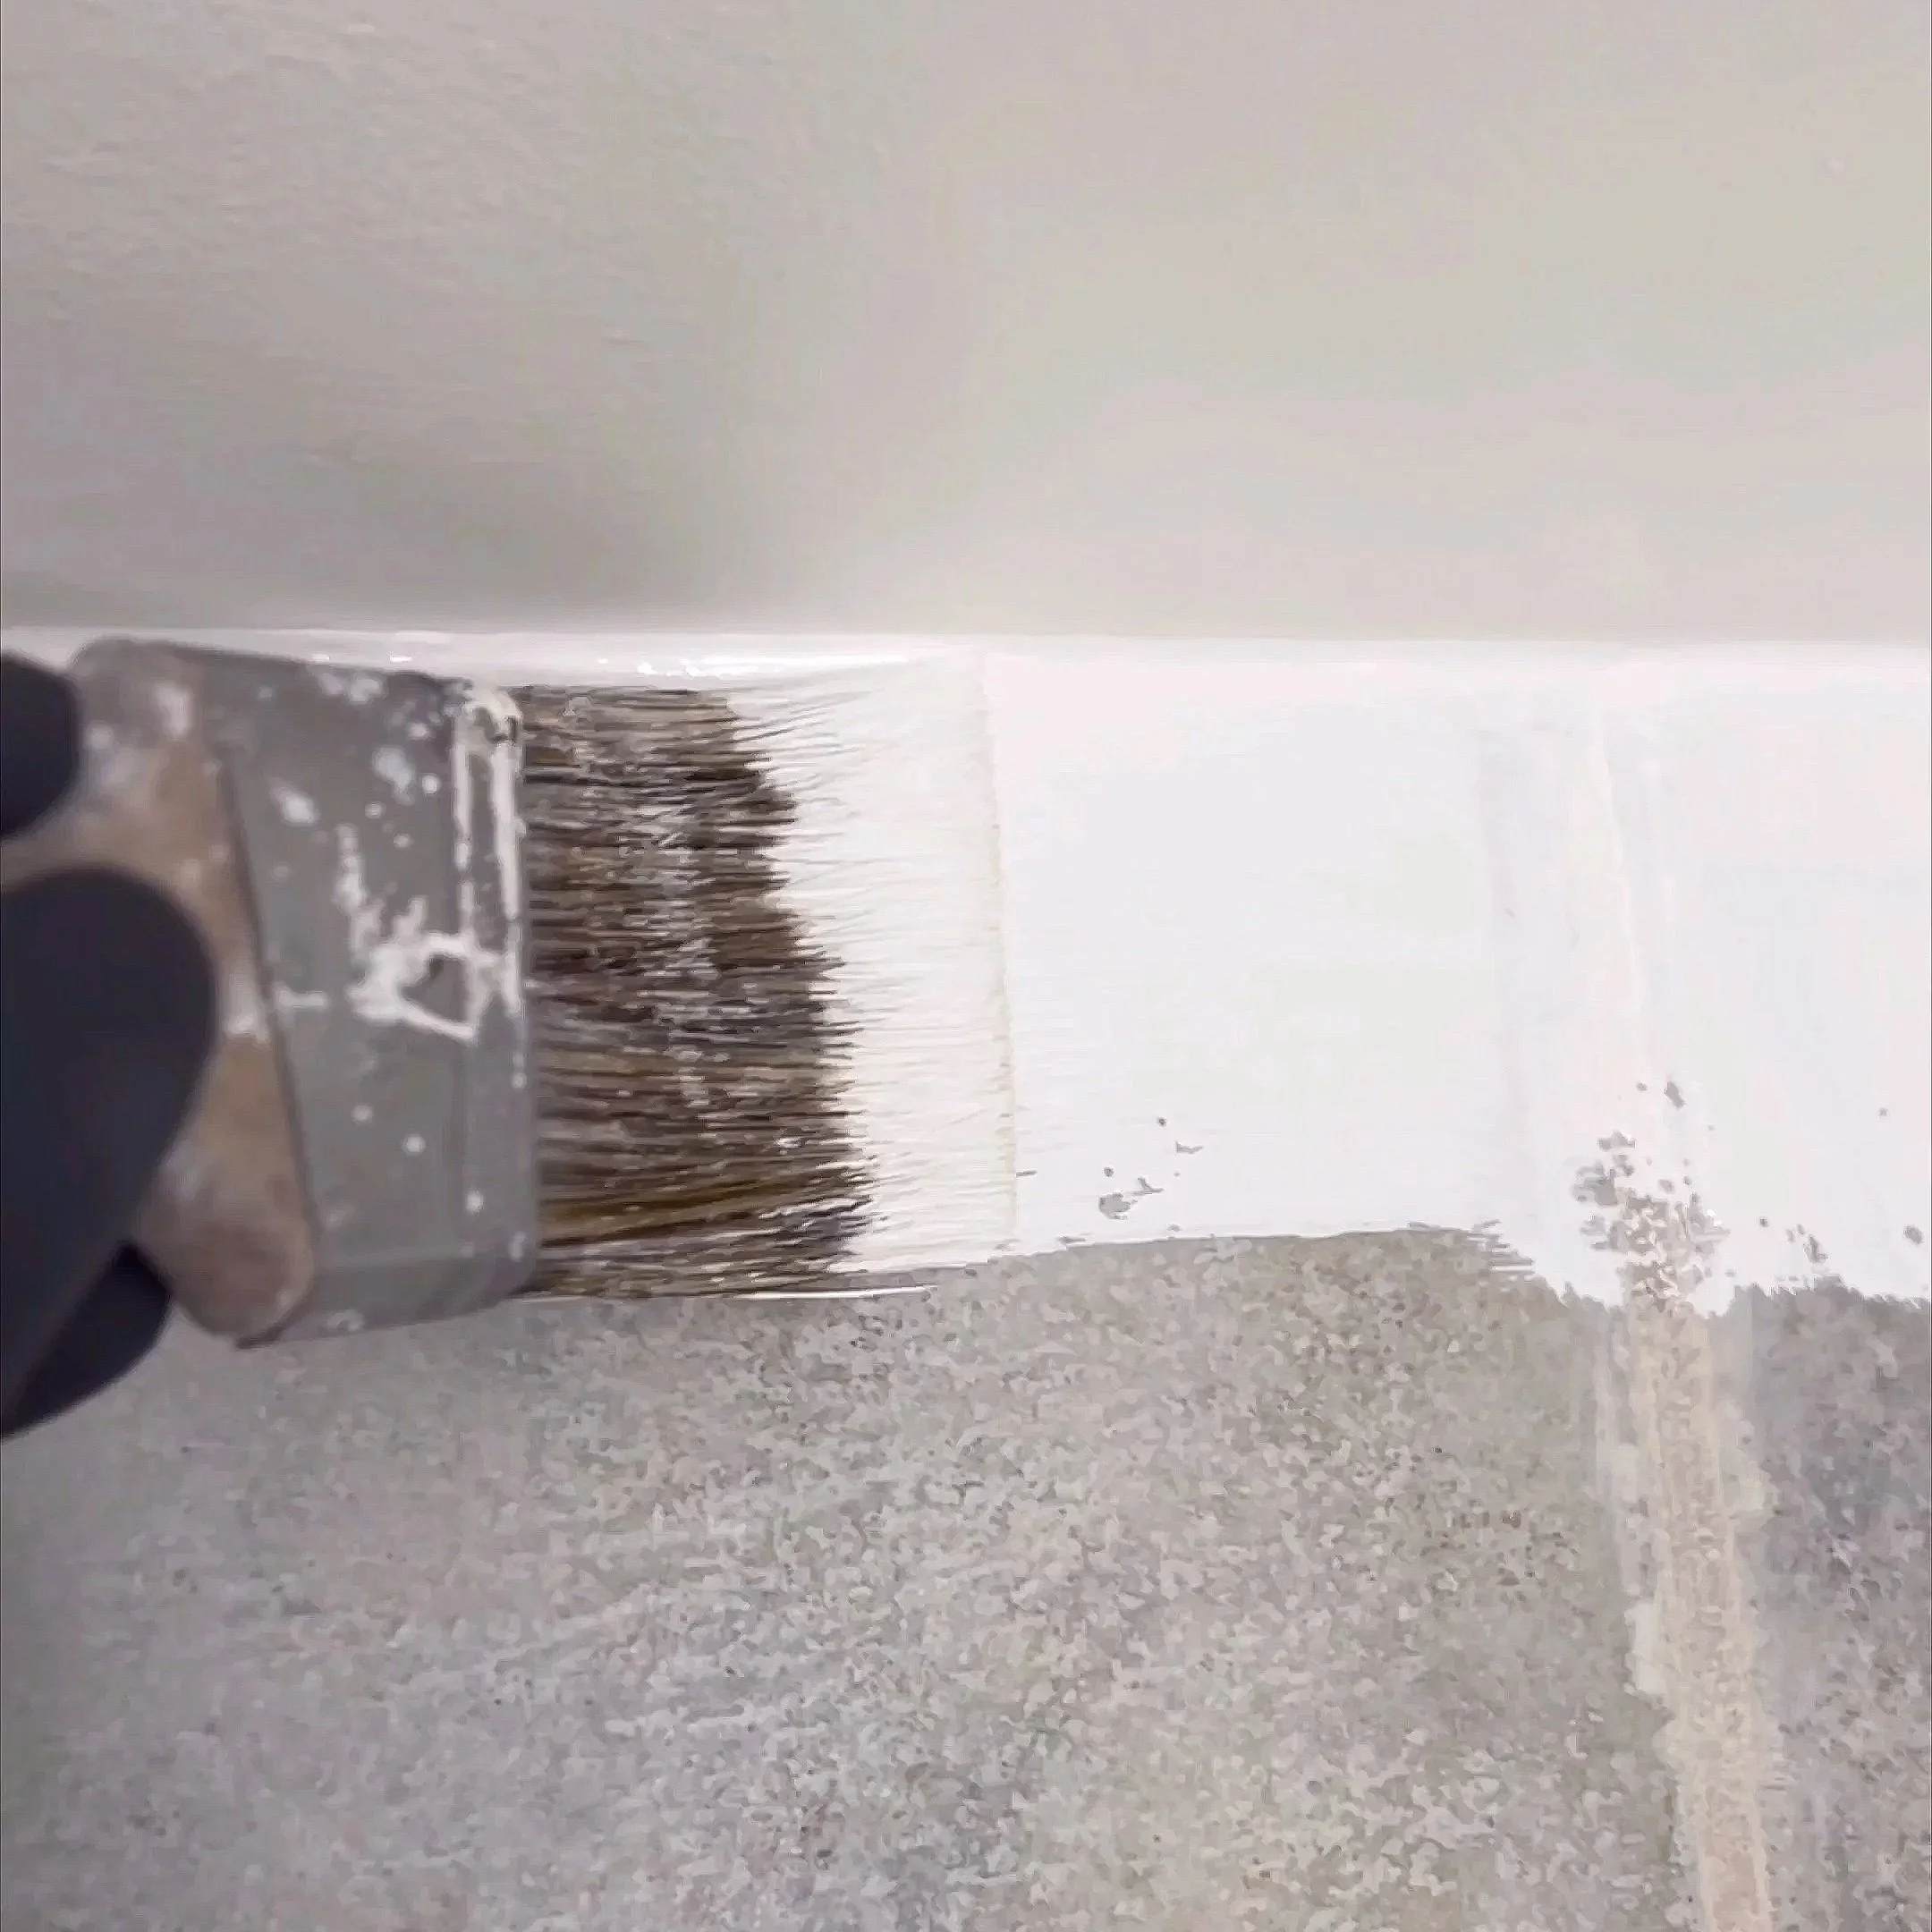
1) Prime everything
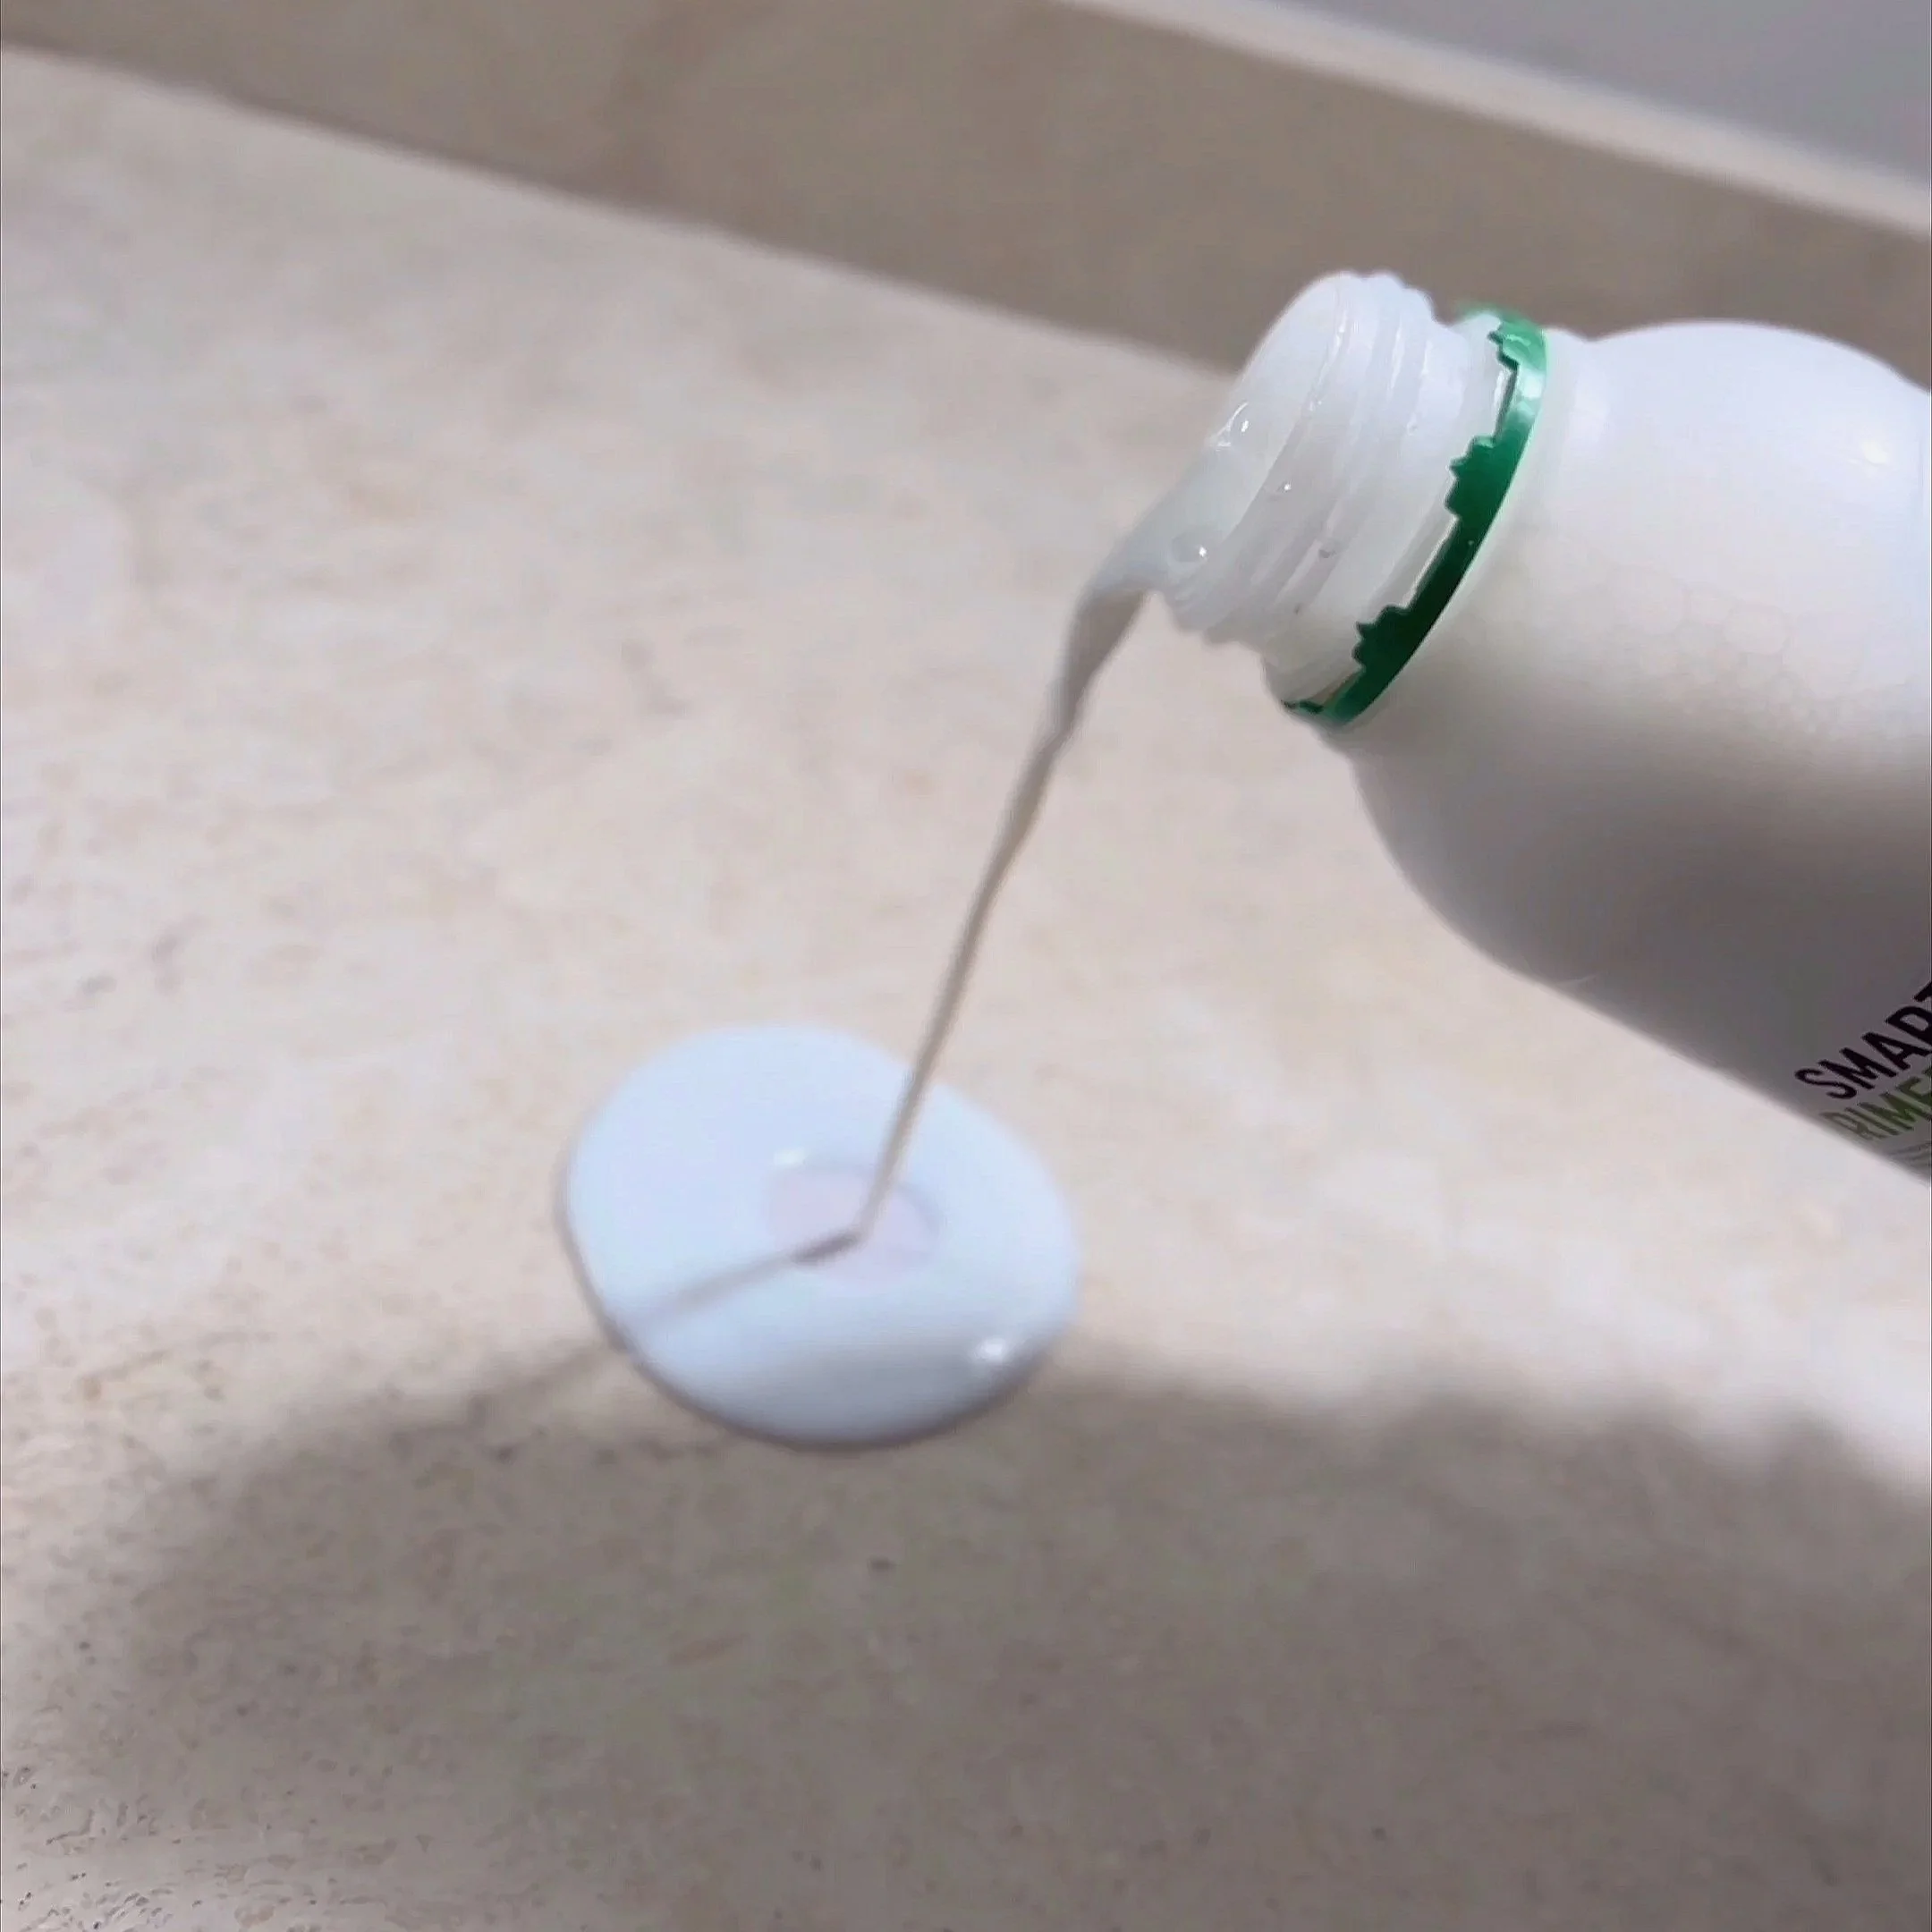
First, coat the entire countertop with Smart Primer. This step is non-negotiable: it creates the bonding surface for the microcement system.
Pro tip: Don’t rush it. Cover every edge, face, and inside lip of the sink—anything you’ll see later.
2) Apply Smart Base (your structural coats)

Next comes Smart Base, the thicker, more cementitious layer with a coarser aggregate.
You want the base coat thick enough that:
you can sand/buff it smooth
you won’t expose the old substrate underneath
Even though you will be sanding (a lot) between coats no matter what, its important to note that this product cures very hard and does not sand easily- so keep that in mind when applying your coats. Try to avoid any areas that would require extensive sanding to smooth out (you’ll thank us later).
3) Sand between coats
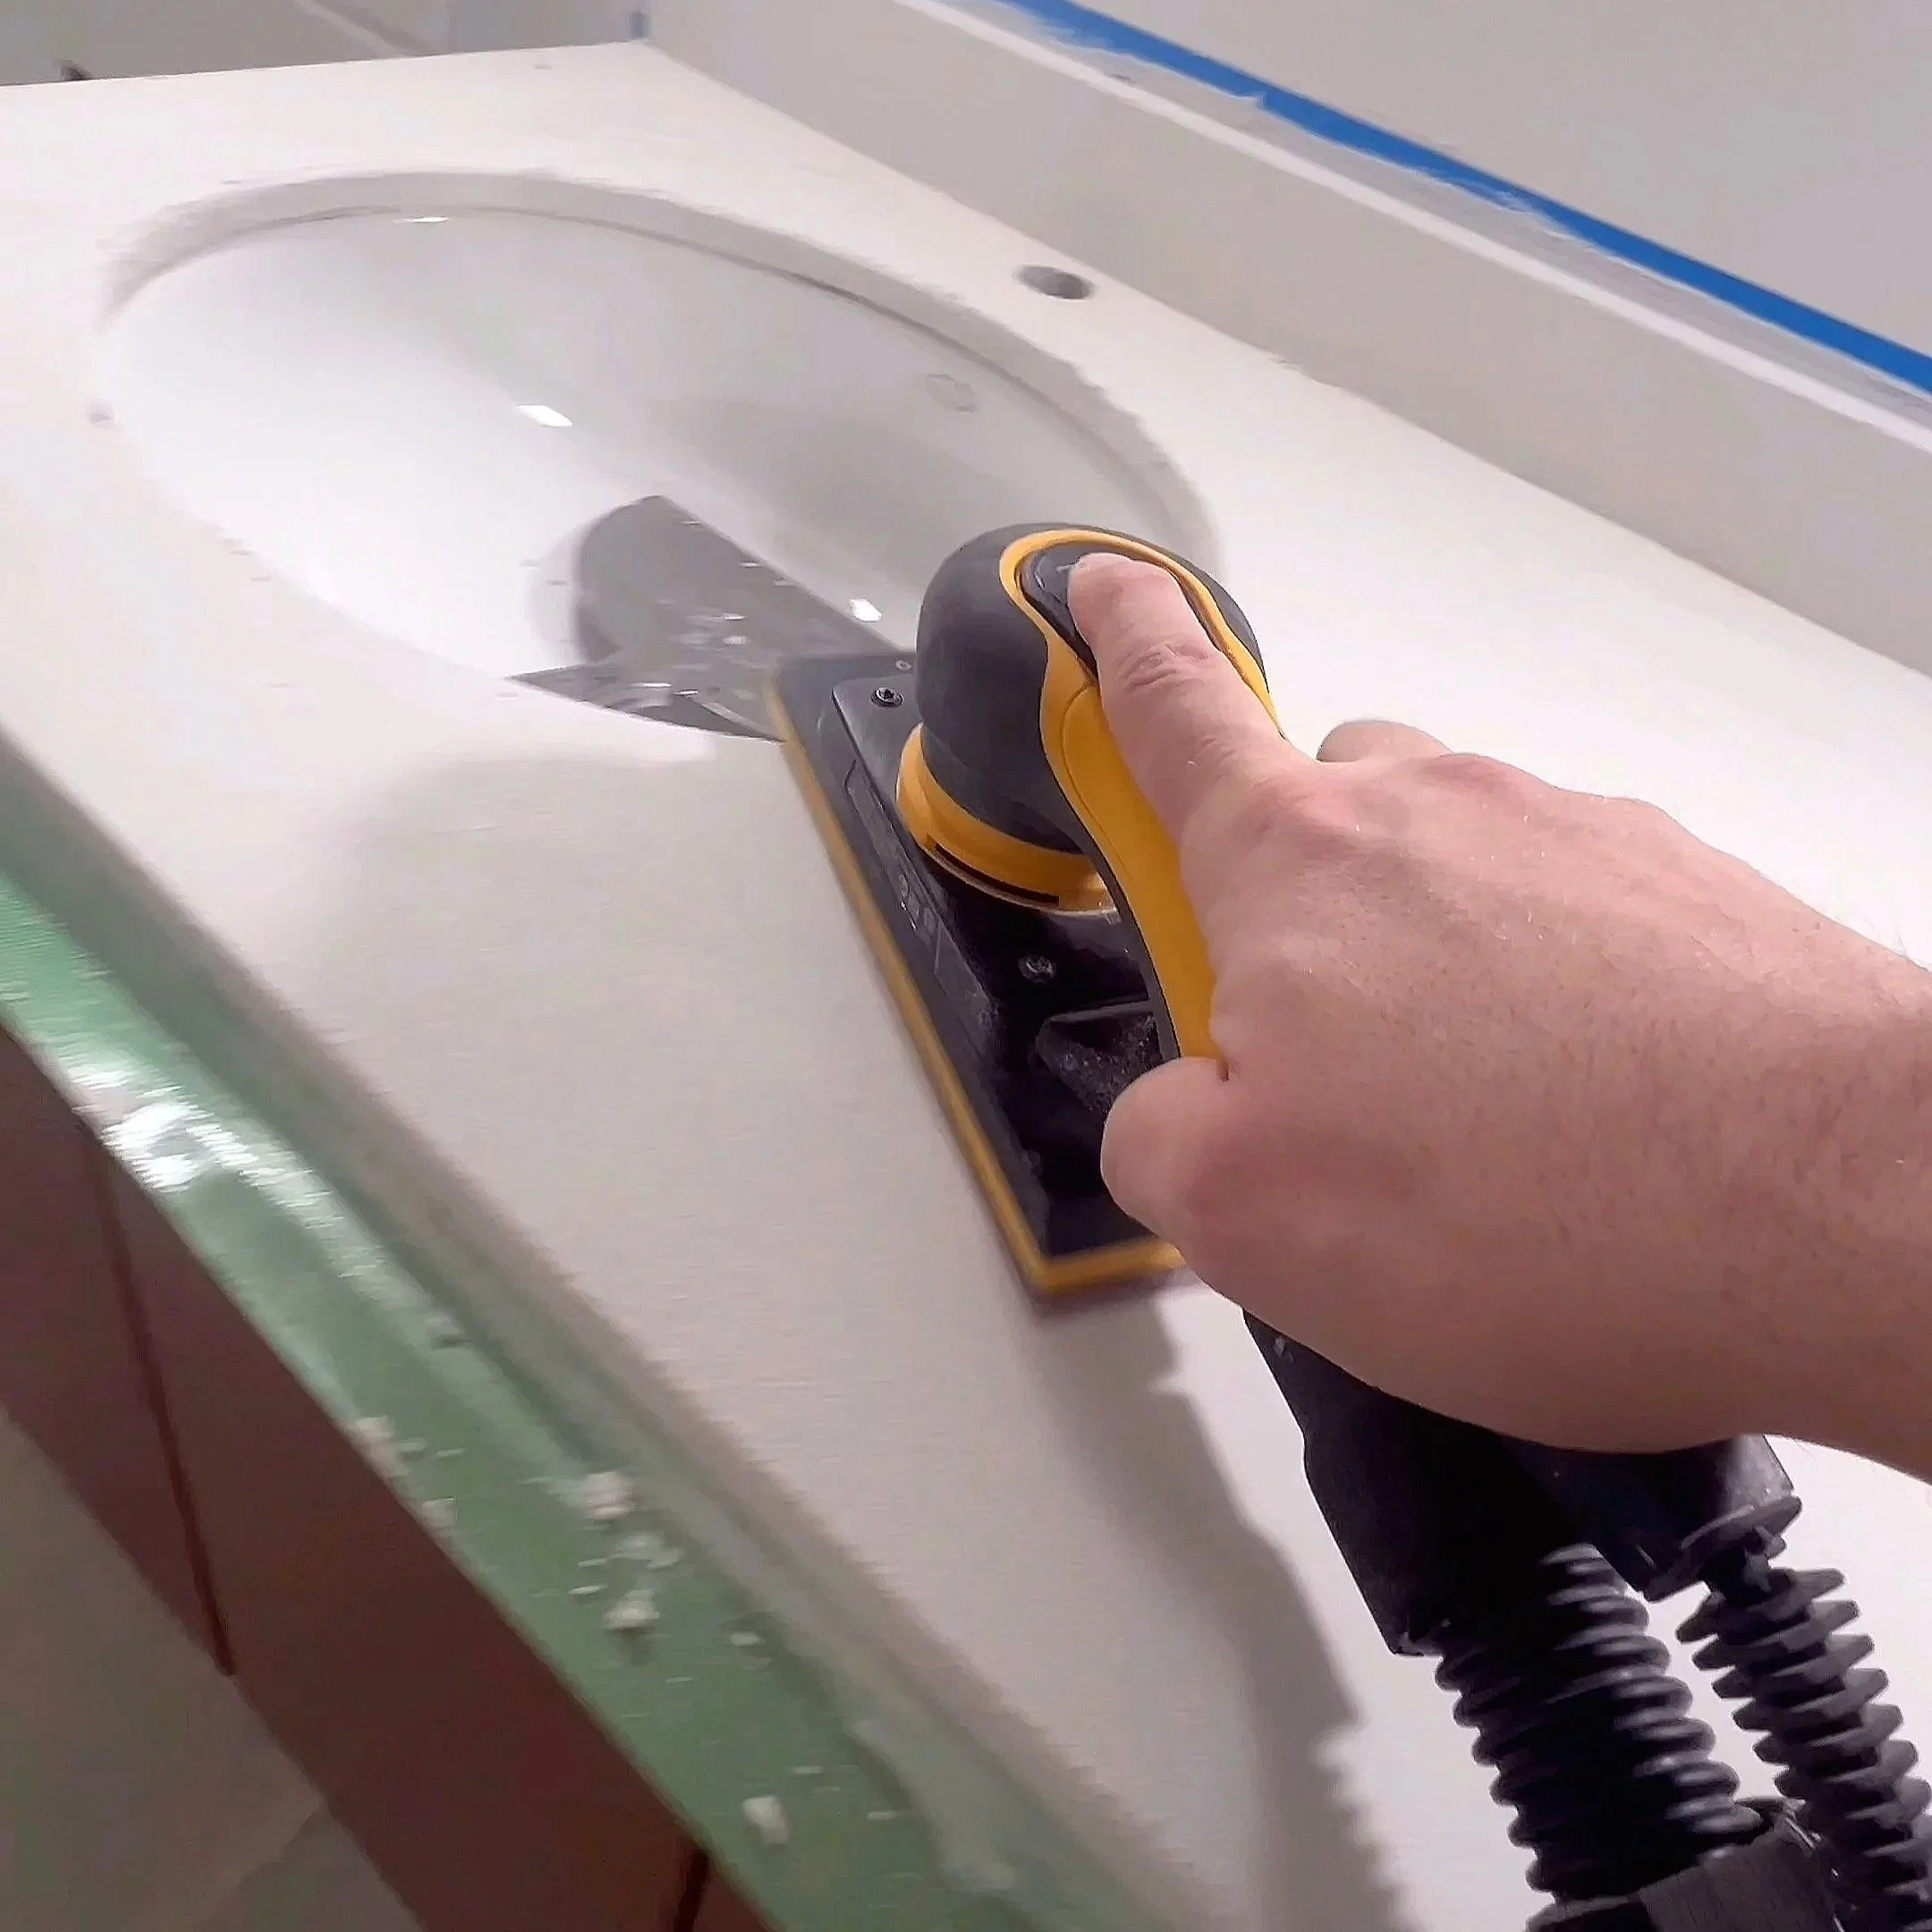
Microcement is all about the in-between work. After the first base coat dries, its time to sand down:
high spots
rough areas
Any imperfections that will telegraph through the next coat
Then apply additional base coats until you’ve got a strong, even foundation.
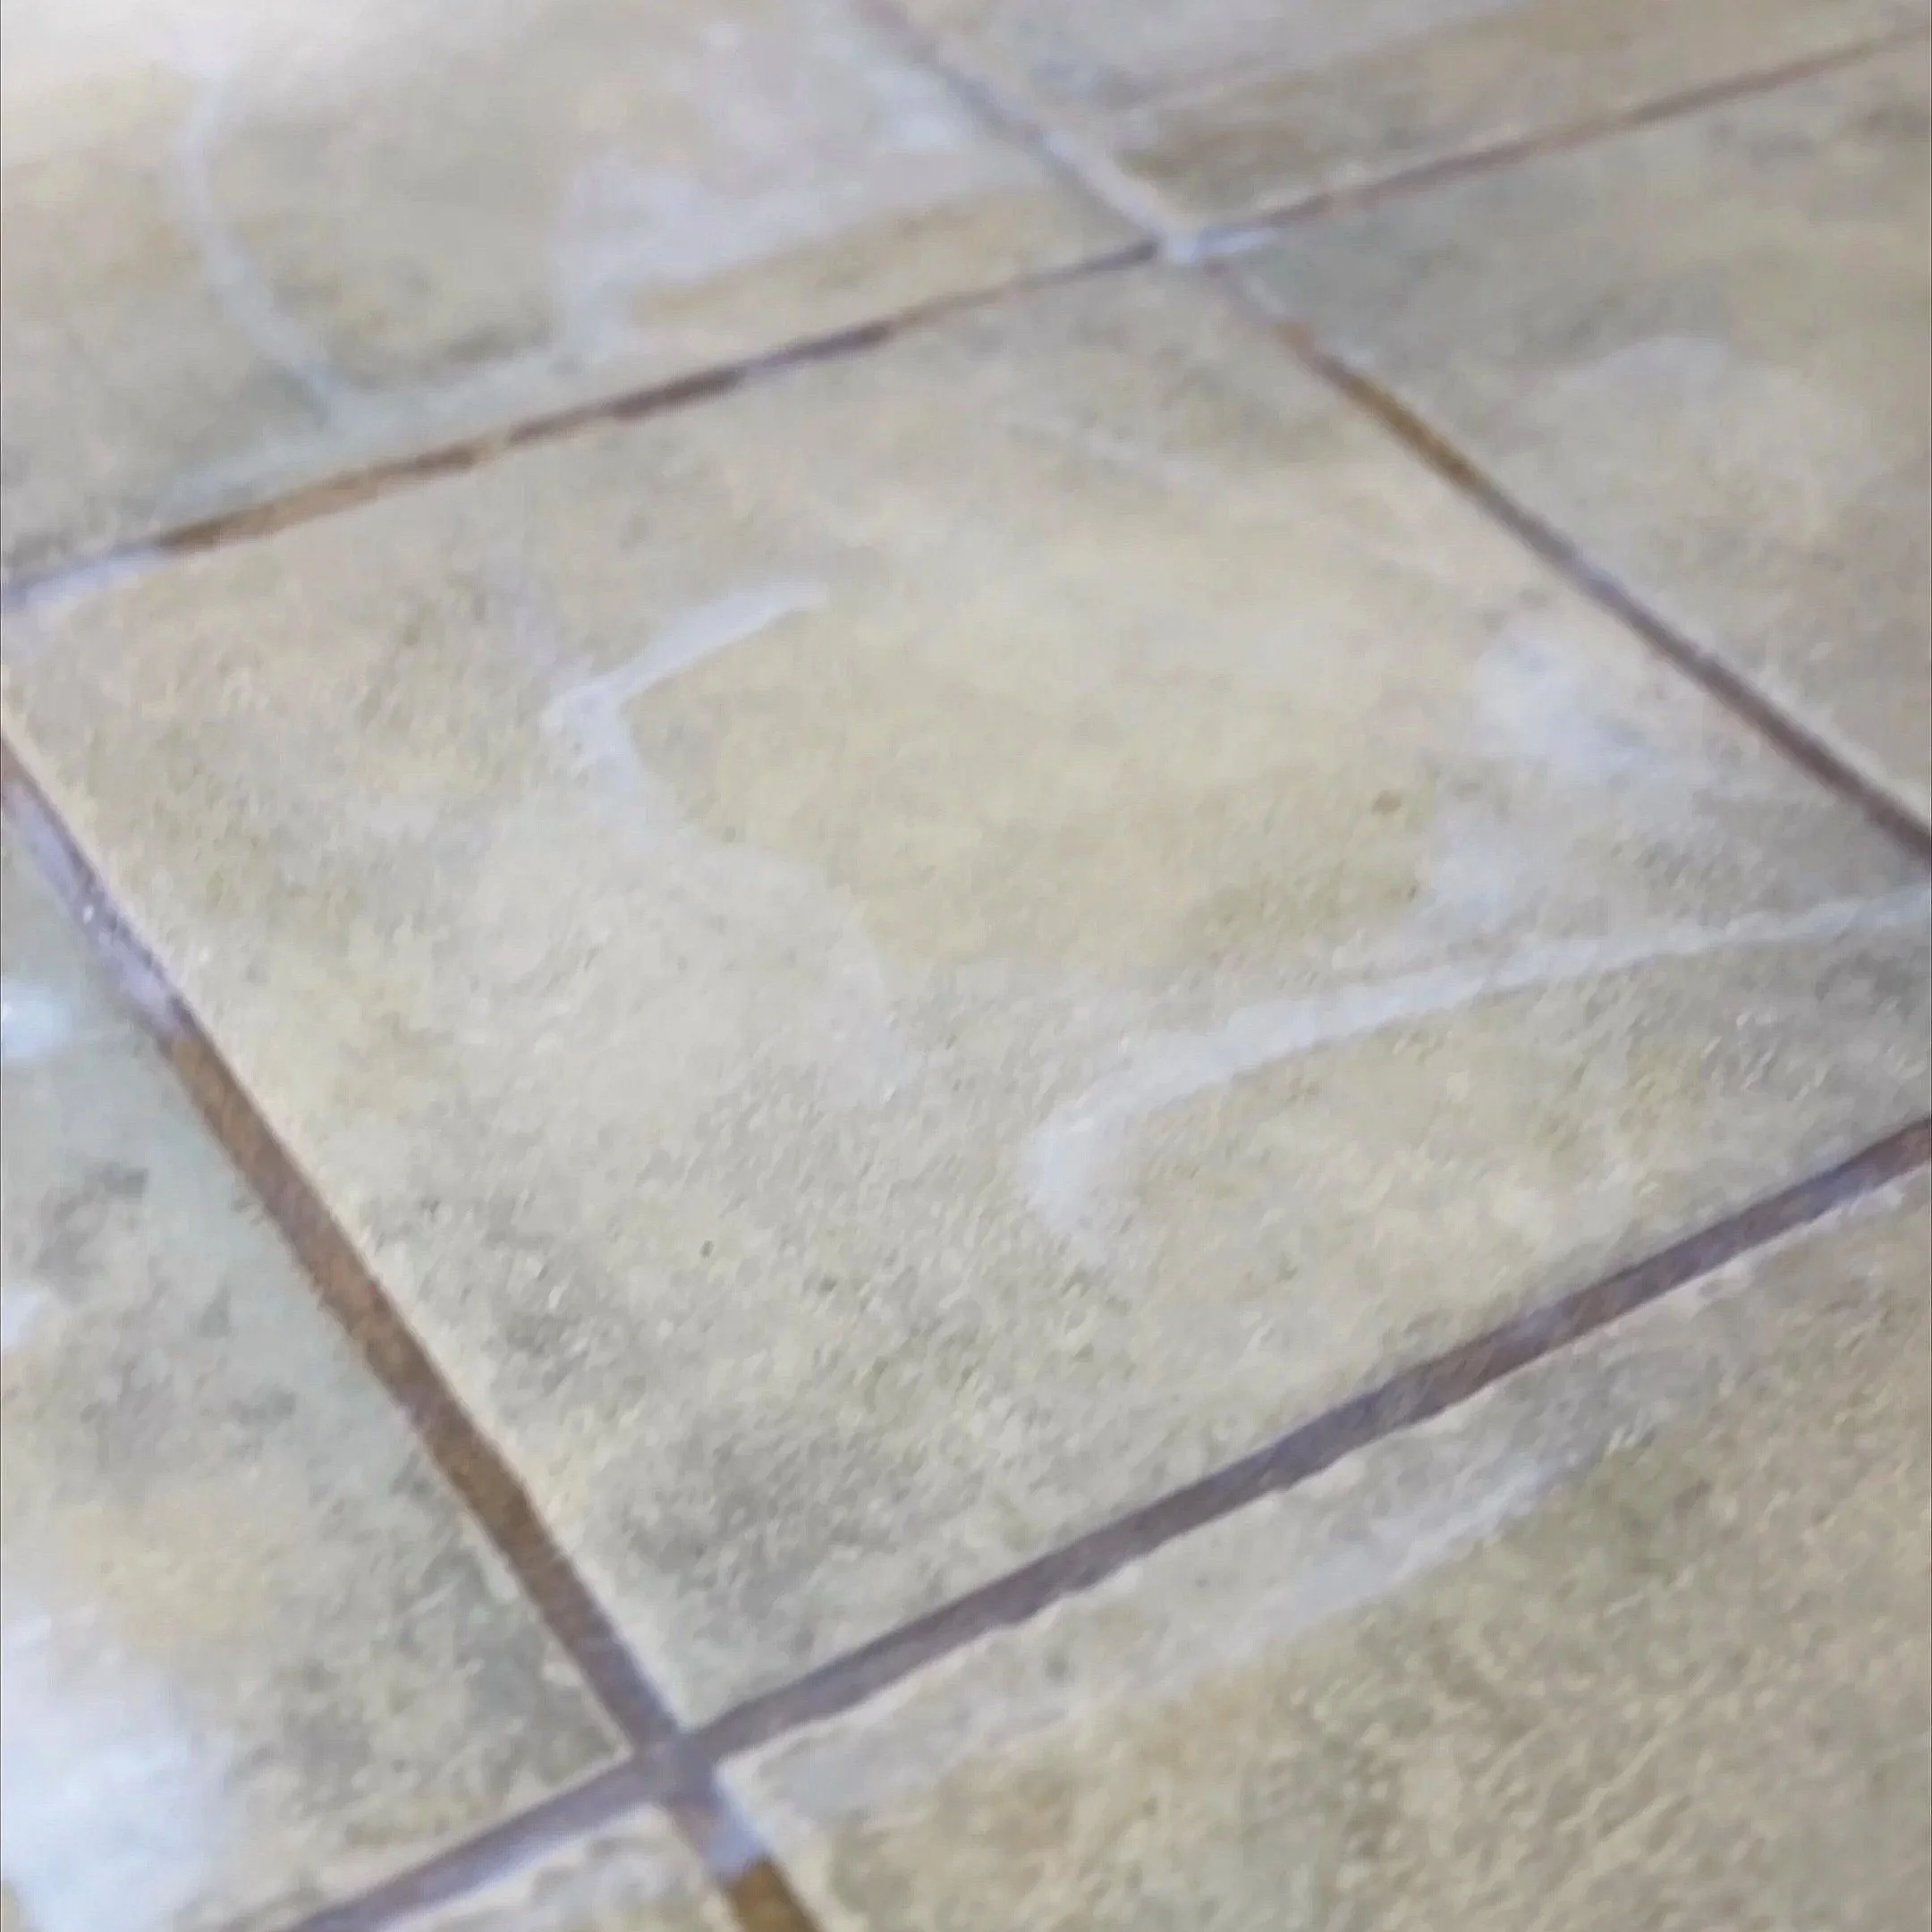
Step 2: Microcement the Floor (Without Removing the Old Tile)
The floor started as old, dated tile—so we resurfaced it too (with the same SmartCret products as mentioned before)
1) Prime the floor
Same idea: ensure the surface is free from any dirt, debris or anything that could prevent the primer from adhering, then prime the entire area so the system bonds properly.
2) Fill grout joints with Smart Jointer
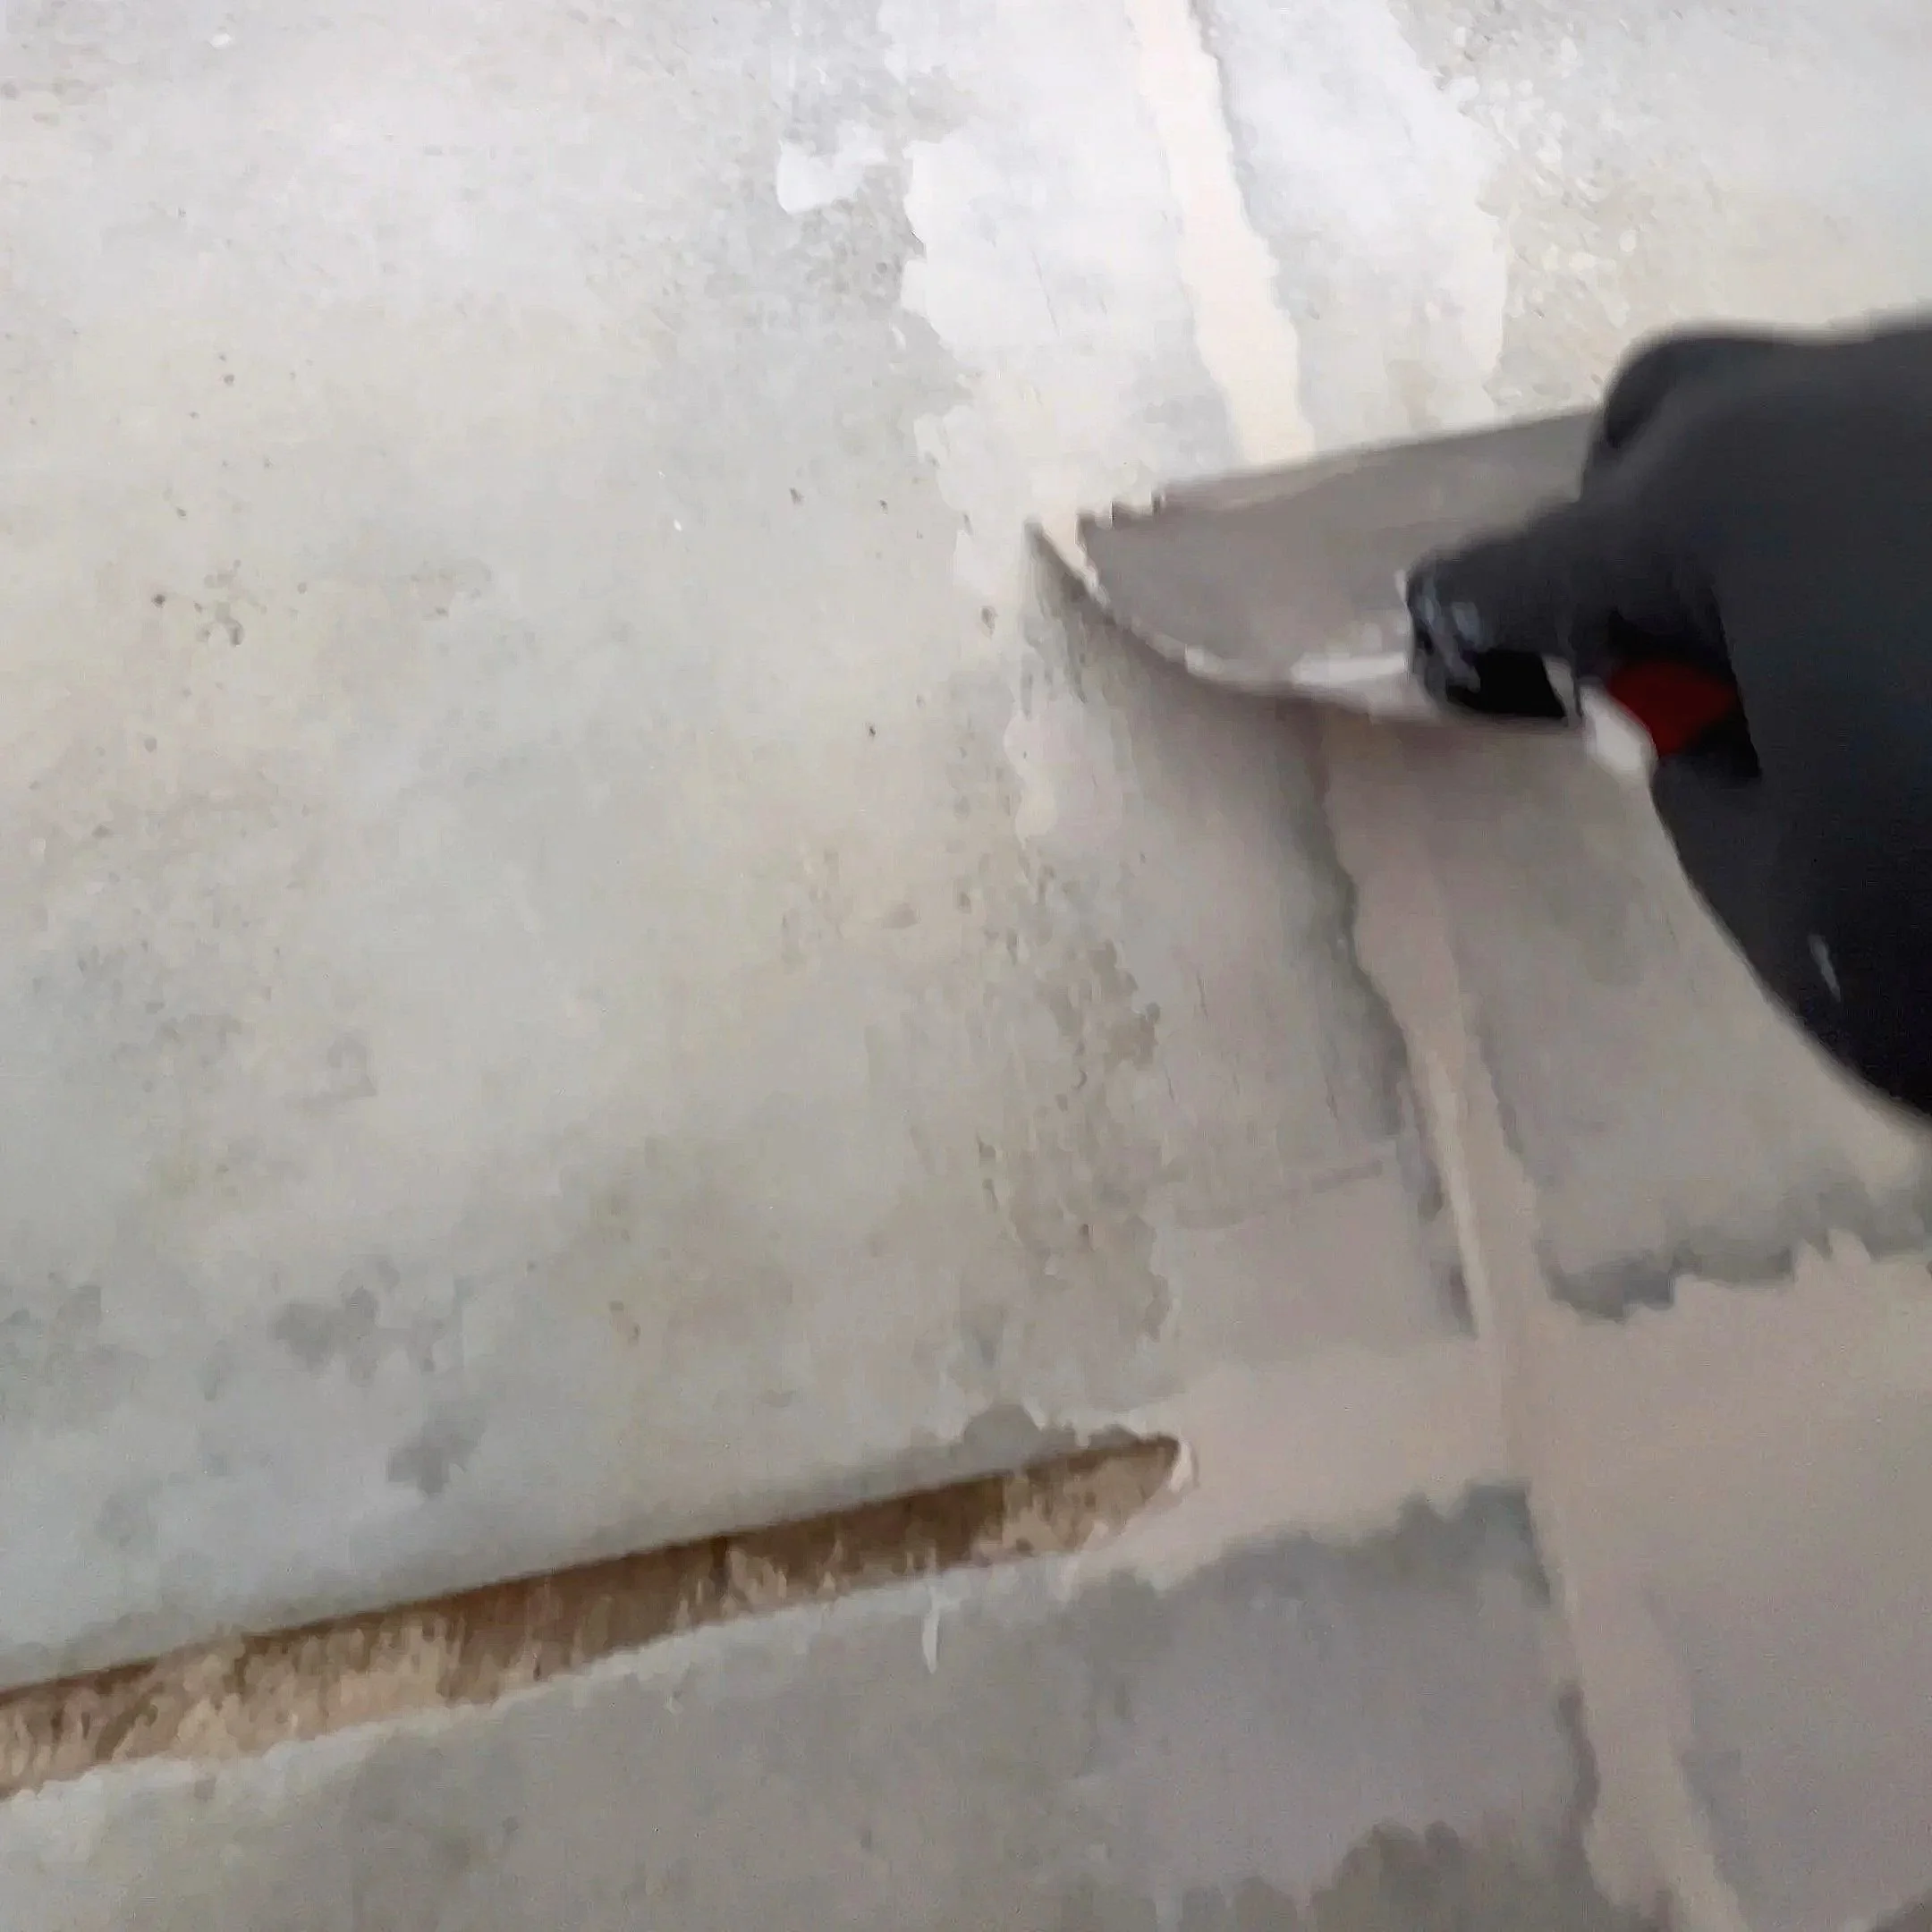
Tile + grout lines will show through microcement if you skip this step. Smart Jointer fills the grout joints and creates a flatter “blank canvas” so the finished surface looks seamless. Once the primer has dried, it’s time to go and fill all the grout joints . Don’t skip this step.
3) Base coats + sanding
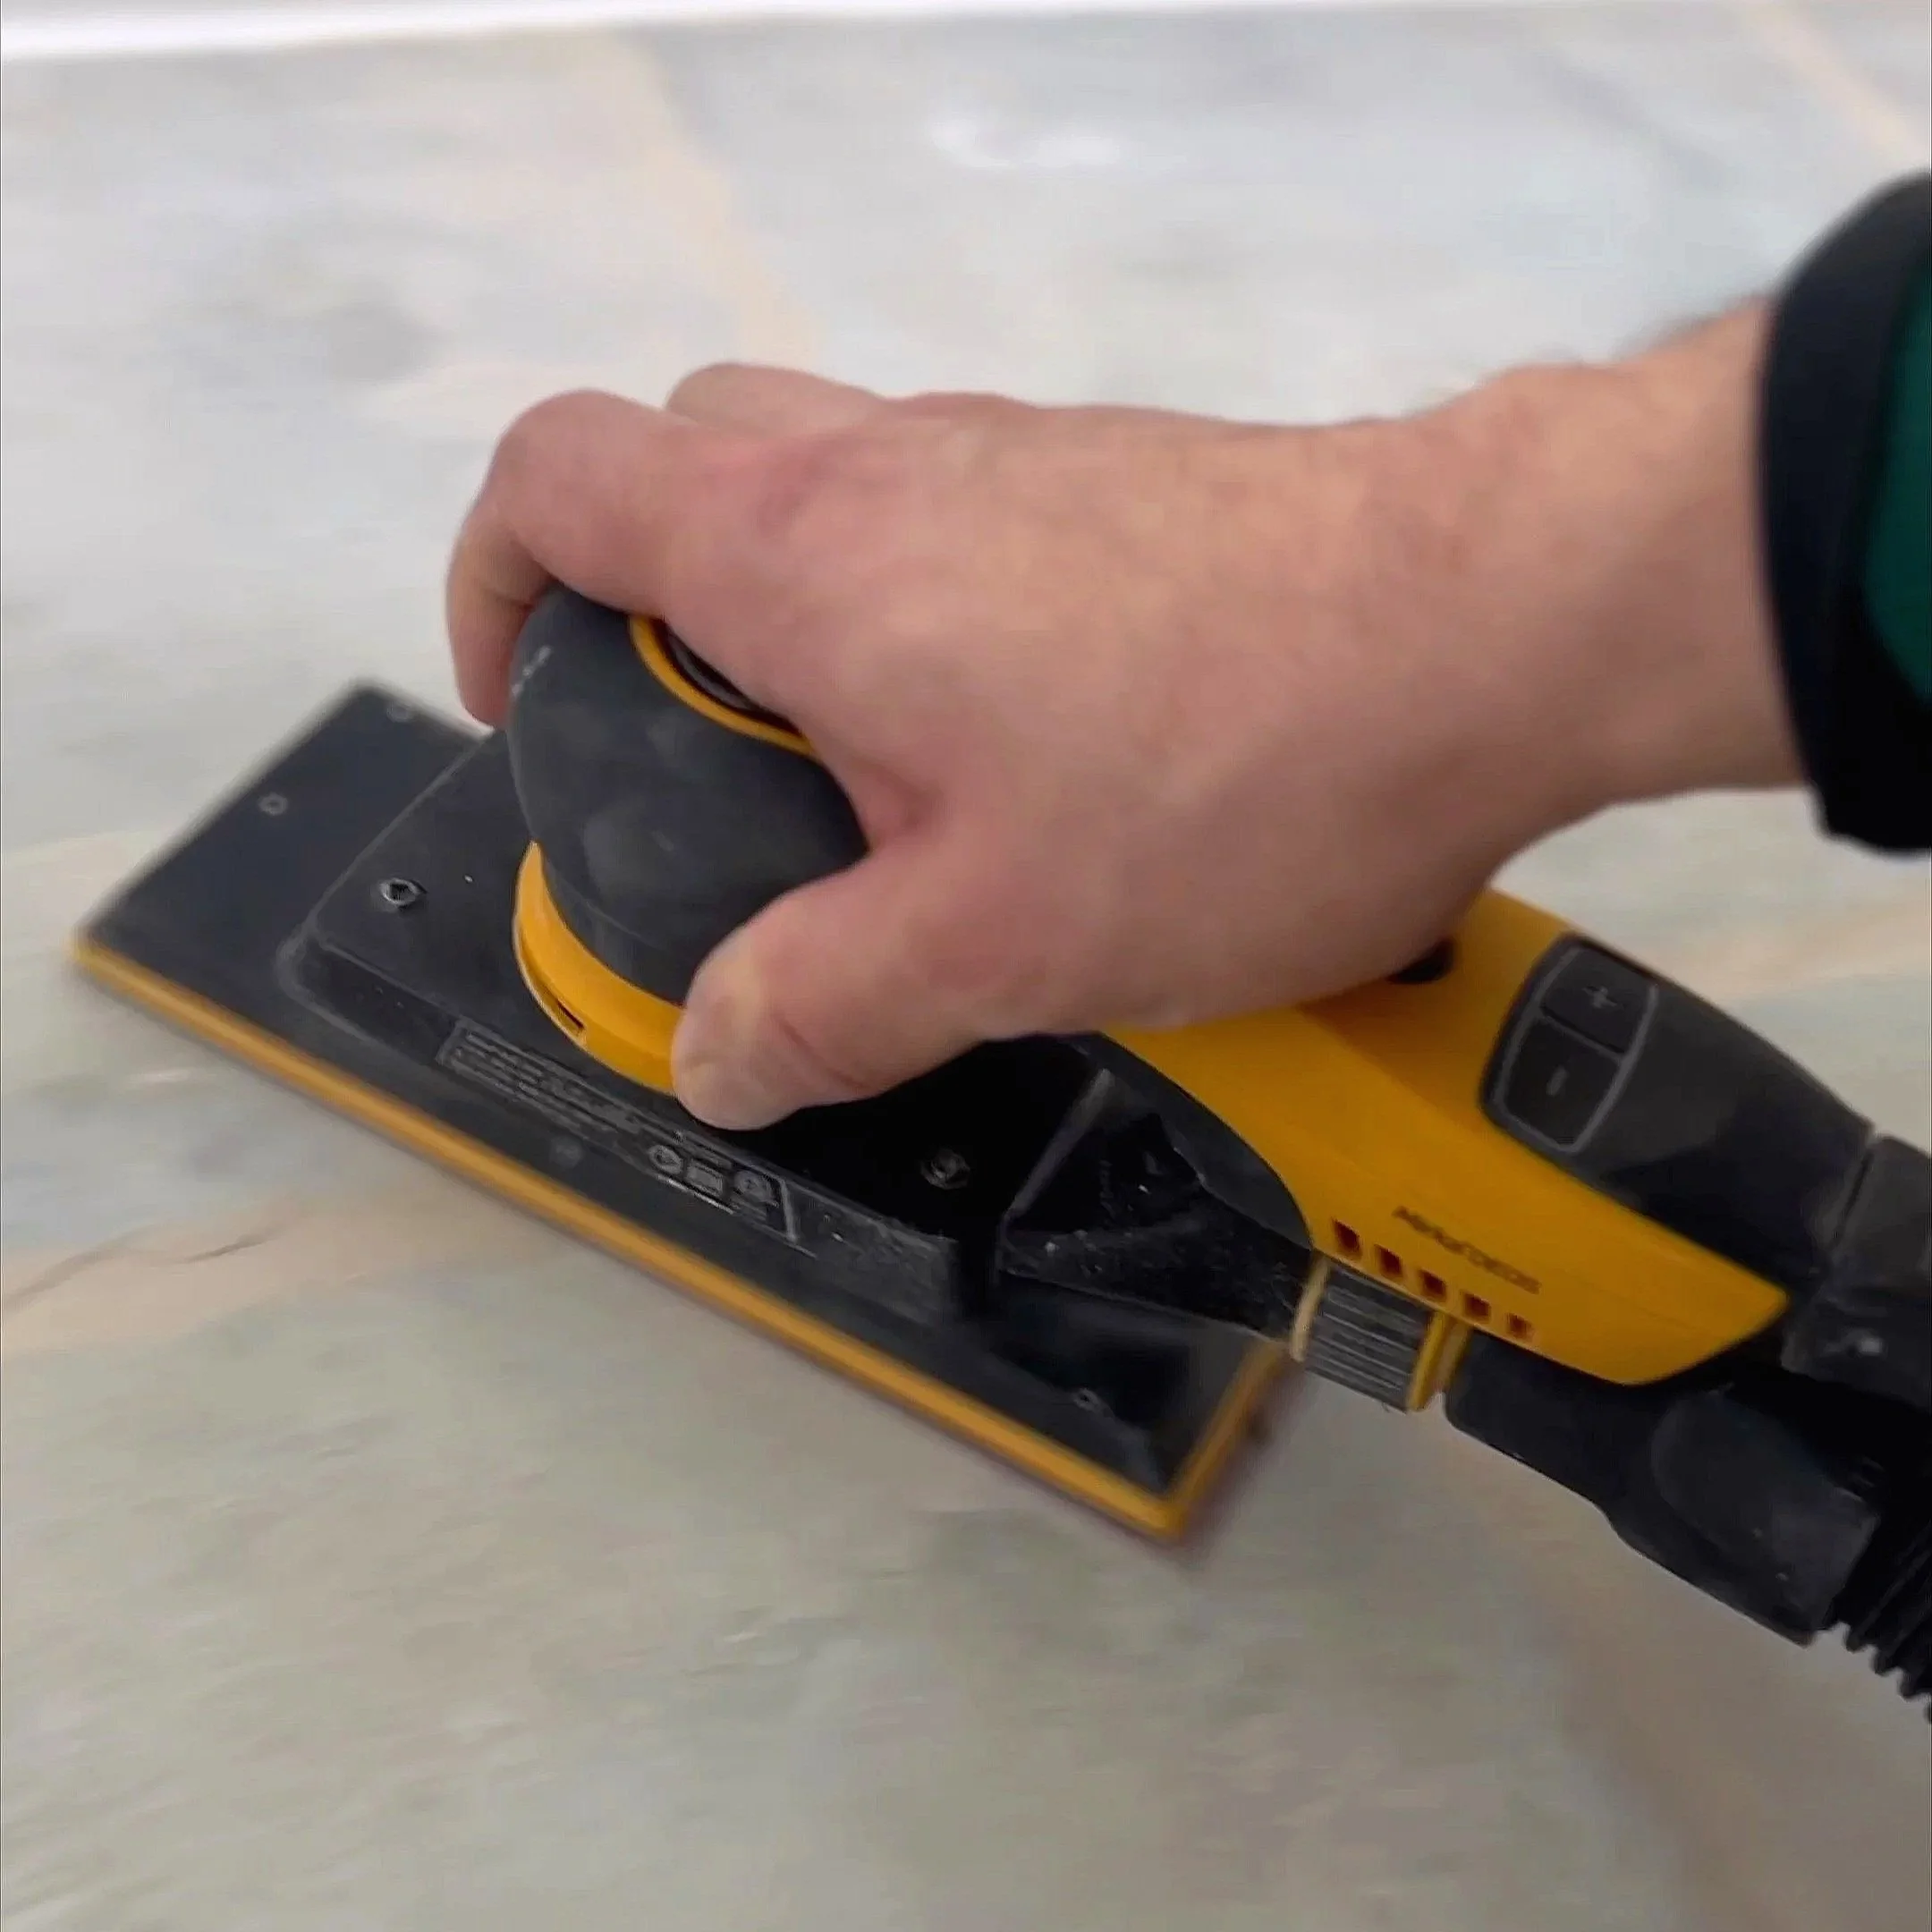
After the Smart Jointer has cured, we’re going to treat the floor just like the counter:
apply multiple base coats
sand between coats for a smoother finish
repeat until you’re ready for the top layers
Step 3: Smooth It Out With Smart Liso (the “pretty” coats)
Once your base is built, you move to Smart Liso—the creamier product that gives microcement that smoother, more polished look (especially once sealed).
Apply Liso in thin coats
Don’t try to fix everything in one pass
Sand between coats
Add more coats until it looks the way you want
This product sands a little more easily than the Smart Base, but you still want to be careful not to let it build up anywhere. This is where the finish goes from “rough cement” to “sleek modern surface.”
Step 4: Paint the Vanity (and Make It Match)
The vanity was wood veneer, and in pretty good shape- so the plan was to paint it to complement the new microcement finishes.
Process:
Scuff sand
Apply a high-adhesion primer (we used Benjamin Moore’s STIX)
Paint with a durable cabinet paint (we used Benjamin Moore Advance)
And yes—more sanding between coats. If you’re doing a facelift like this, a good sander is WELL worth it.
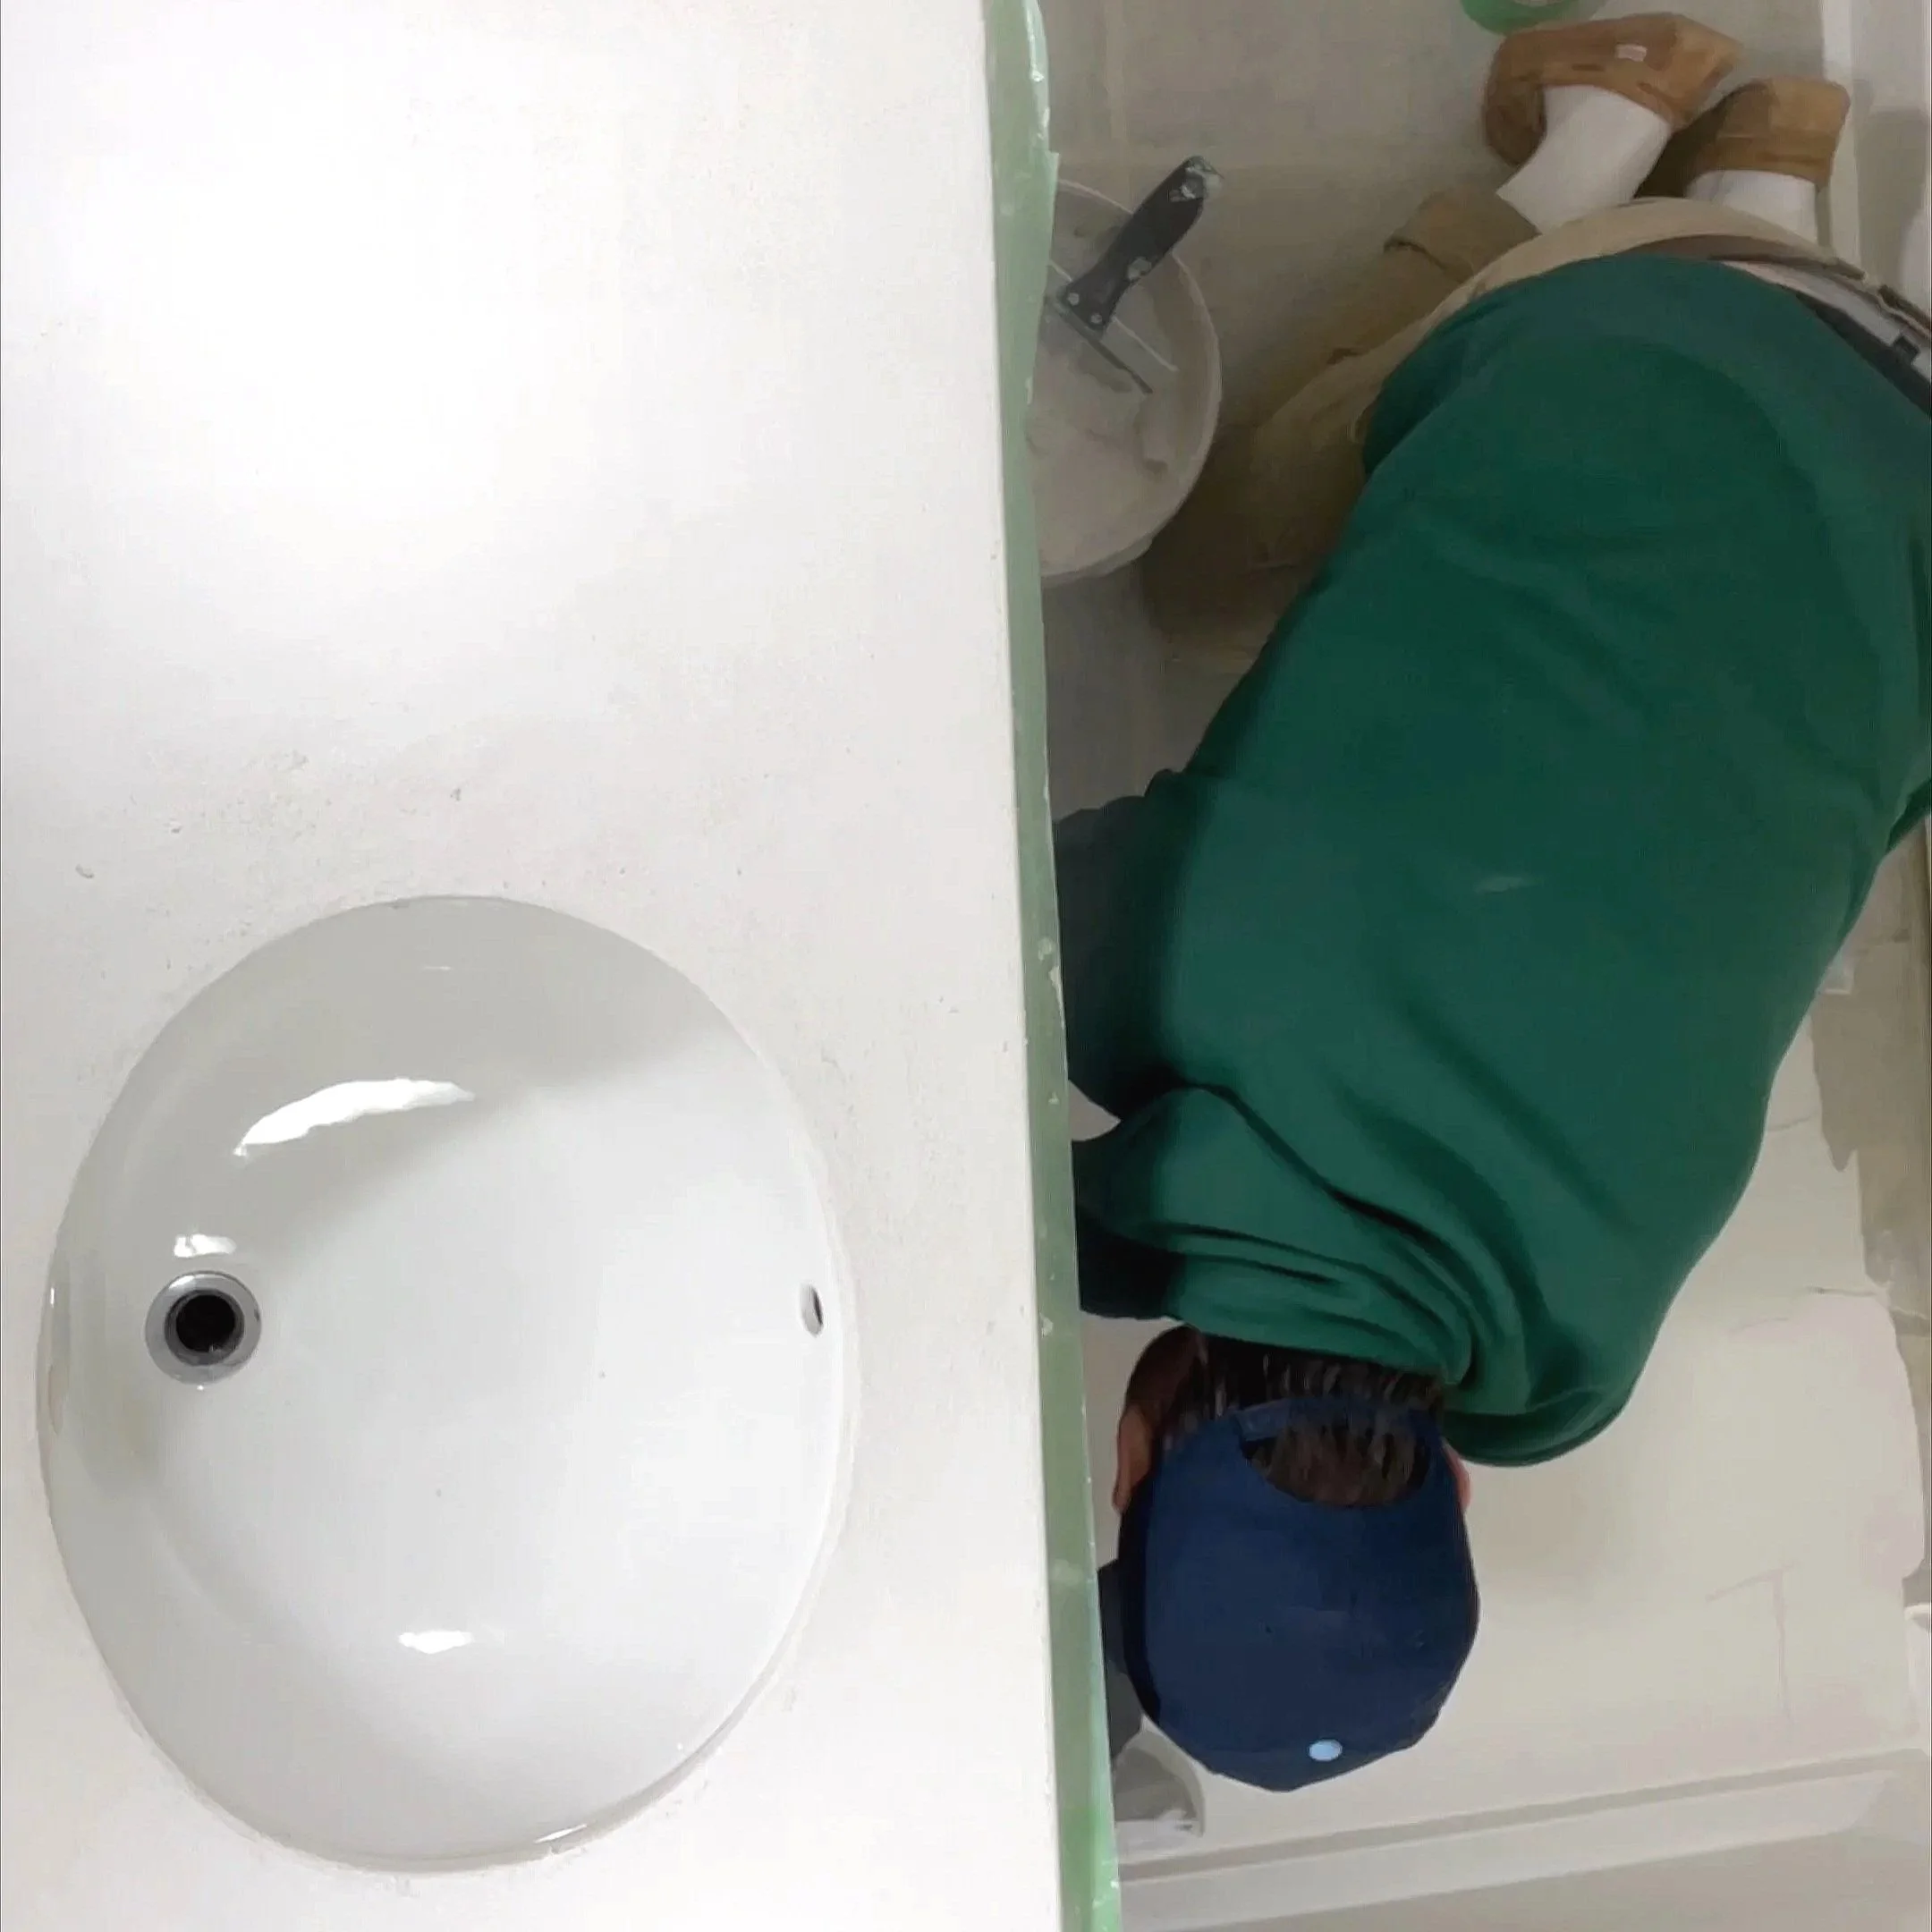
Step 5: Paint the Tub & Tile (No Demo, Remember?)
We didn’t remove the tub or tile. We painted them. Yep you heard that correctly. For tub and tile paint, you can’t use standard wall paint. We used a two-part Rust-Oleum tub & tile coating (it’s strong—and yes, it’s intense). For this to work (properly), you need to first prep the surfaces.
Key prep steps:
remove fixtures/hardware that gets in the way
completely remove old silicone (all of it).
deep-clean thoroughly so paint can bond
re-caulk corners using paintable caulking where appropriate
Will painted tile last?
It can, if you prep properly and treat it with reasonable care. It’s not the same as brand-new tile—but for a zero-demo facelift, it’s one of the best bang-for-buck upgrades you can do. And if it ever scratches? It’s paint—touch-ups are far easier than re-tiling.
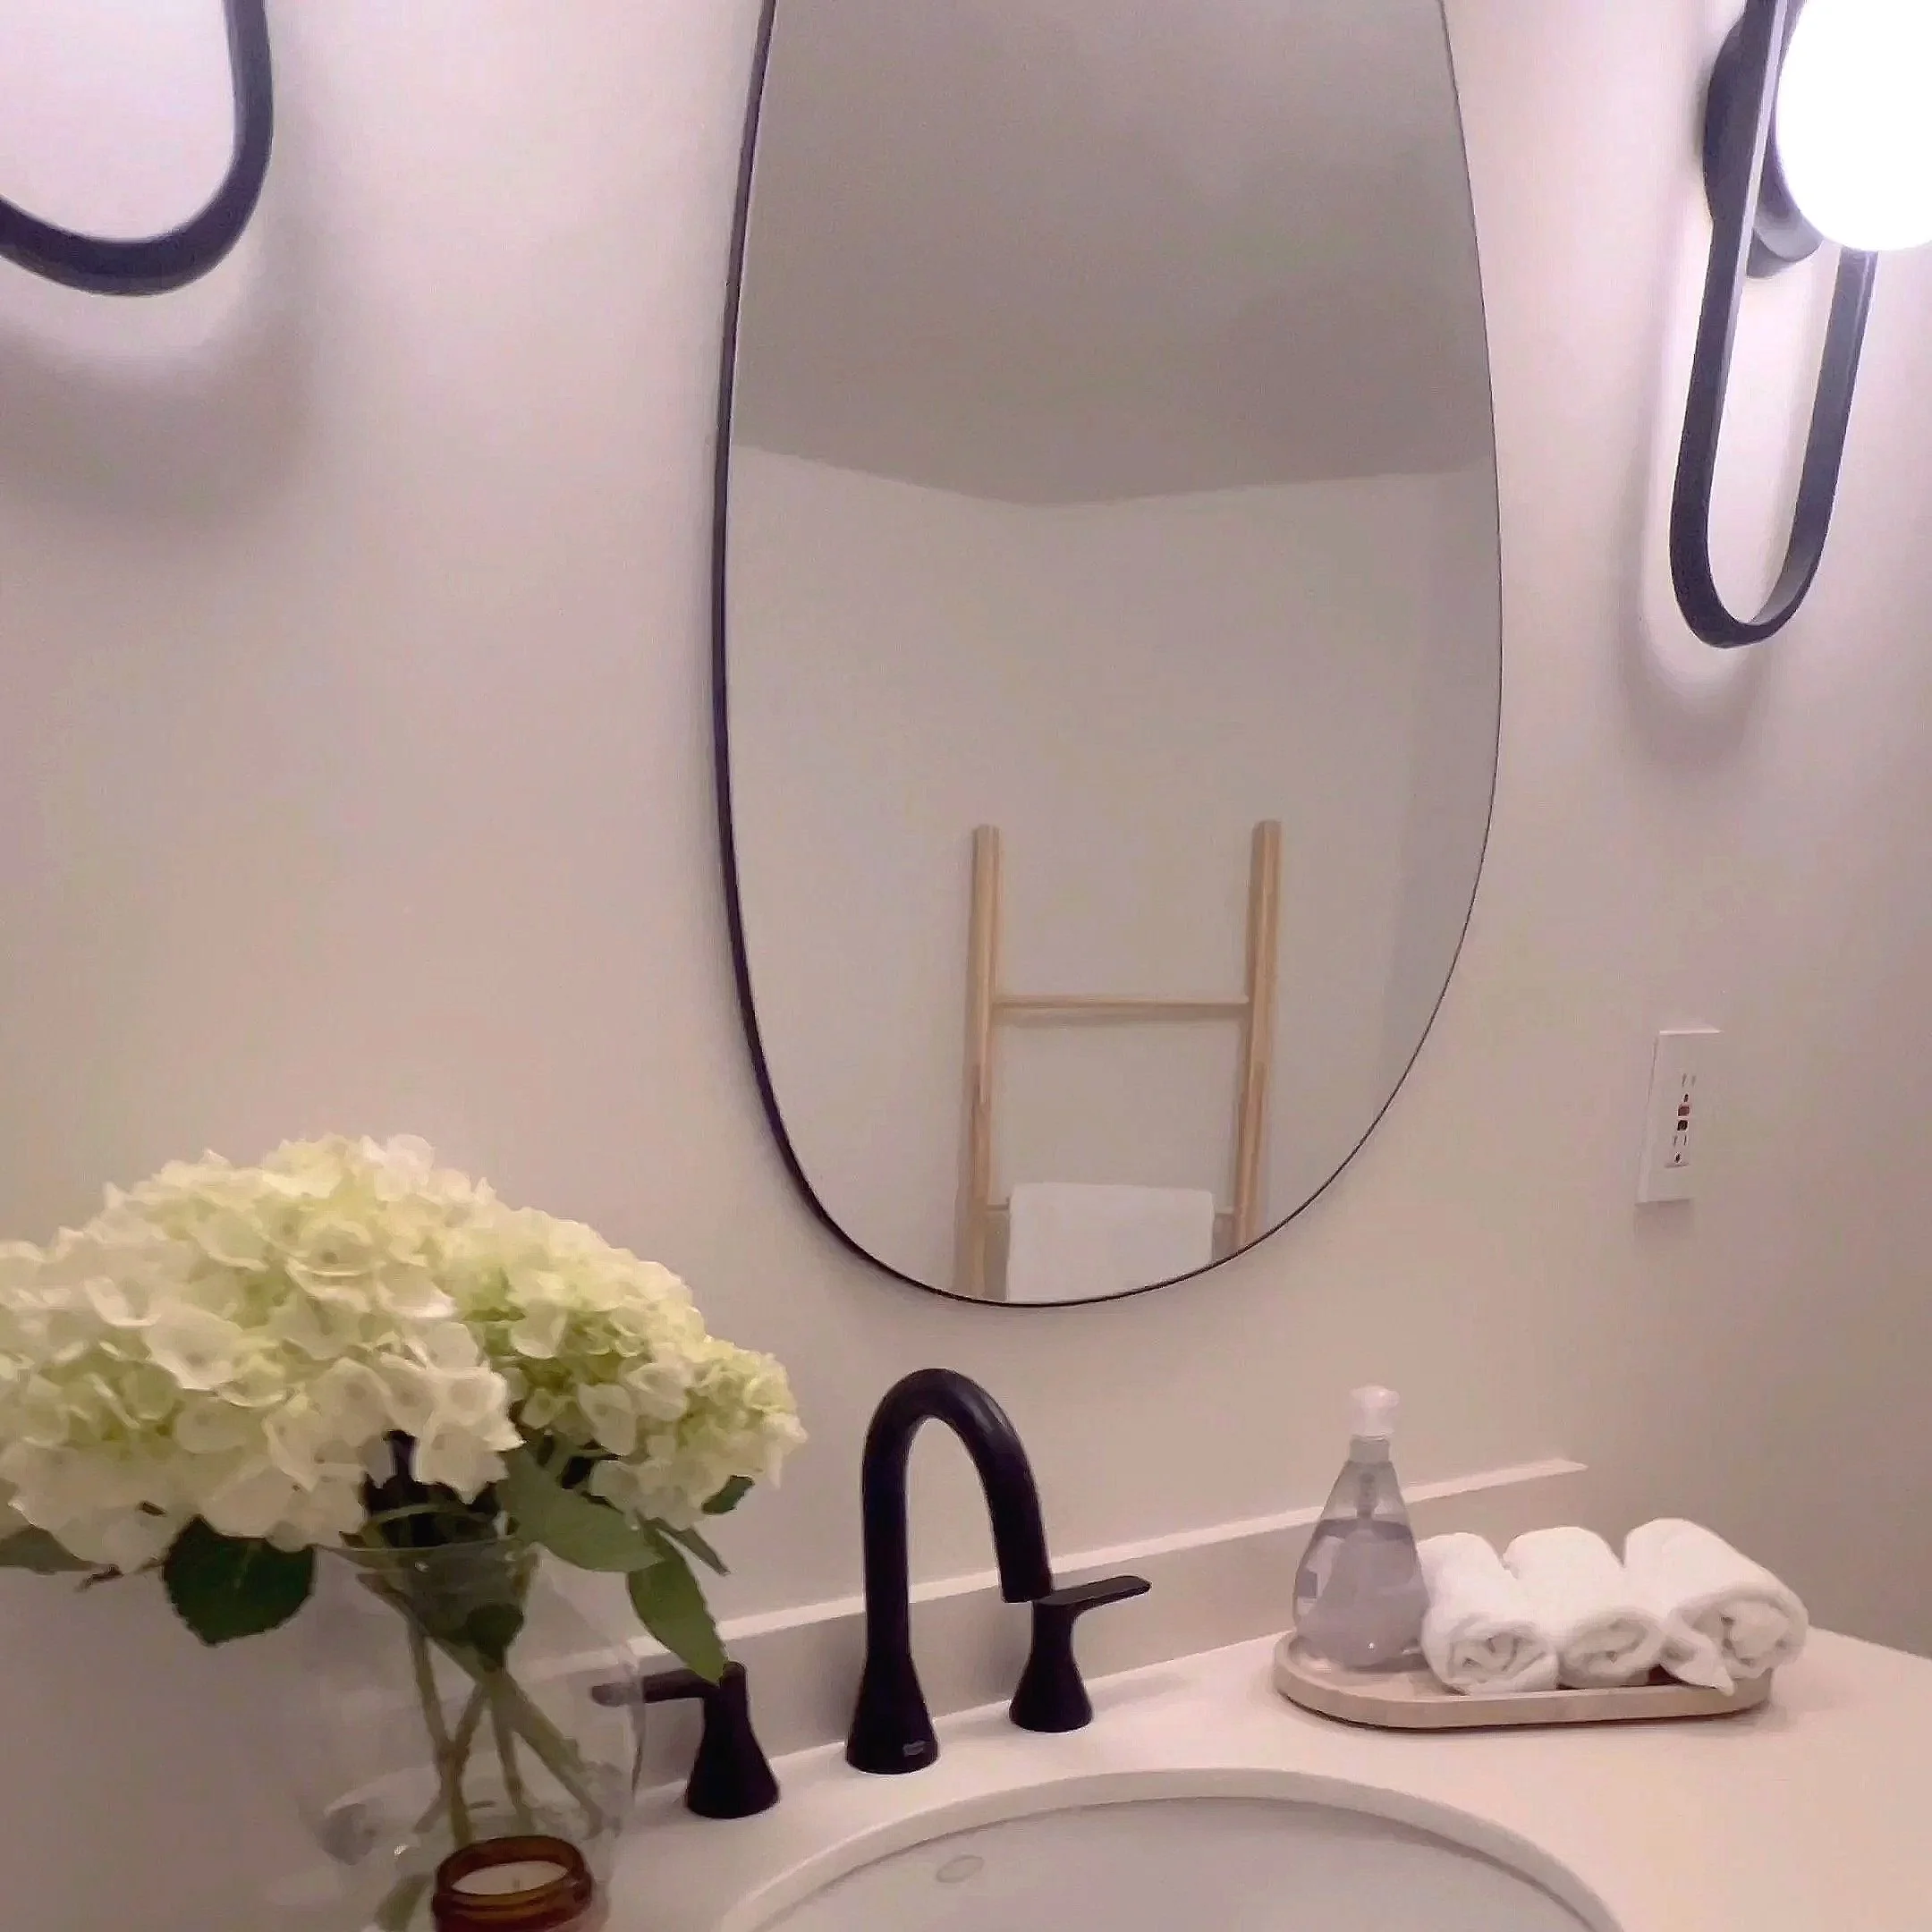
Step 6: Upgrade Hardware, Fixtures, Lighting, and Mirror
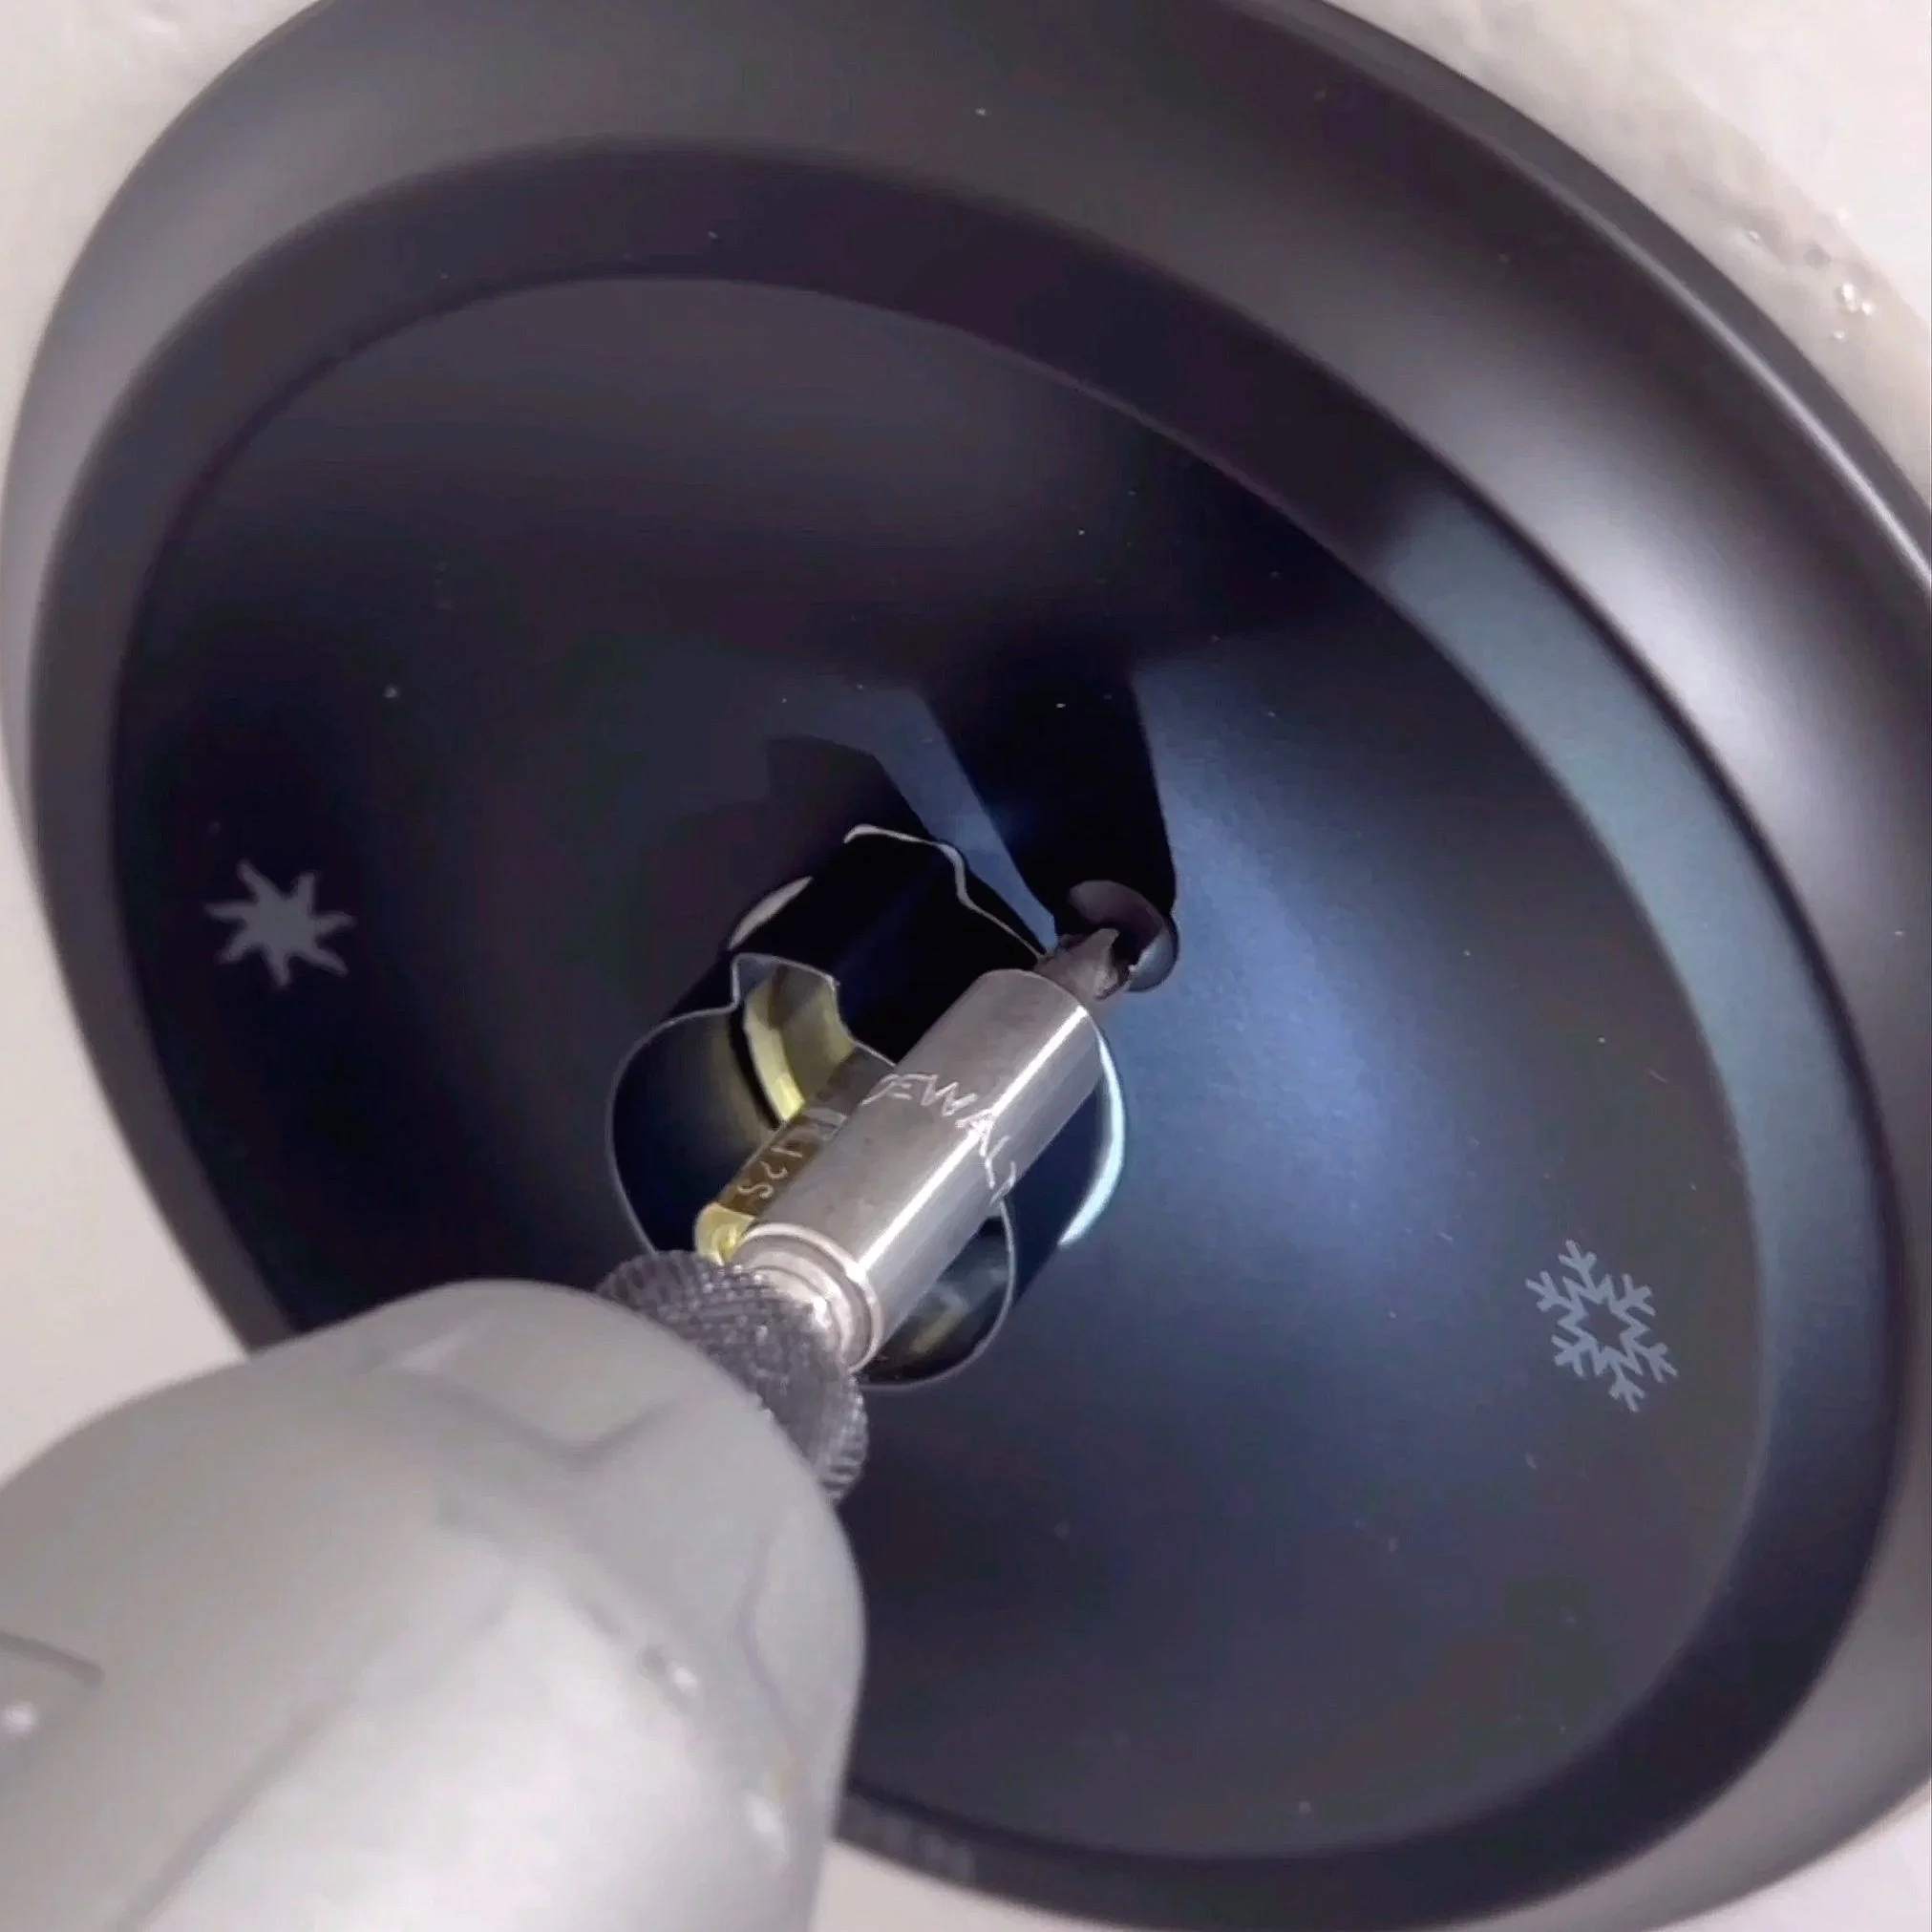
This is where the bathroom starts looking “finished” fast:
new shower hardware
new cabinet knobs
new faucet (we drilled new holes to switch to a 3-hole setup)
upgraded sconces
a new mirror
Each small upgrade stacks into a huge visual payoff—without changing the footprint of the room.
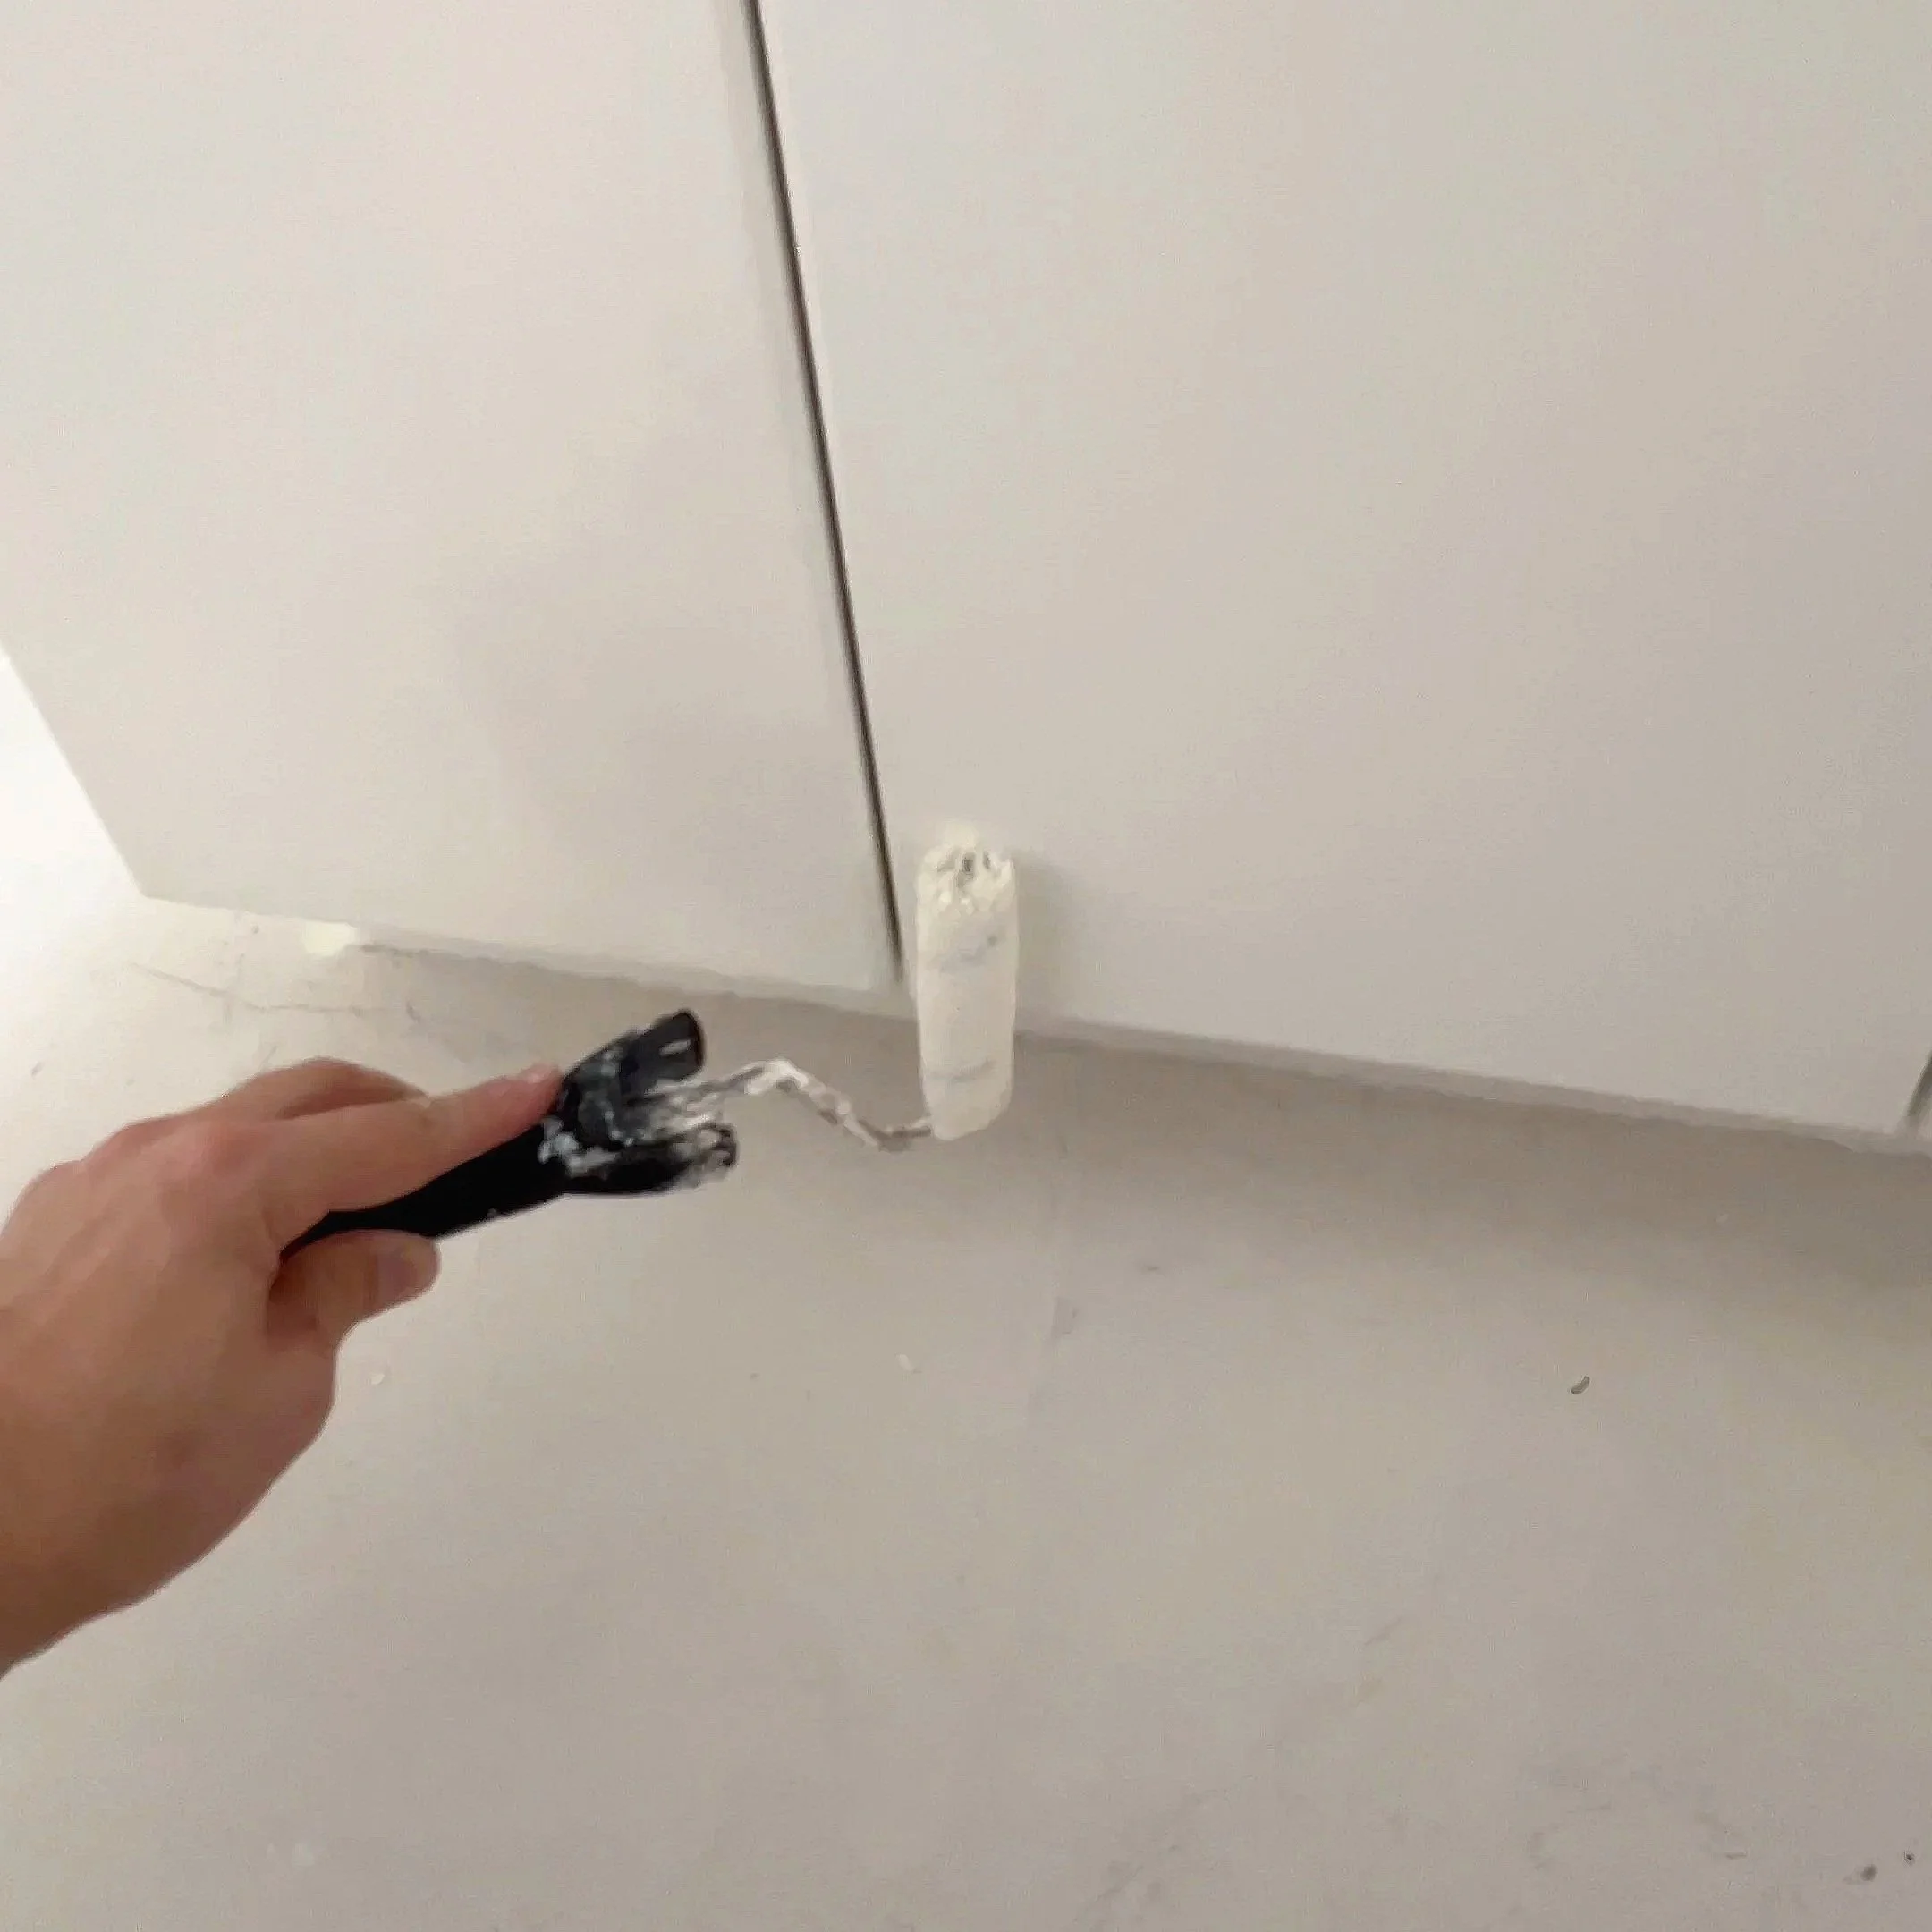
Step 7: Seal the Microcement (Make It Waterproof and Durable)
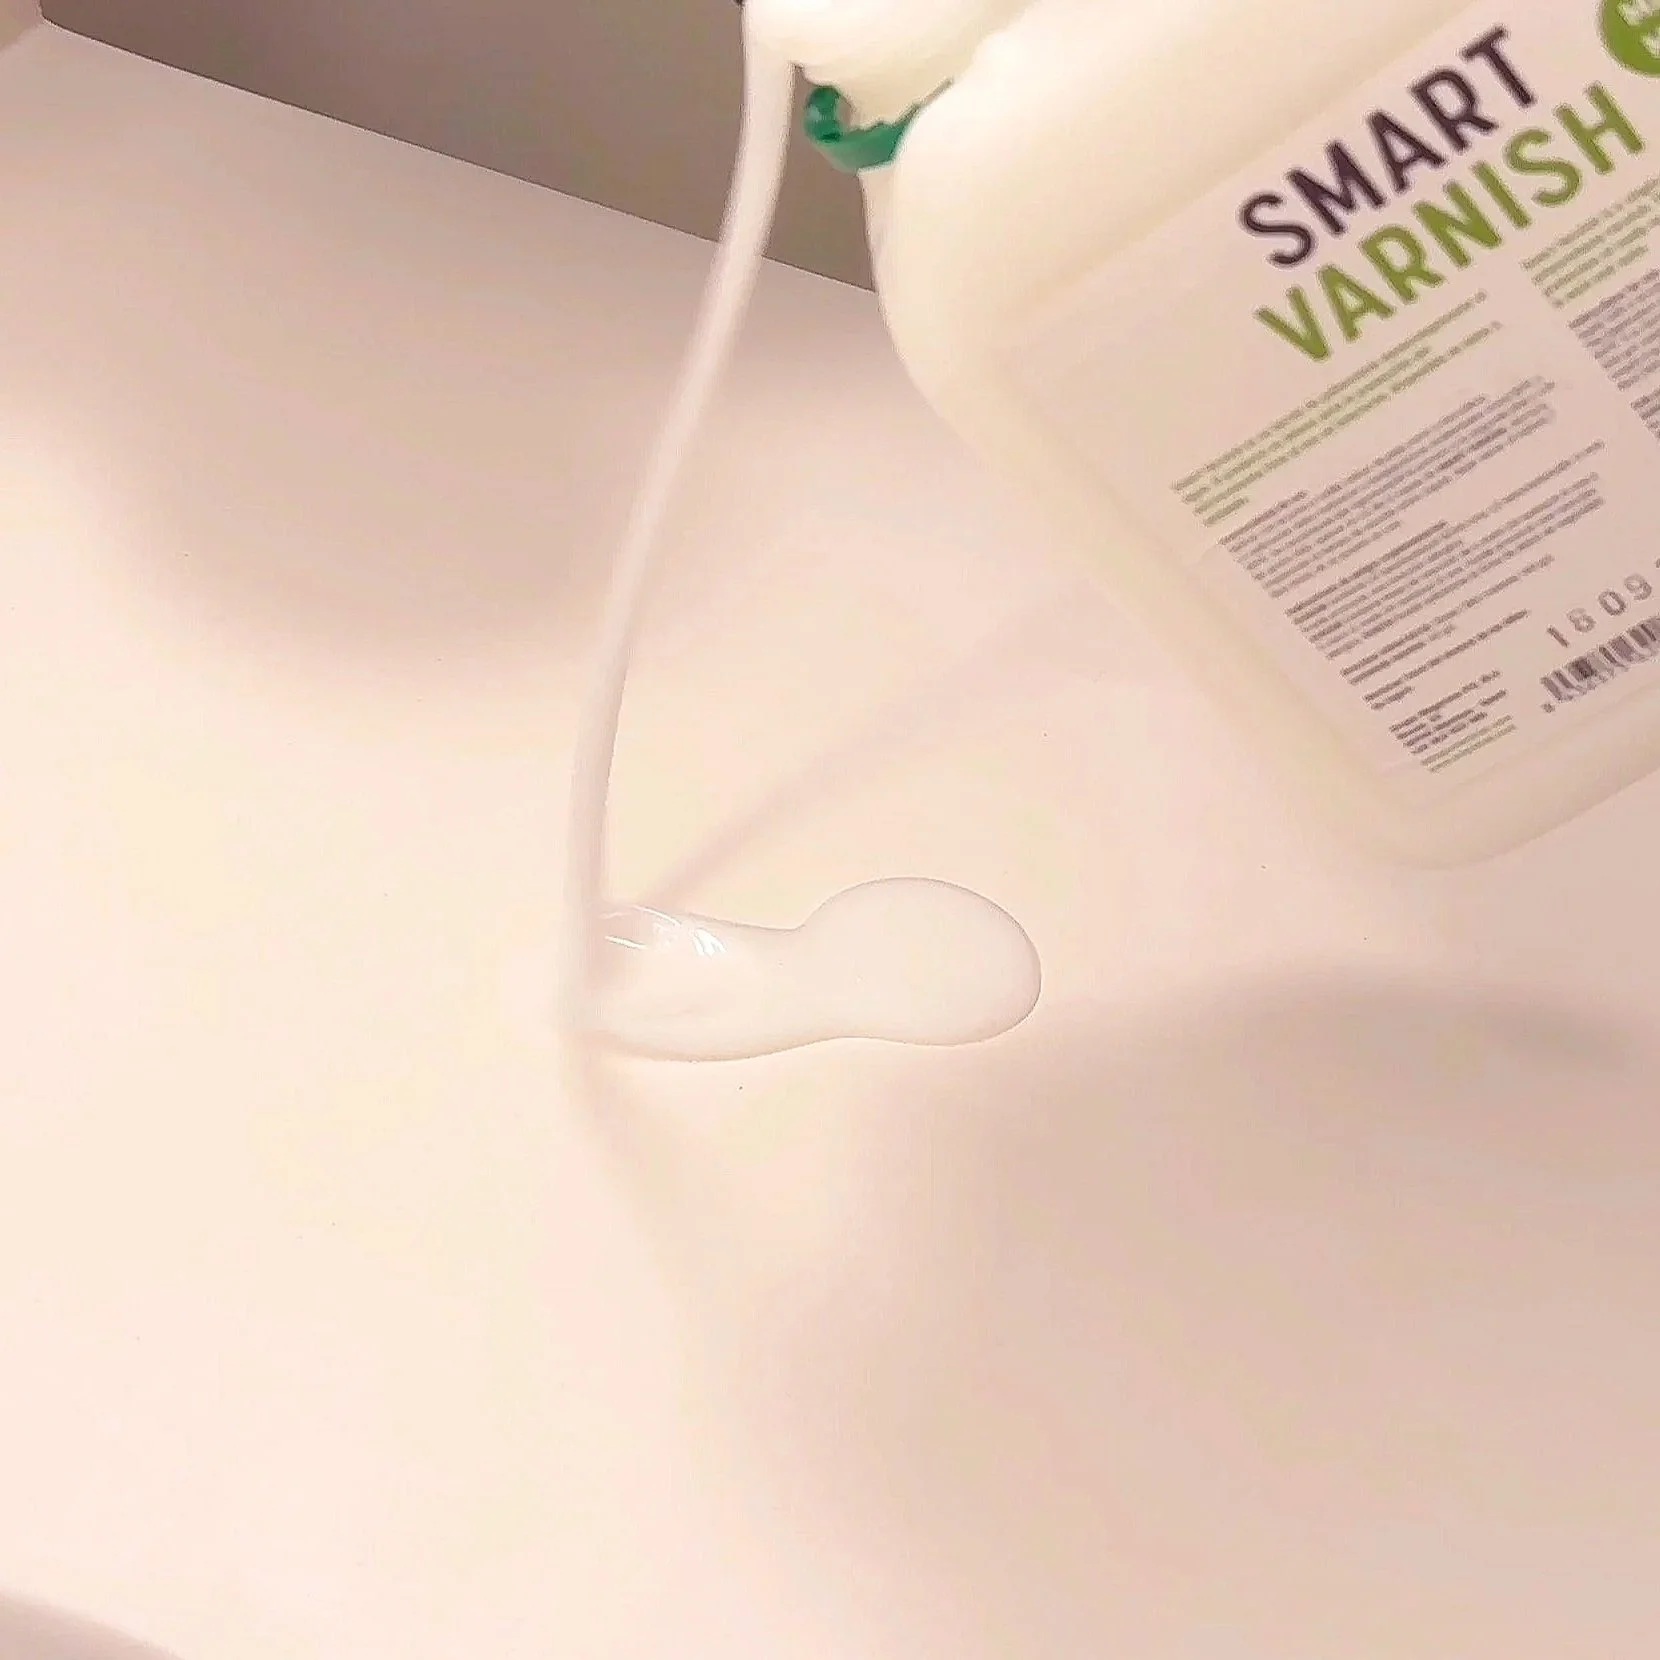
Once the microcement looked perfect, we sealed it to make it permanent and bathroom-ready.
We used:
plus Smart Booster to increase hardness/durability (worth it in wet areas)
Application tips:
use a fine nap roller
multiple coats, thin and even (don’t glob)
sand lightly between coats with very high-grit paper to keep it smooth
repeat until you get that glassy, sealed finish
The Result: A Completely Different Bathroom—With Zero Demo
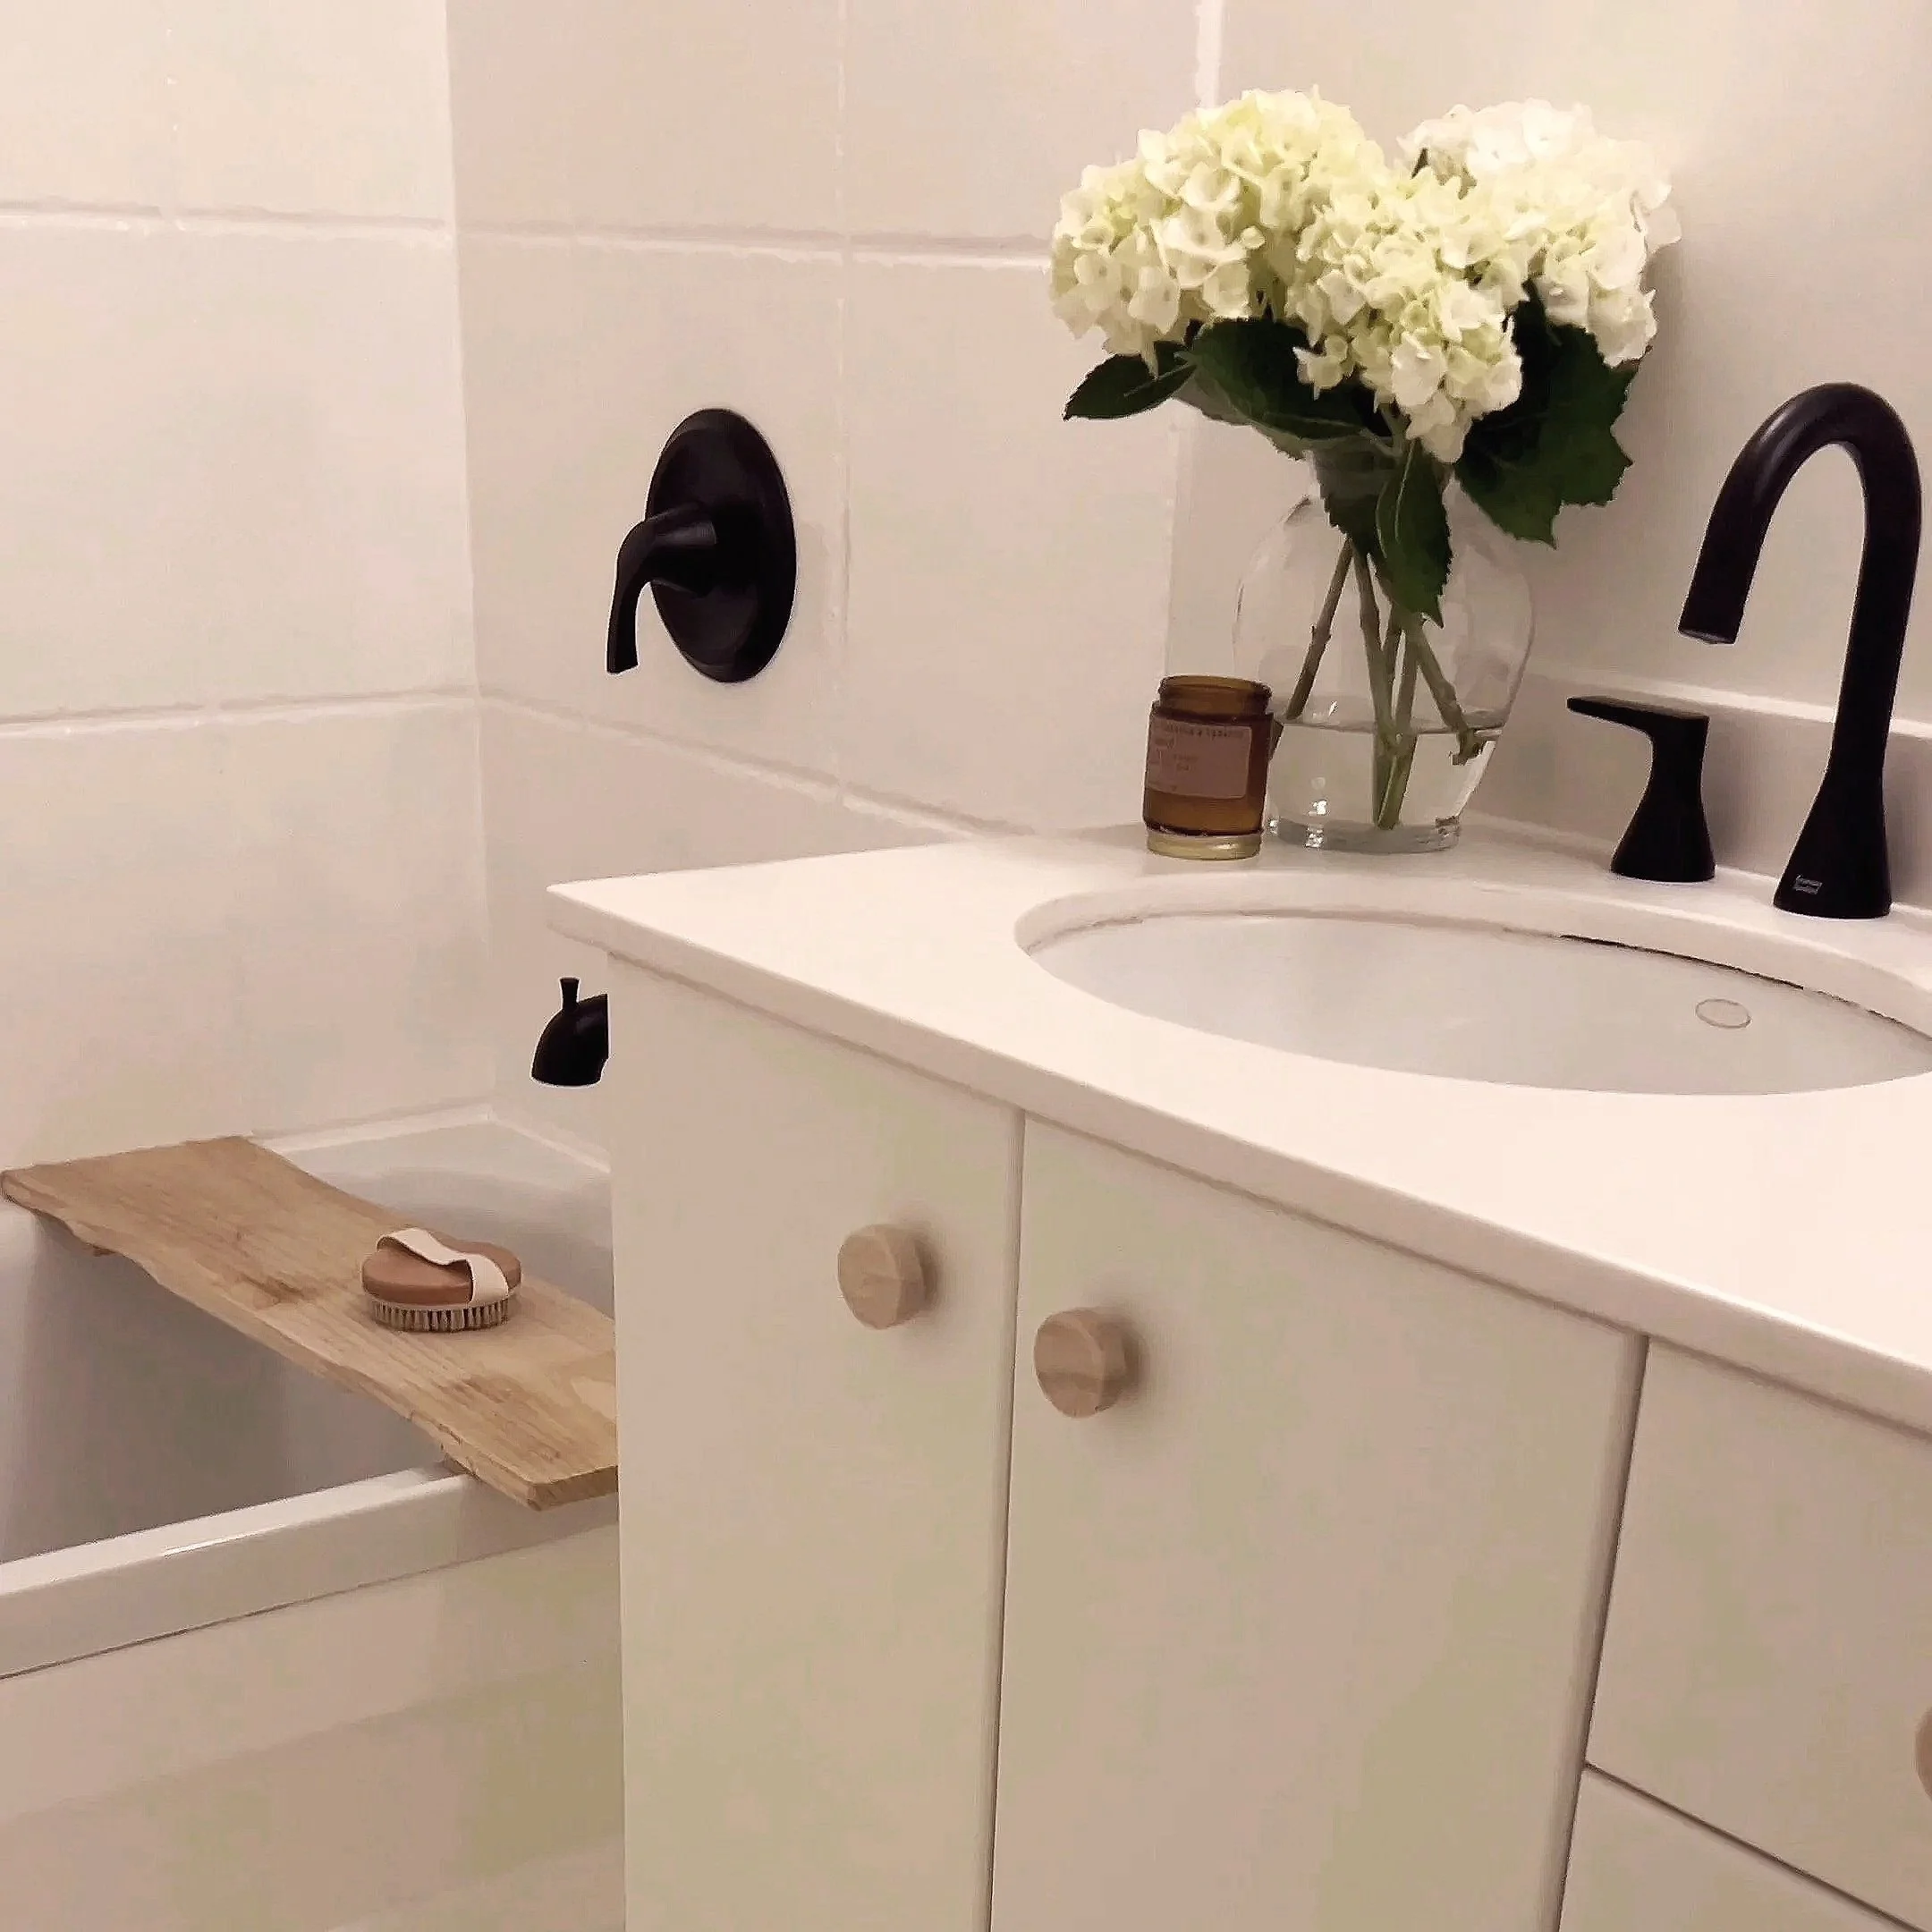
When it’s done, it doesn’t look like a “facelift.” It looks like a new bathroom.
Same room. Same underlying surfaces. No demolition.
Just smart resurfacing, smart paint choices, and details that modernize everything.
Want to Try Microcement Yourself?
SmartCret makes DIY-friendly microcement kits designed for projects like:
countertops
floors
walls
wet areas (when sealed properly)
If you’ve got questions about the process in this video, drop them in the comments—Refresh-style, we’ll help where we can.