
DIY Plaster Pillow Coasters (and a Plaster Pillow Wall Sconce)
If you’ve seen any of our videos of Dan making plaster pillows—those soft, wrinkly “stone pillow” coasters—and wondered how you could make them yourself at home, this is the full walkthrough. And because we can’t leave well enough alone, we’re also taking the same method and turning them into a DIY plaster pillow sconce (yes, an actual wall light that looks like a fluffy plaster pillow).
Below is the exact process we used in the video: the Plaster of Paris ratio, the Ziploc bag trick for the pillow shape, how to remove air bubbles, how to get the best wrinkle/smoosh details, and how to paint and seal plaster for a durable finish.
Quick Steps (For the “Just Tell Me How” Crowd)
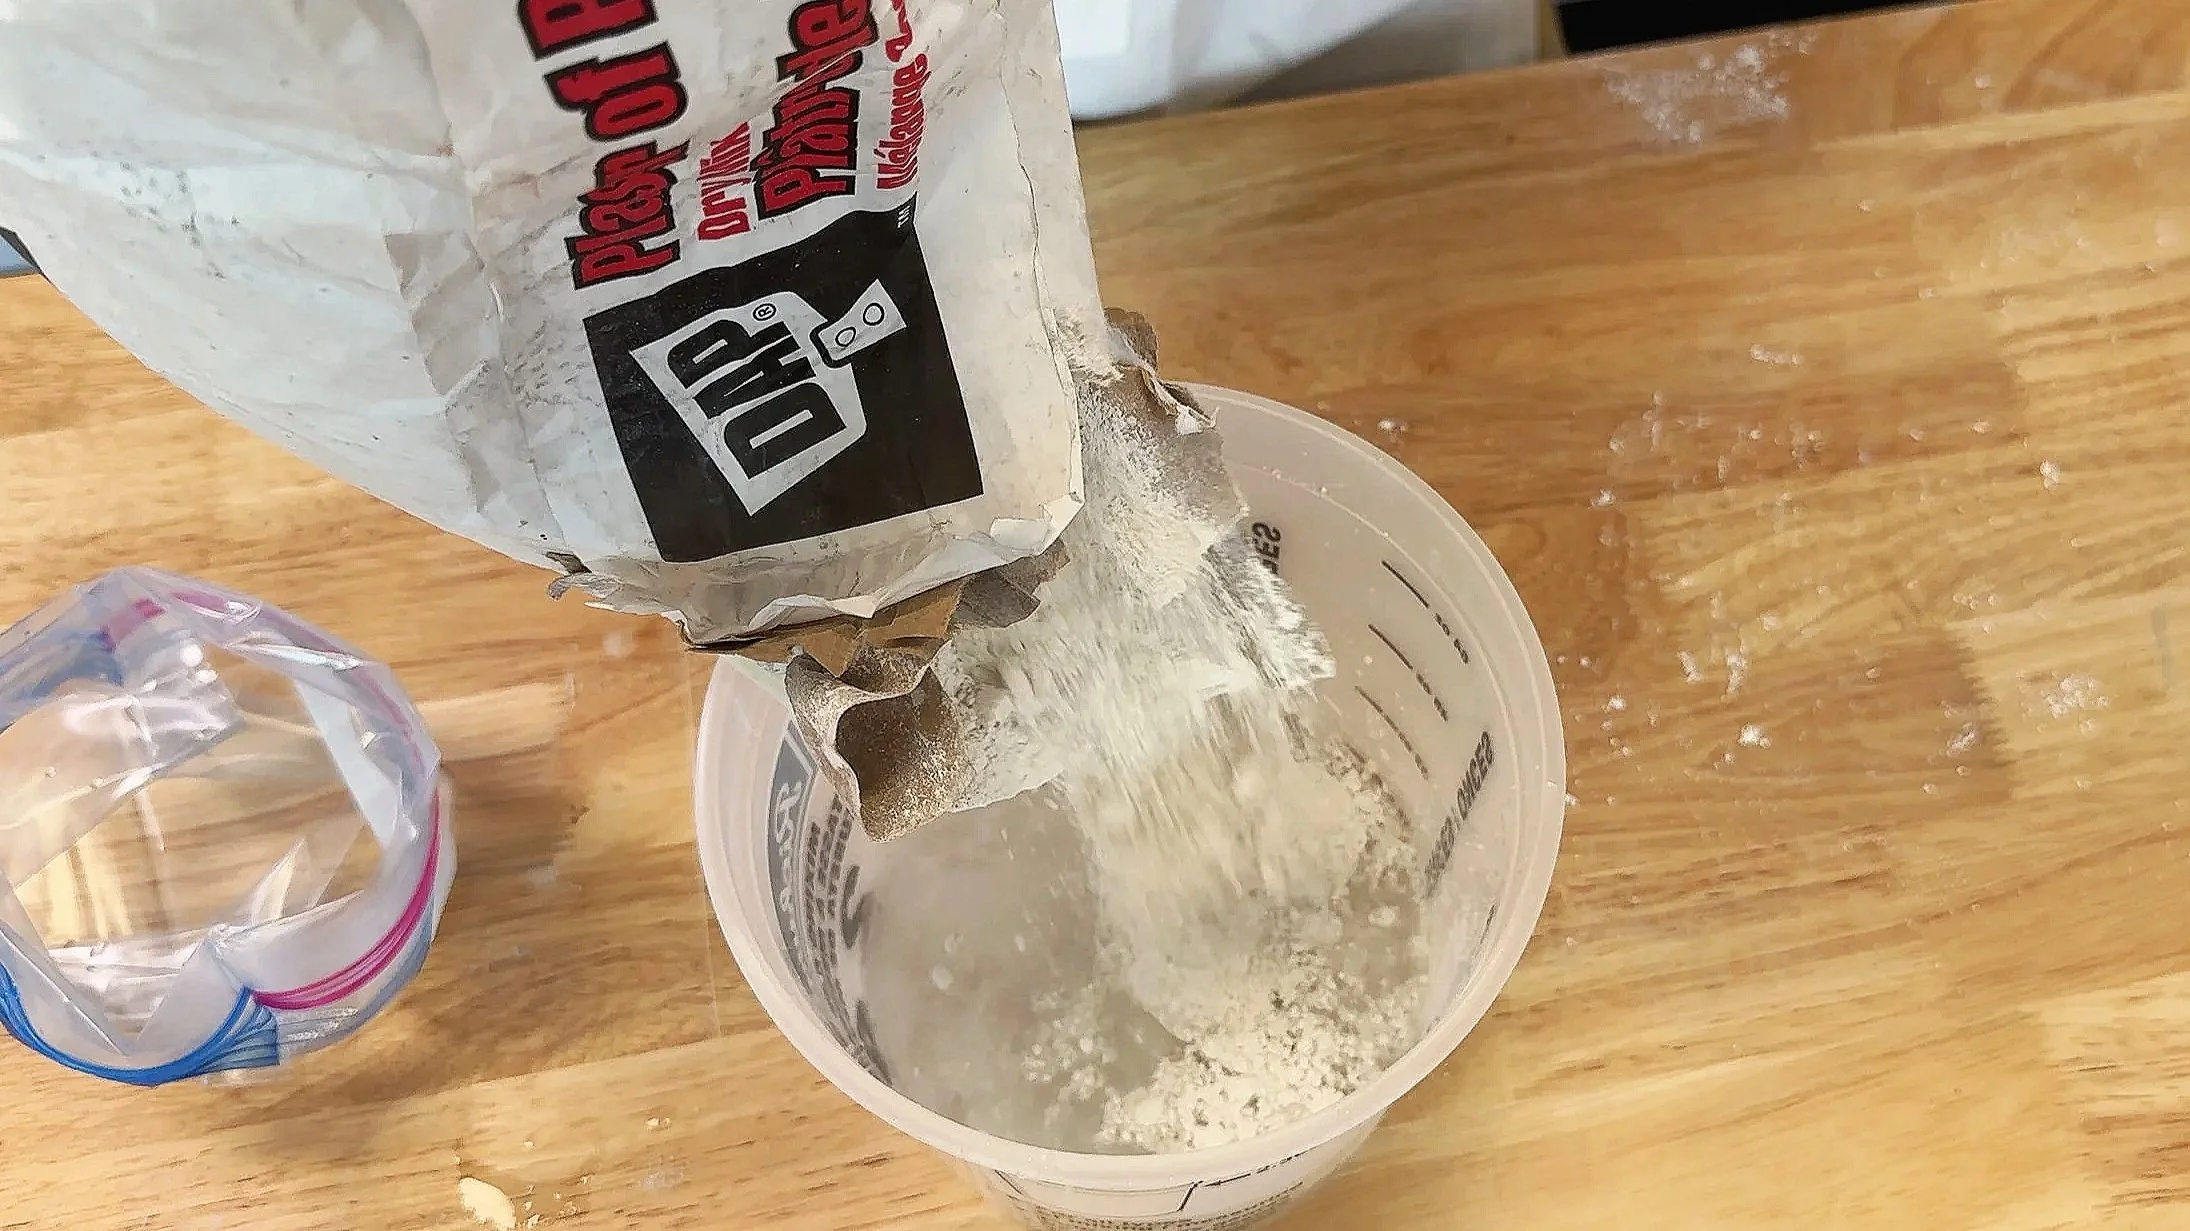
Mix 2 parts Plaster of Paris : 1 part water (adjust slightly for pourable thickness).
Pour into a Ziploc bag, push plaster into corners, and squeeze out air.
“Plump” the bag by folding/tightening it to create a pillow shape.
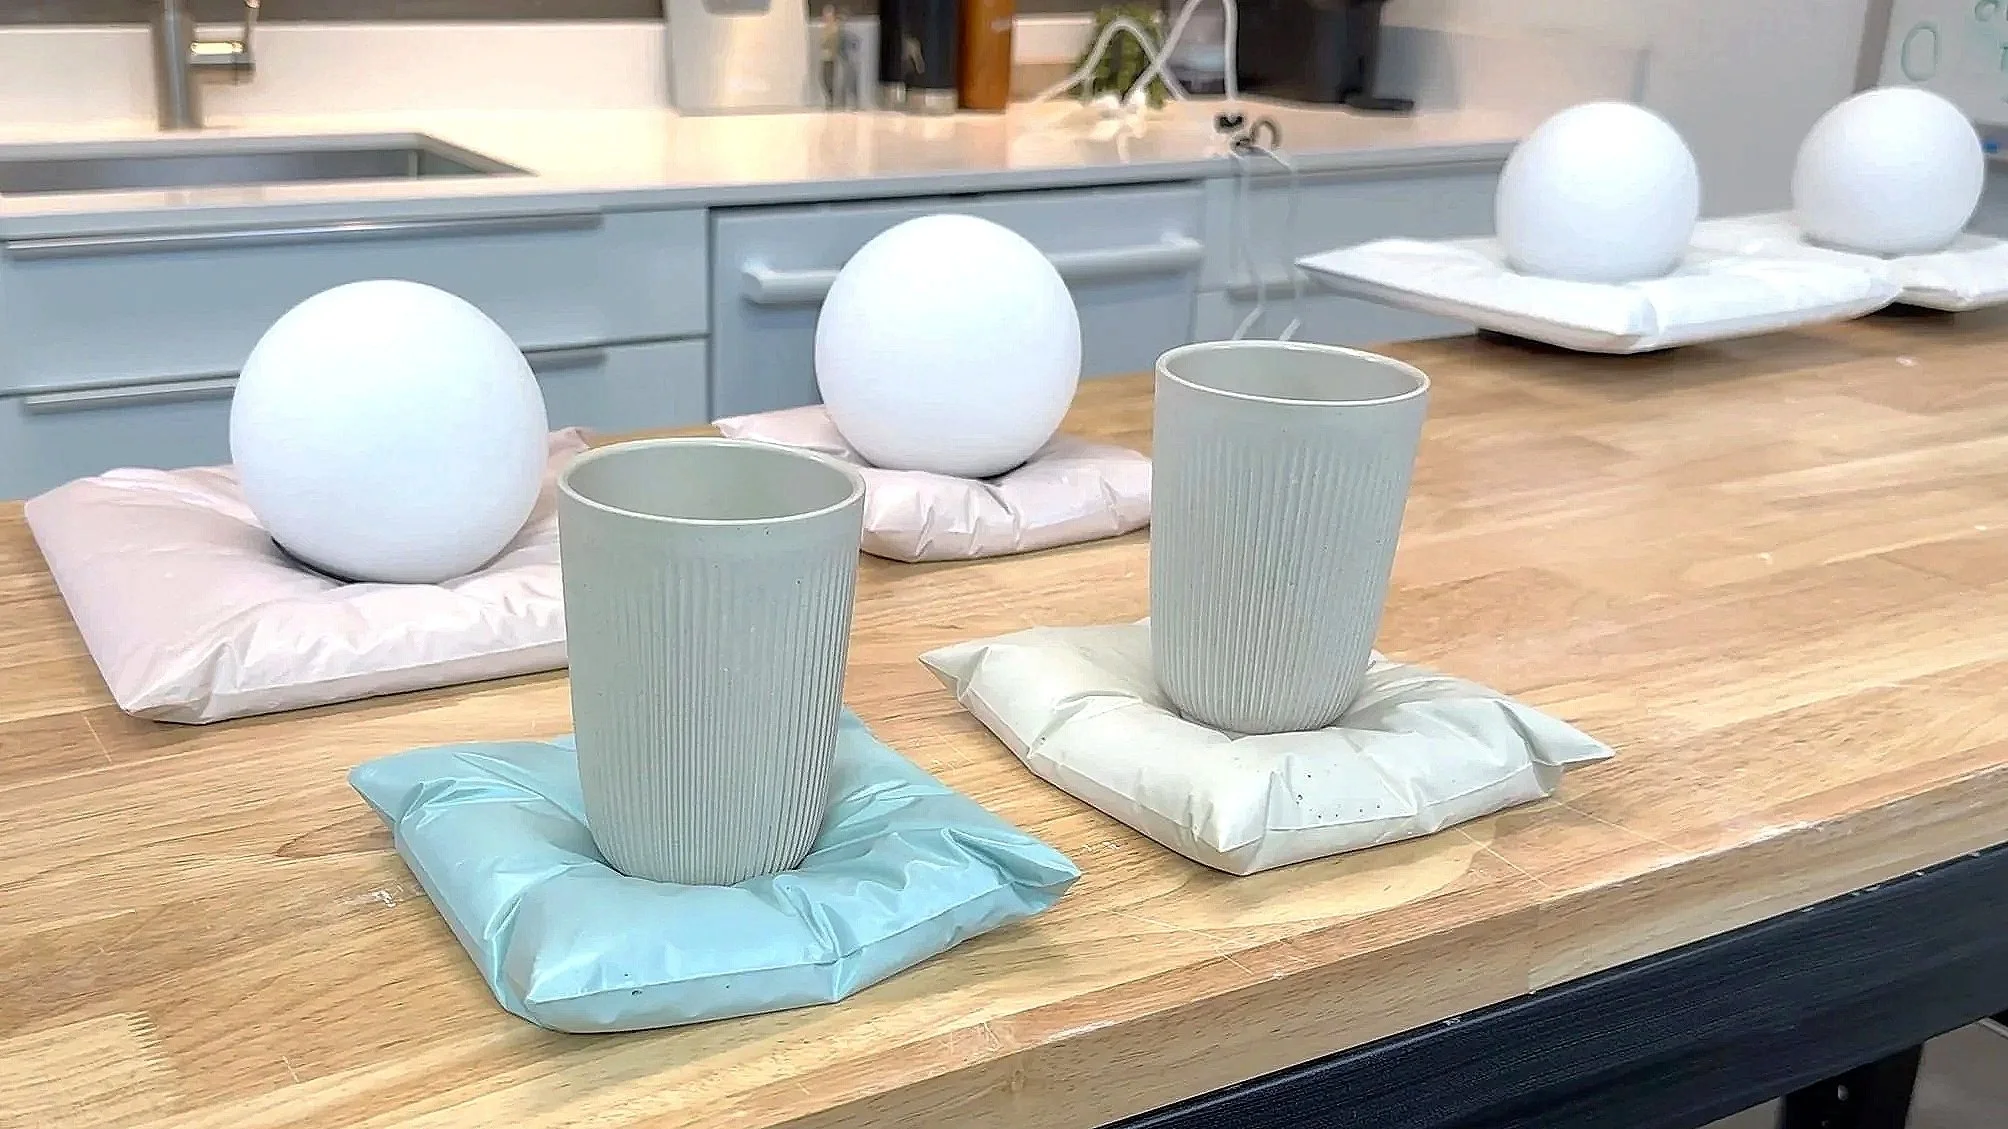
Press a cup/object into the center to create realistic pillow wrinkles.
Let cure (plaster sets fast), then peel the bag off.
Finish raw, or spray paint + matte clear coat to seal and protect.
Use the same method to form a plaster pillow sconce shape around a light location.
Materials for DIY Plaster Pillow Coasters (All You Really Need)
To make plaster pillow coasters, you only need a few basics:
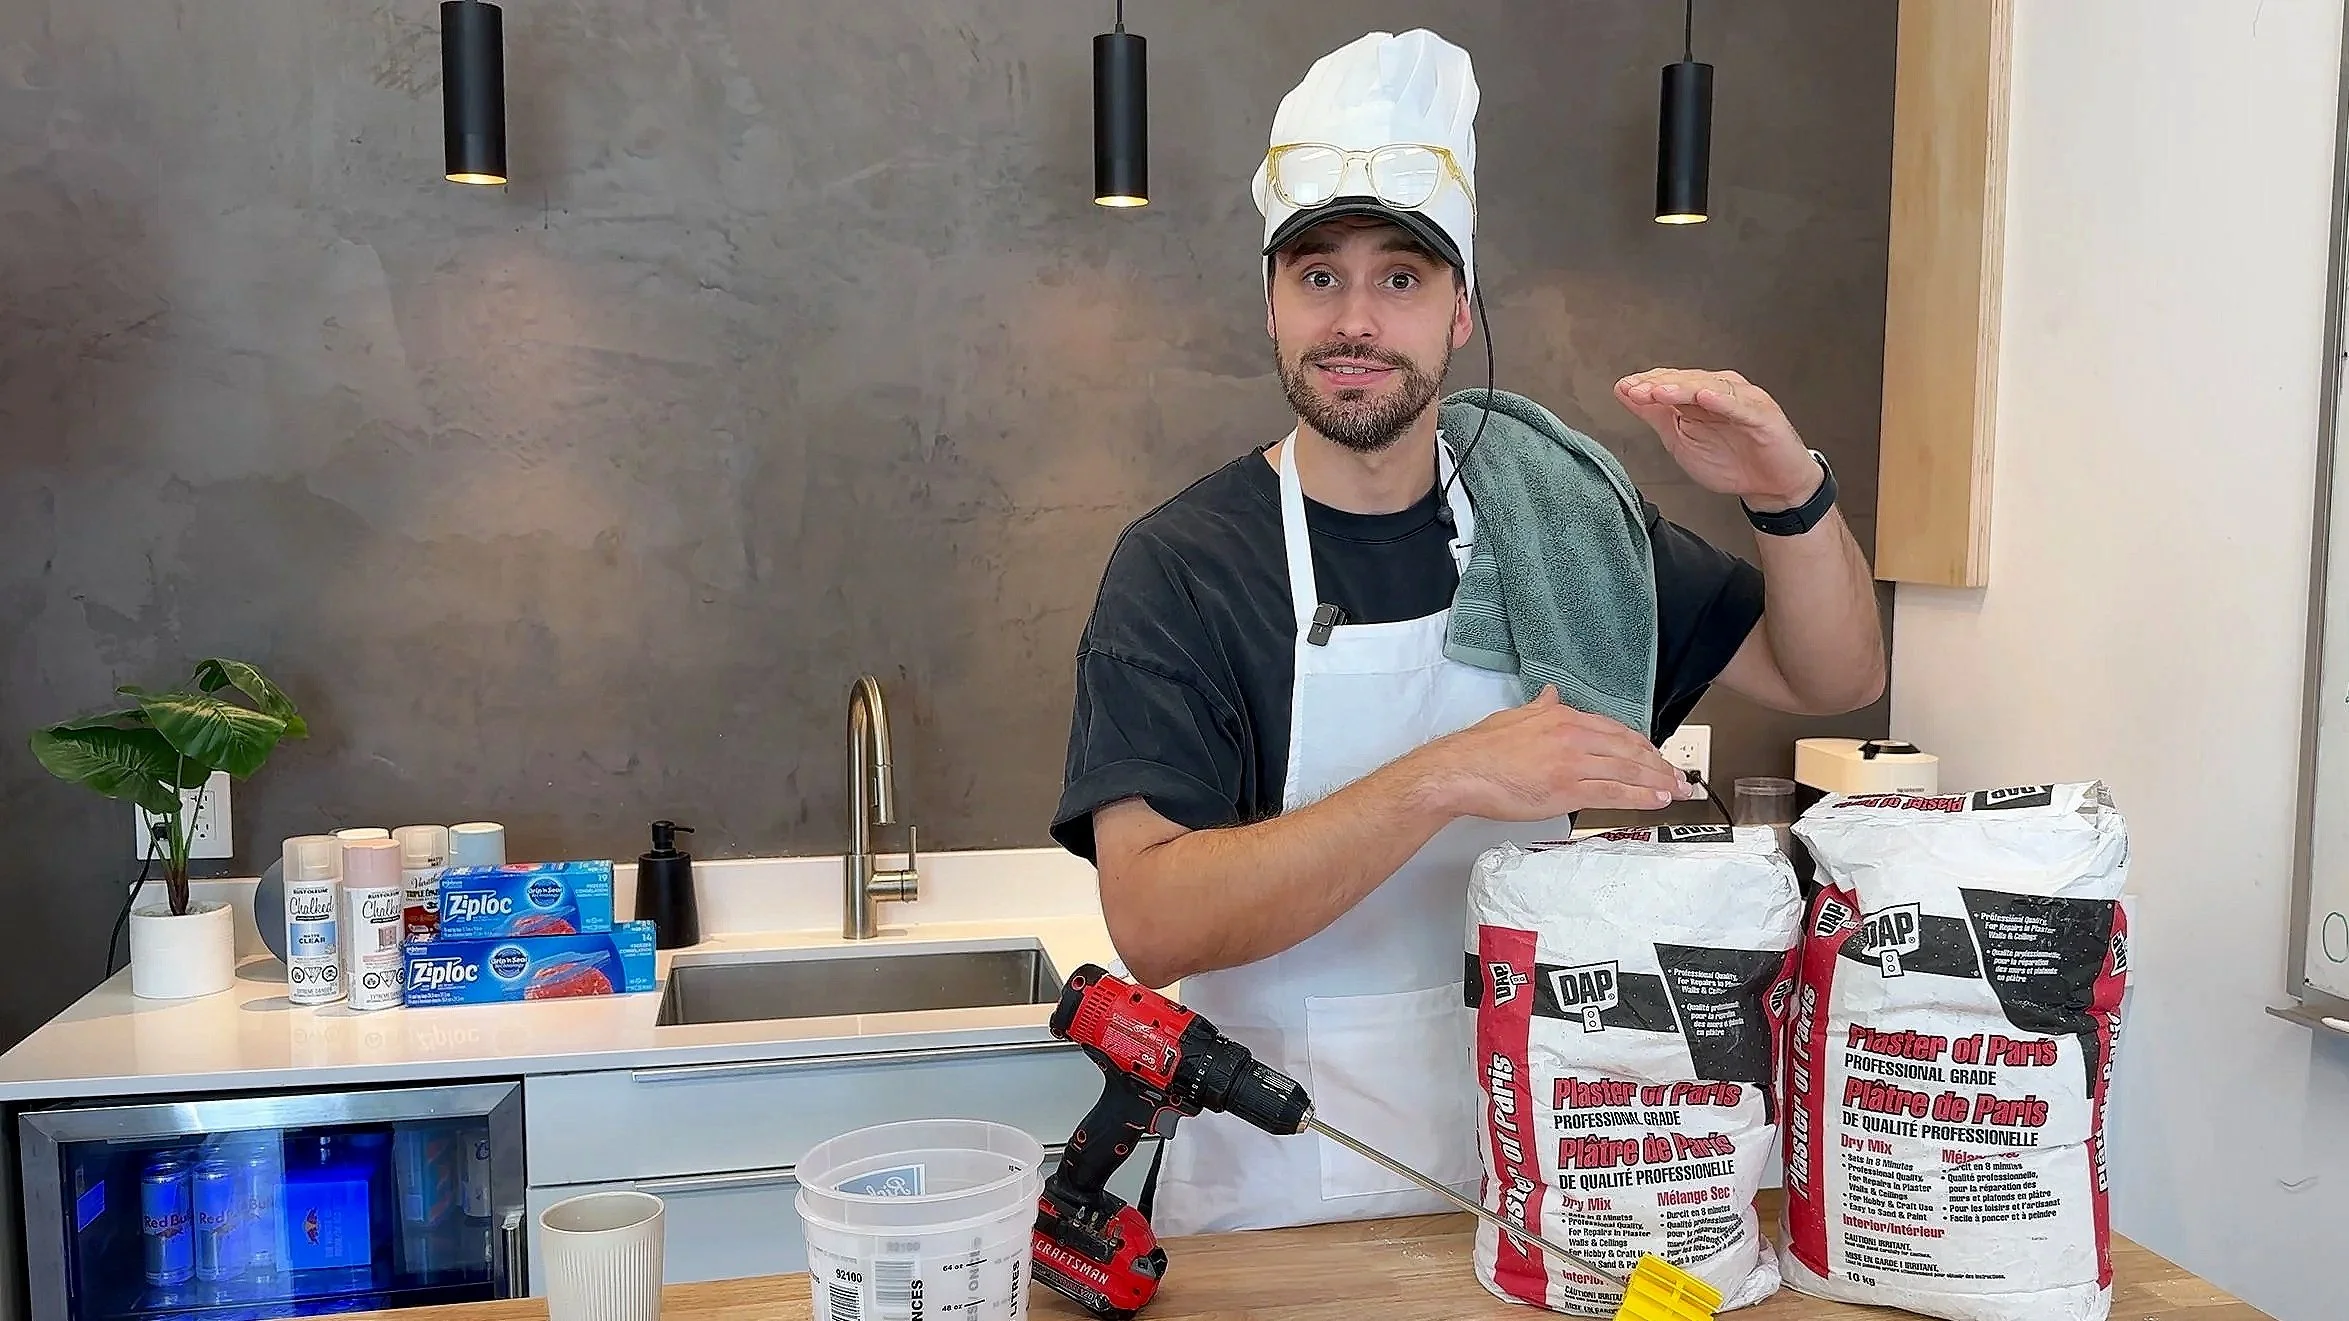
Plaster of Paris
Ziploc bags (various sizes depending on coaster size)
Mixing container (bucket)
Mixing tool: stir stick or mixing paddle
Optional but recommended:
Mask / gloves (plaster dust is no joke)
Spray paint (we used Rustoleum Chalked tones)
Clear matte top coat (for moisture resistance)
The Best Plaster of Paris Ratio (And Why Timing Matters)
For most DIY plaster projects, the go-to ratio is:
2 parts plaster of Paris : 1 part water
But here’s the important part: plaster sets fast
So before you mix anything, do this first:
open your Ziploc bags and “shape the opening” so it’s easy to pour into
have your mixing tool ready
know what object you’re embedding for the wrinkle effect
The Ziploc Bag Trick: How to Make the “Fluffy Pillow” Shape
This technique is why these stone/plaster pillow coasters look so realistic.
1) Pour plaster while it’s still a slurry

Mix until combined, but don’t whip it forever—overmixing can create extra bubbles.
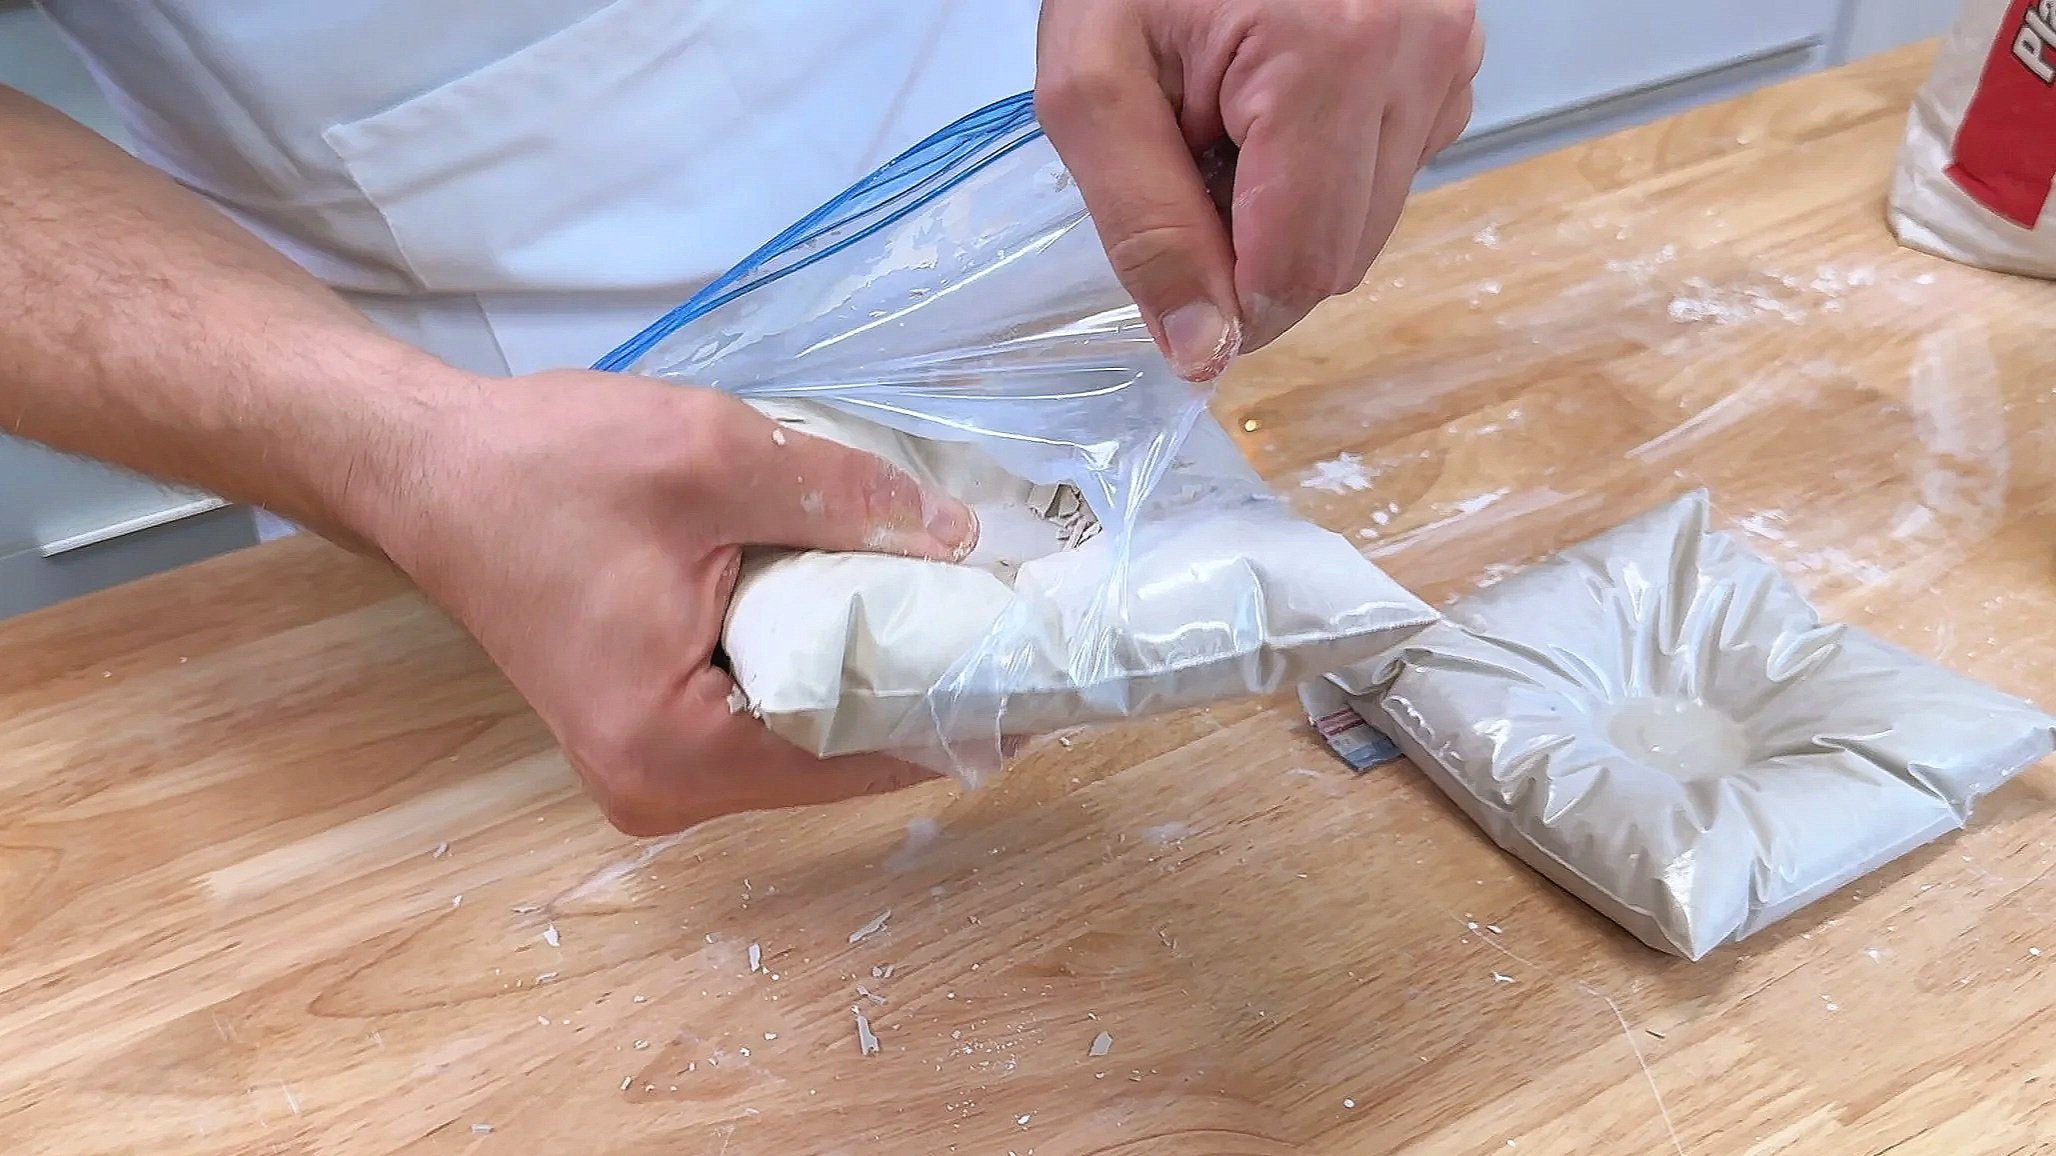
2) Push plaster into the corners
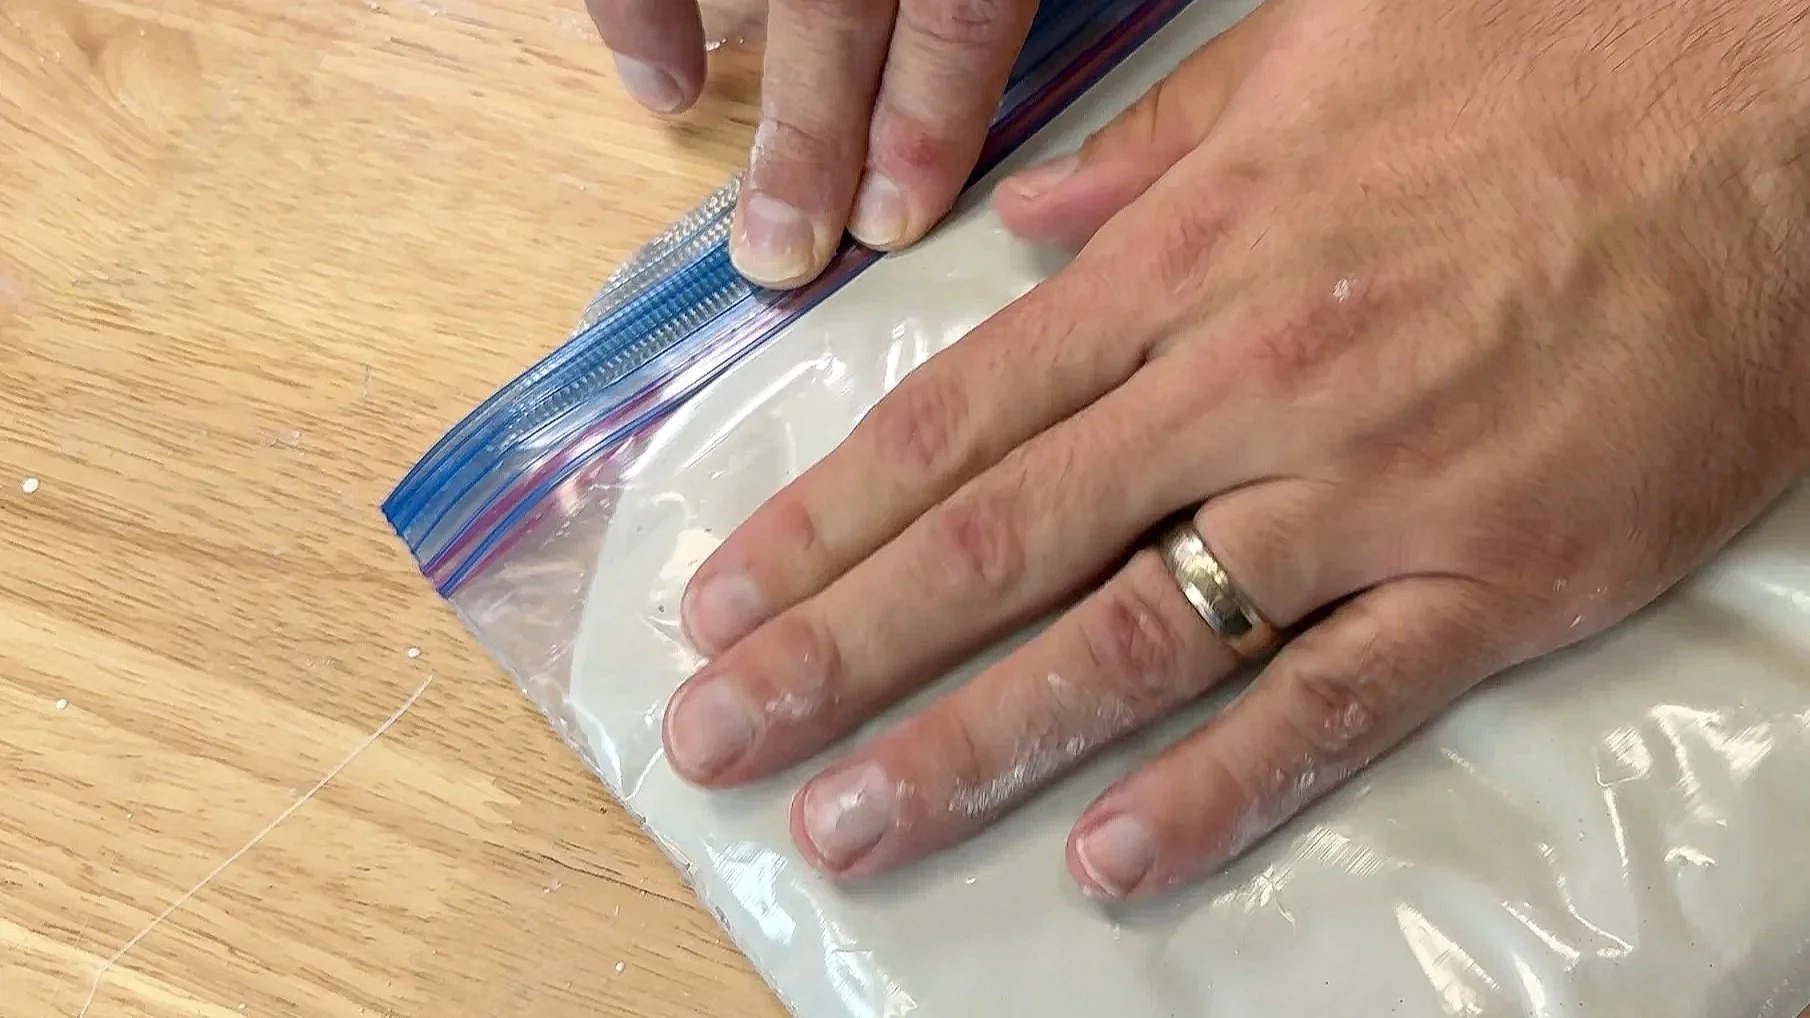
Work the plaster into the corners of the bag with your hands so the coaster has crisp edges- but don’t fully close the bag yet.
3) Remove air bubbles (the difference between “pro” and “pitted”)
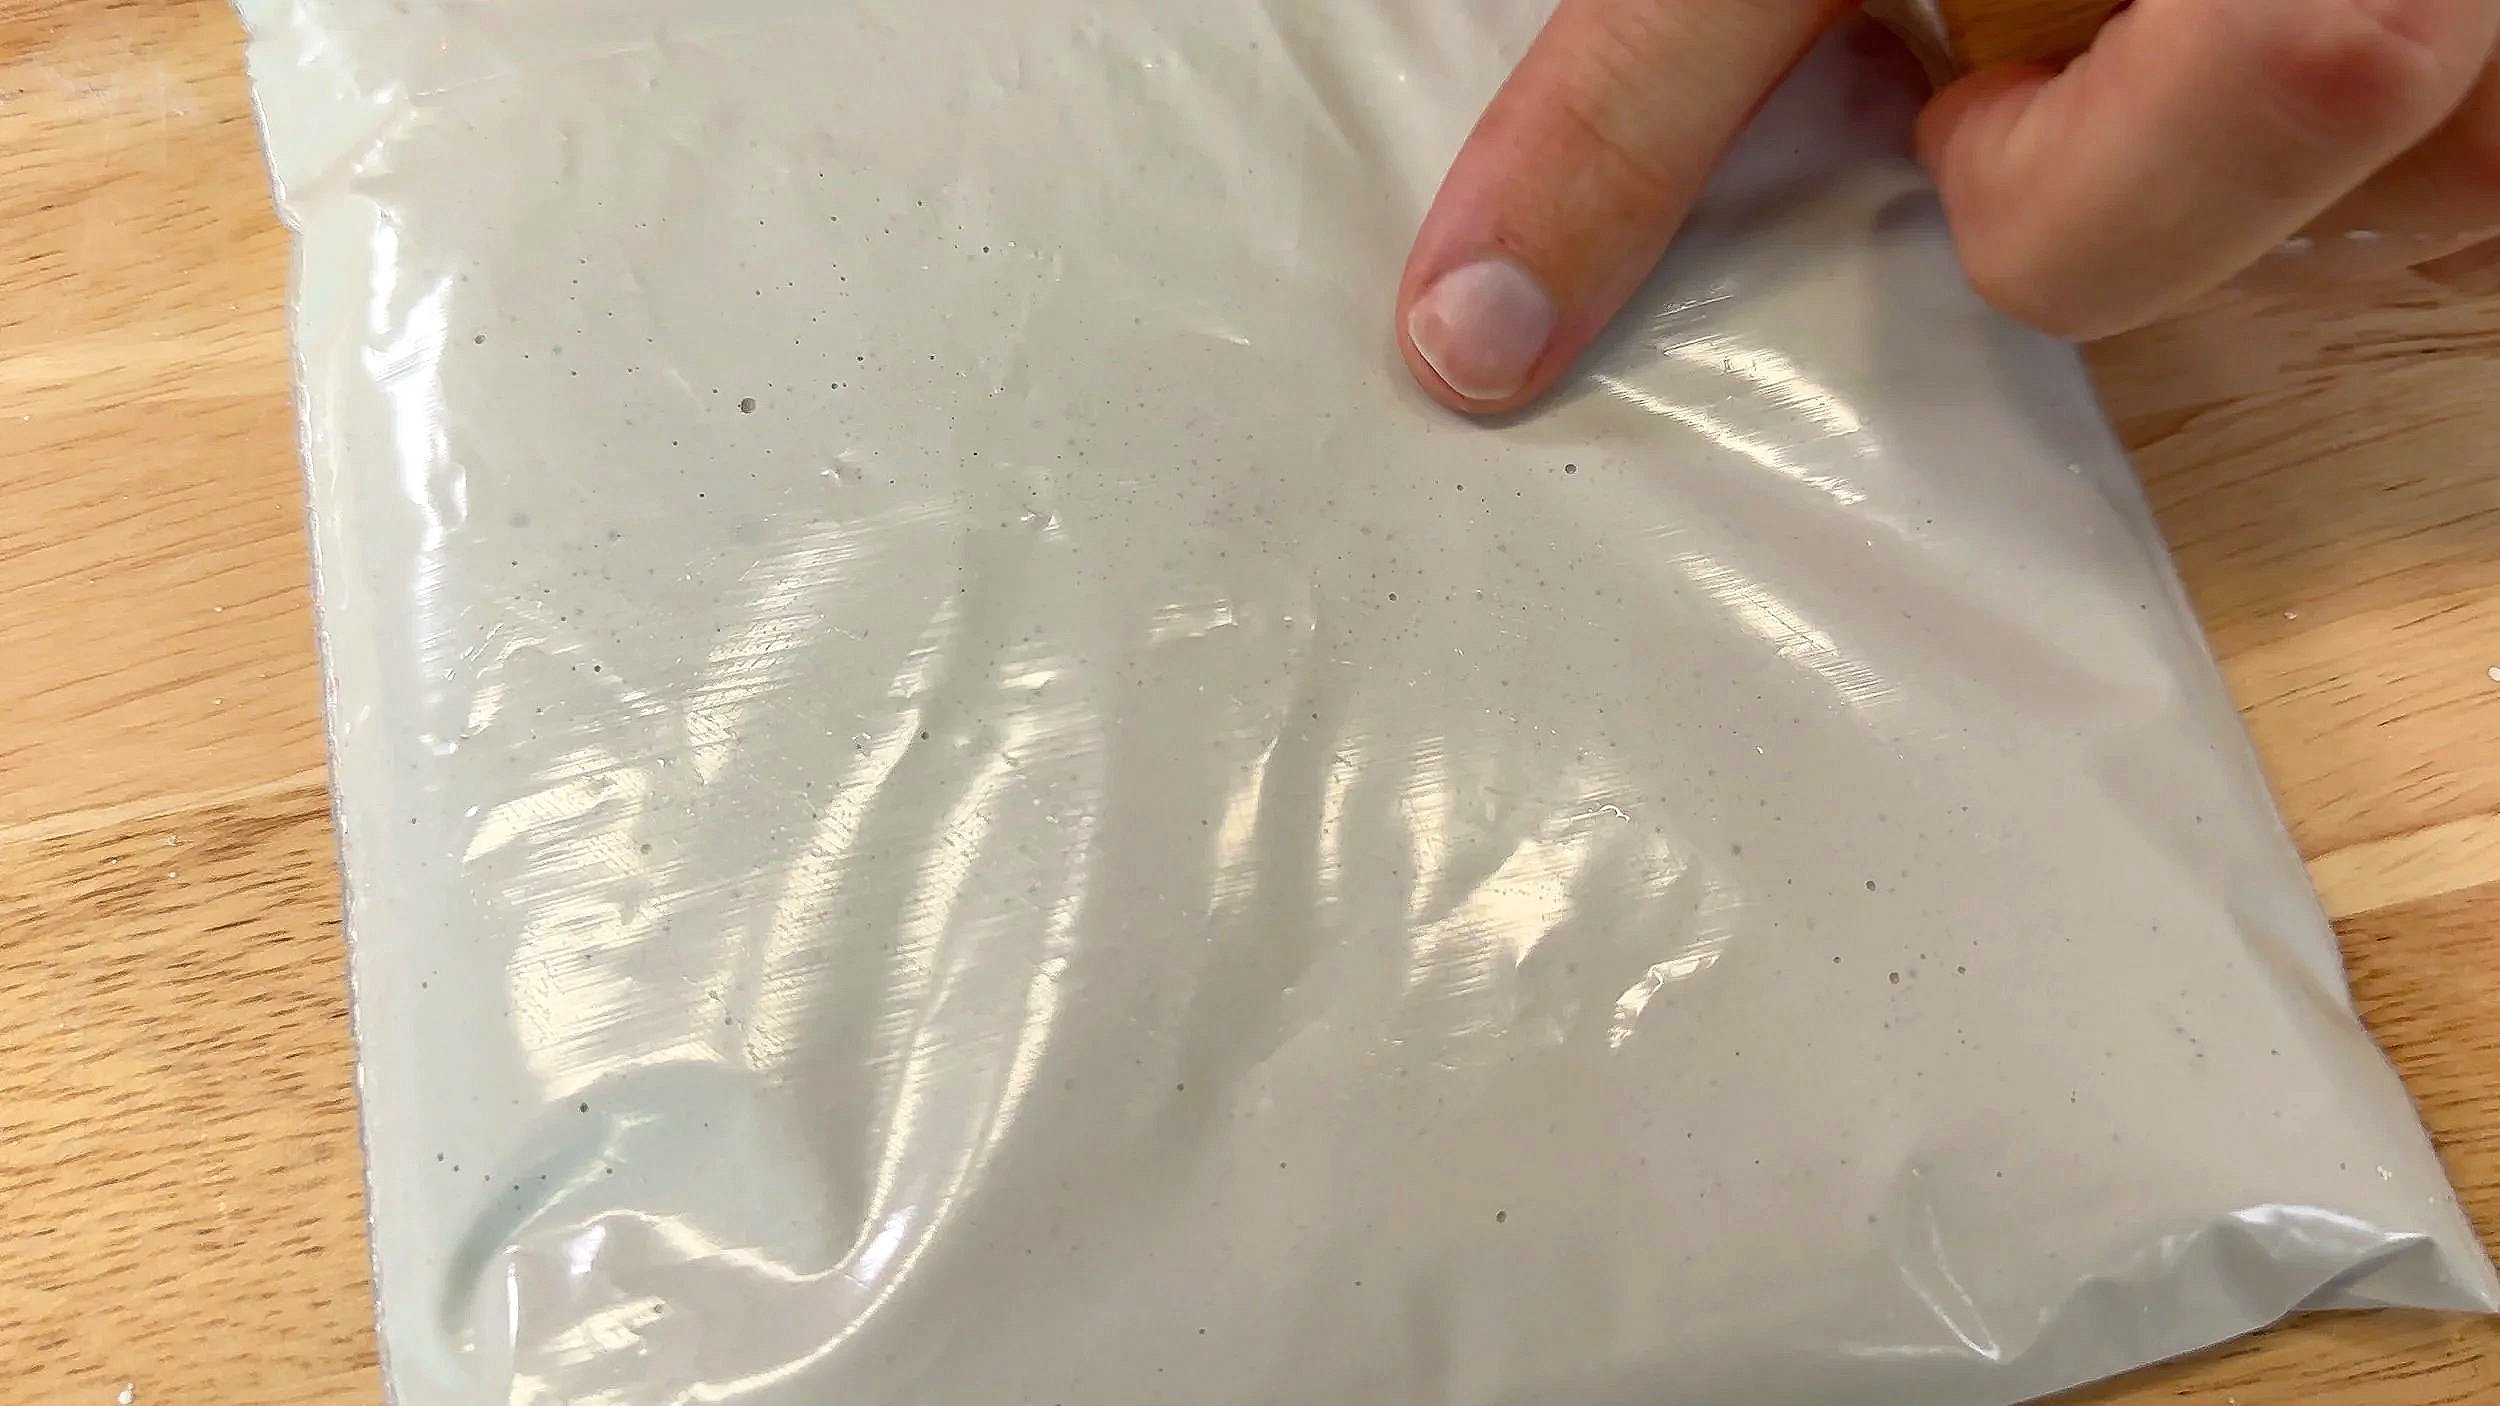
Partially seal the bag, leaving a small opening, then:
massage bubbles toward that opening
shake/tilt gently to help micro-bubbles rise
keep pushing plaster into corners so you don’t lose sharp edges
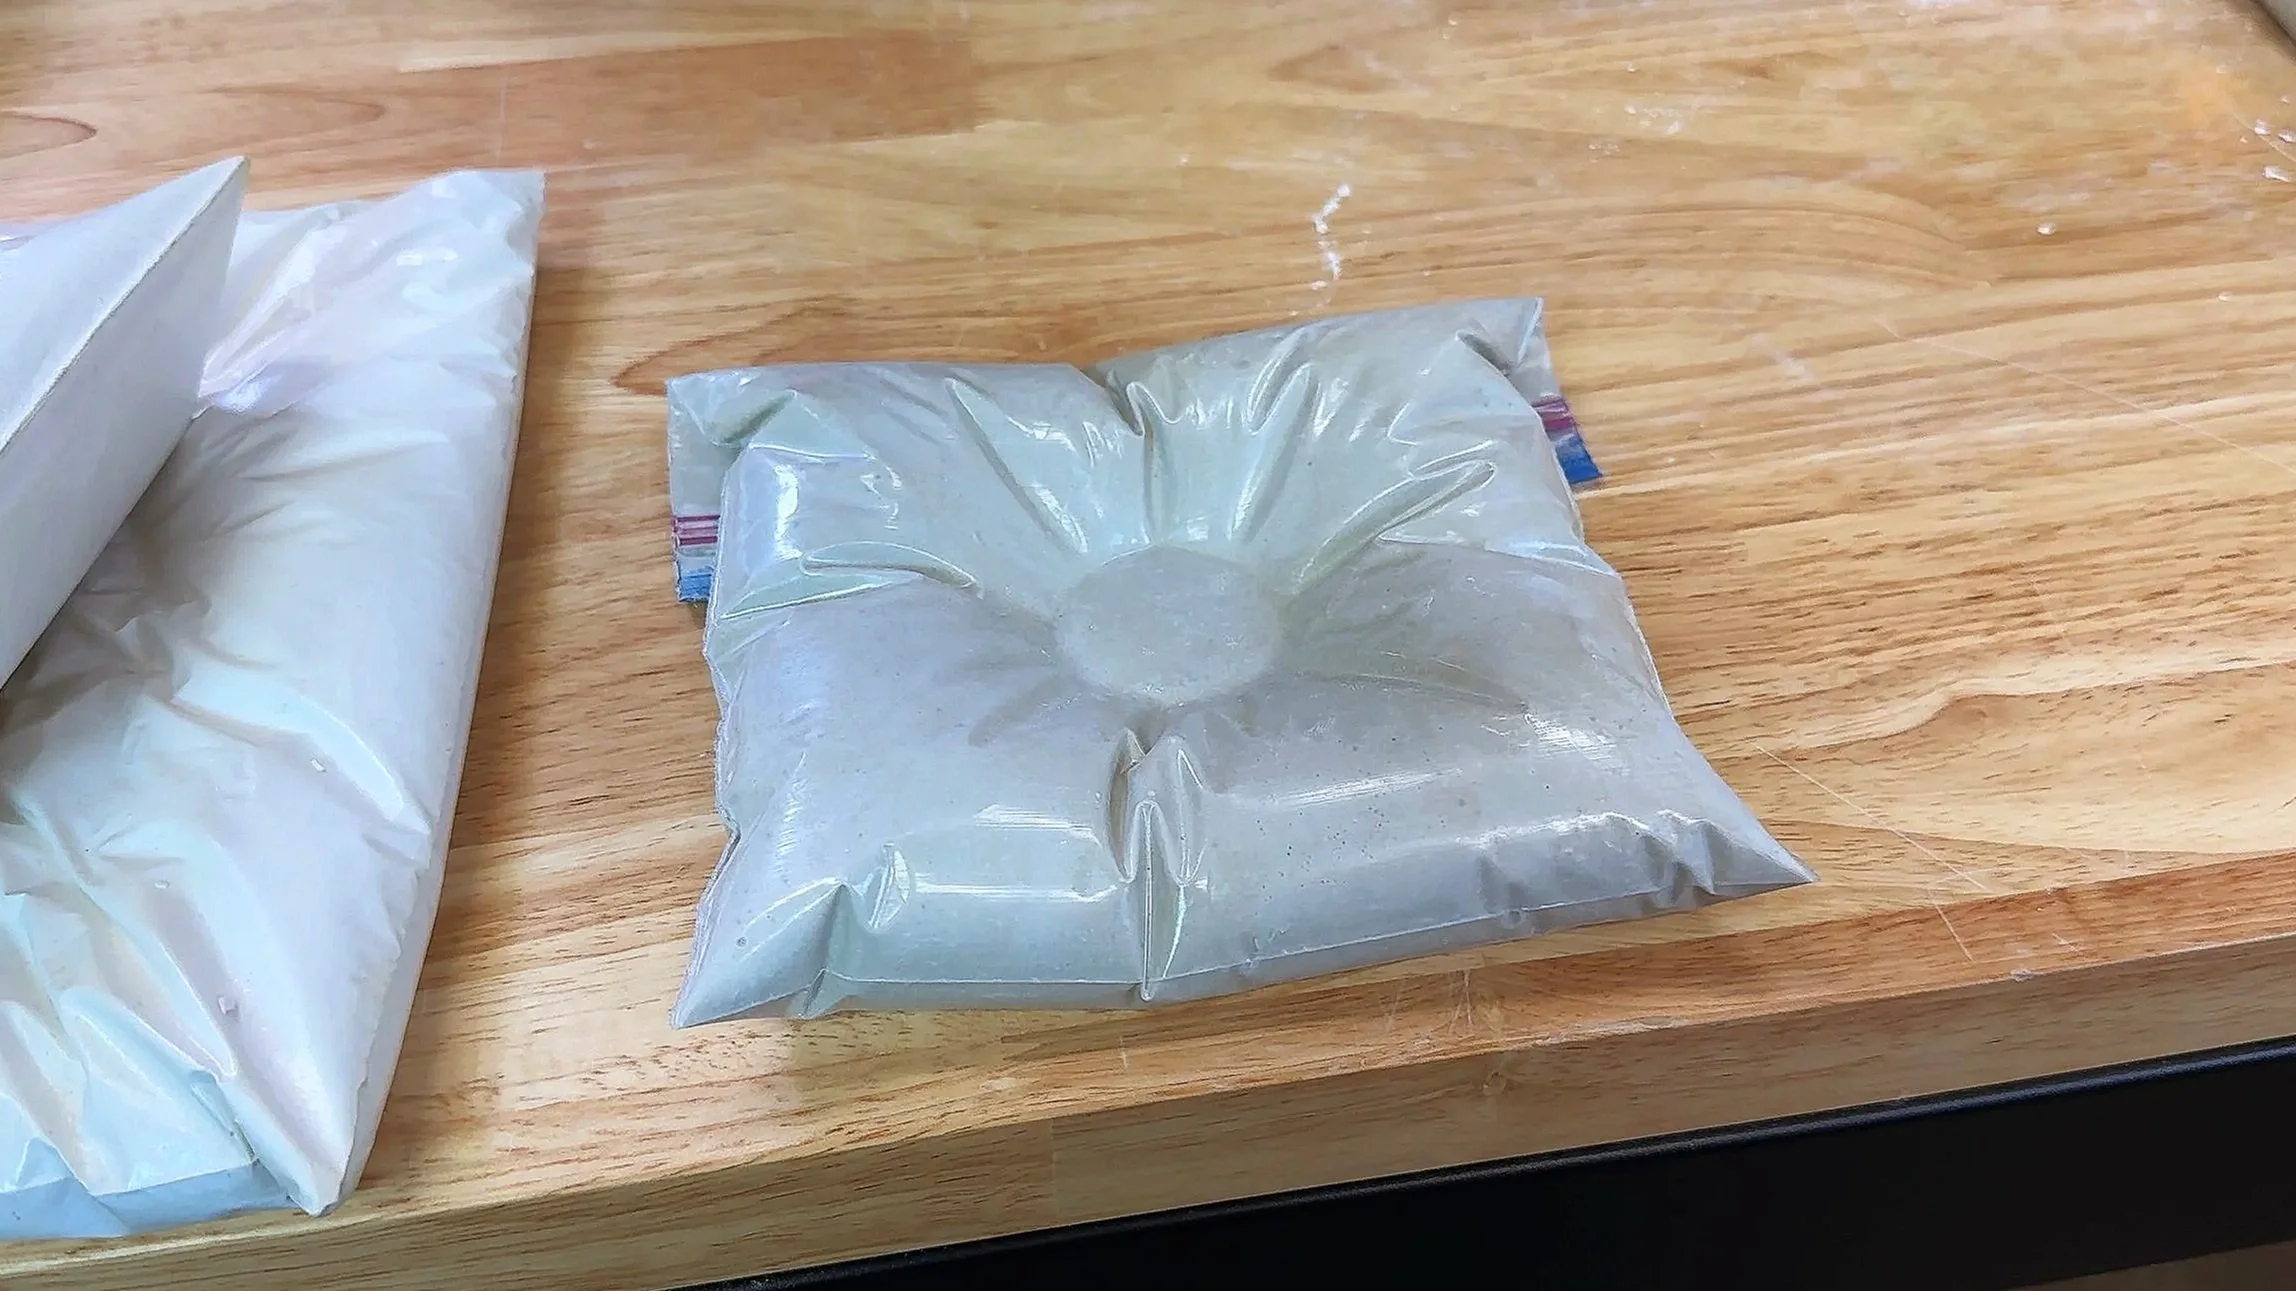
4) “Plump” the pillow
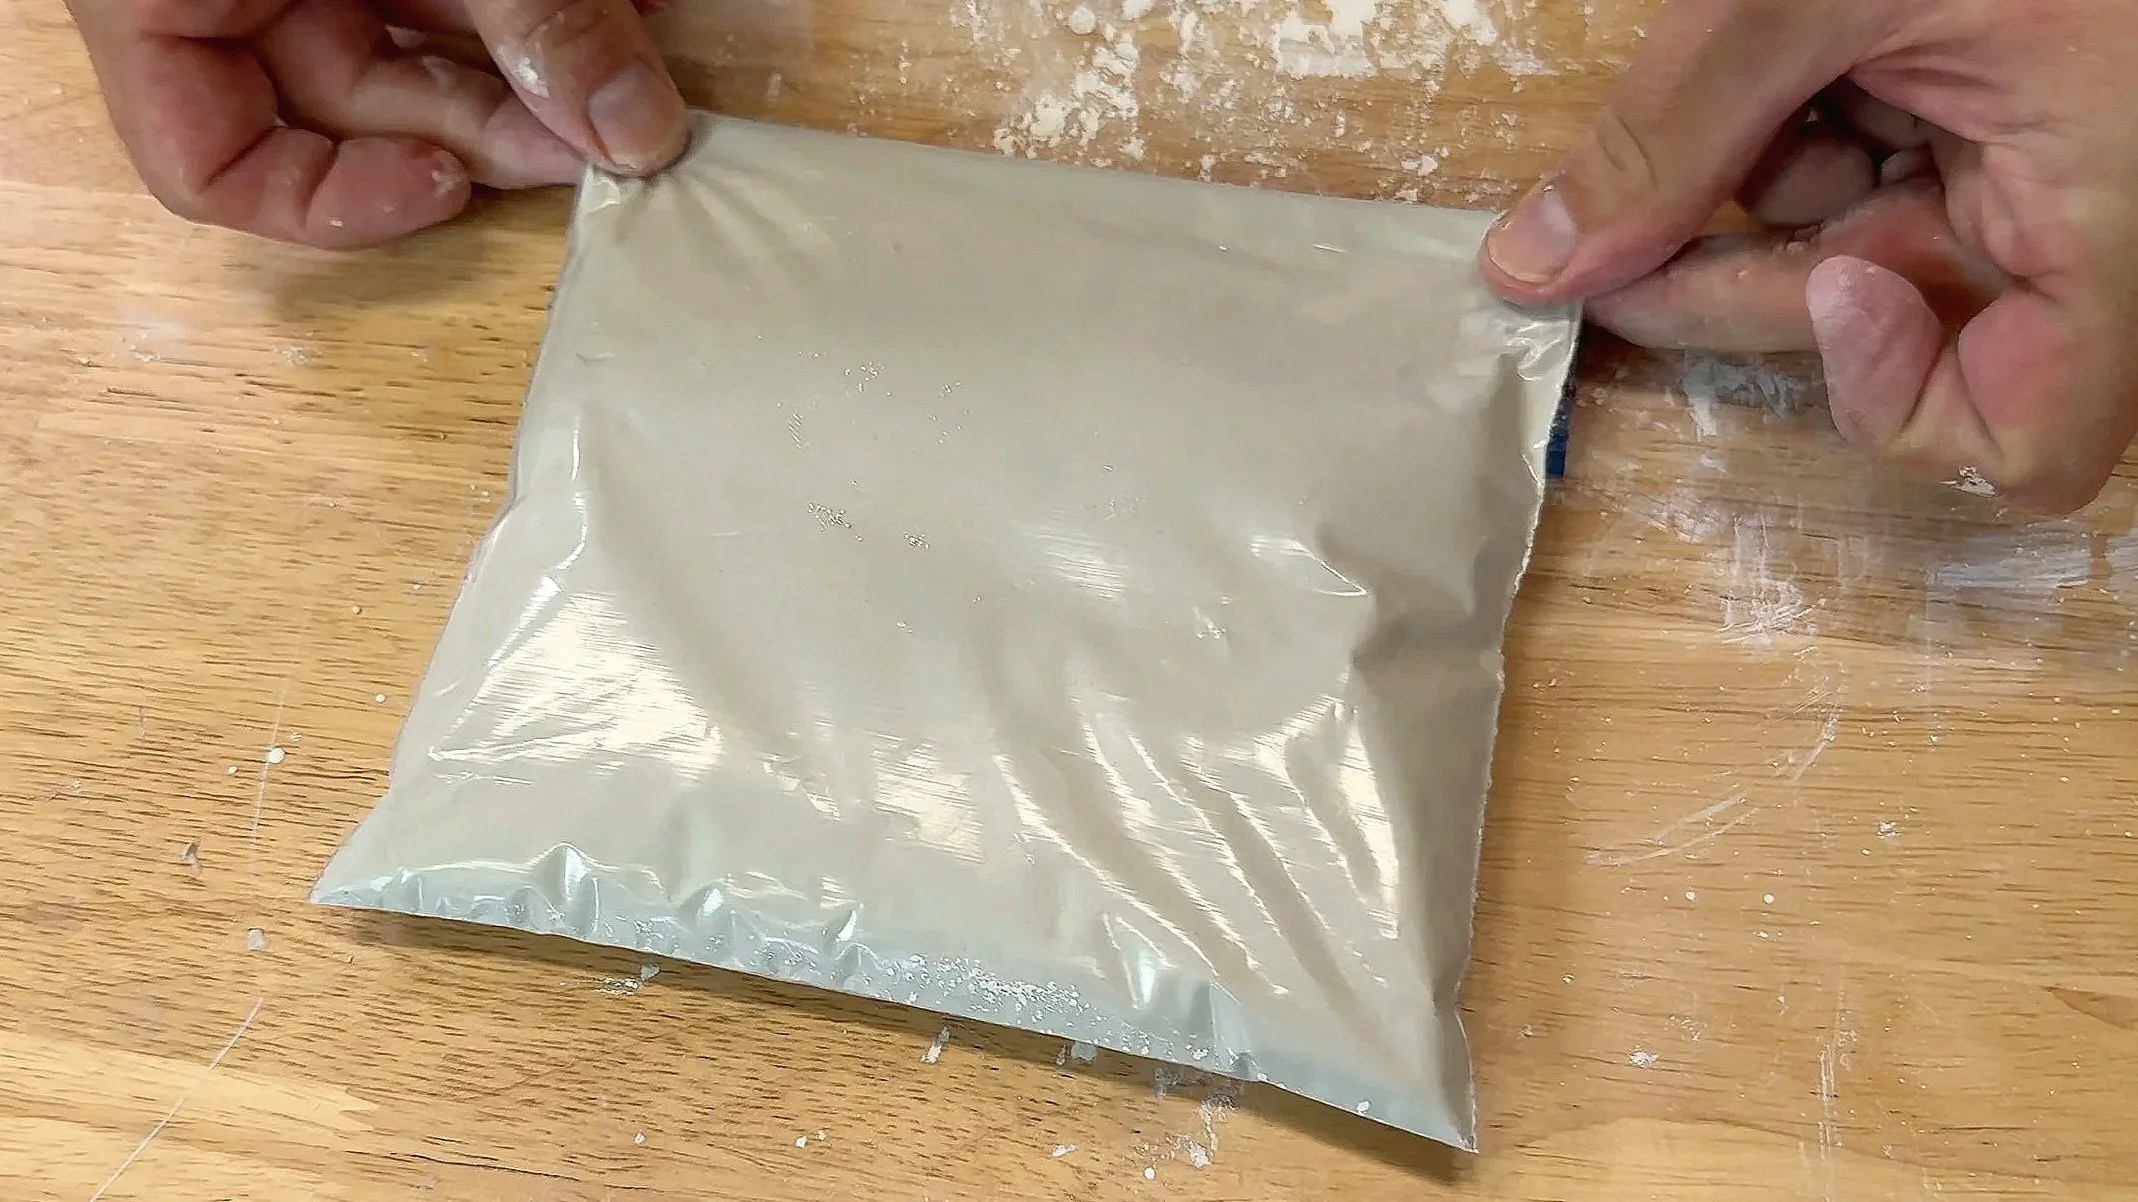
This is the secret sauce: fold/tighten the bag so the plaster bulges in the center. A smaller bag = a fuller pillow look.
Pro tip: sharp corners + a plump center = the most convincing “pillow” shape.
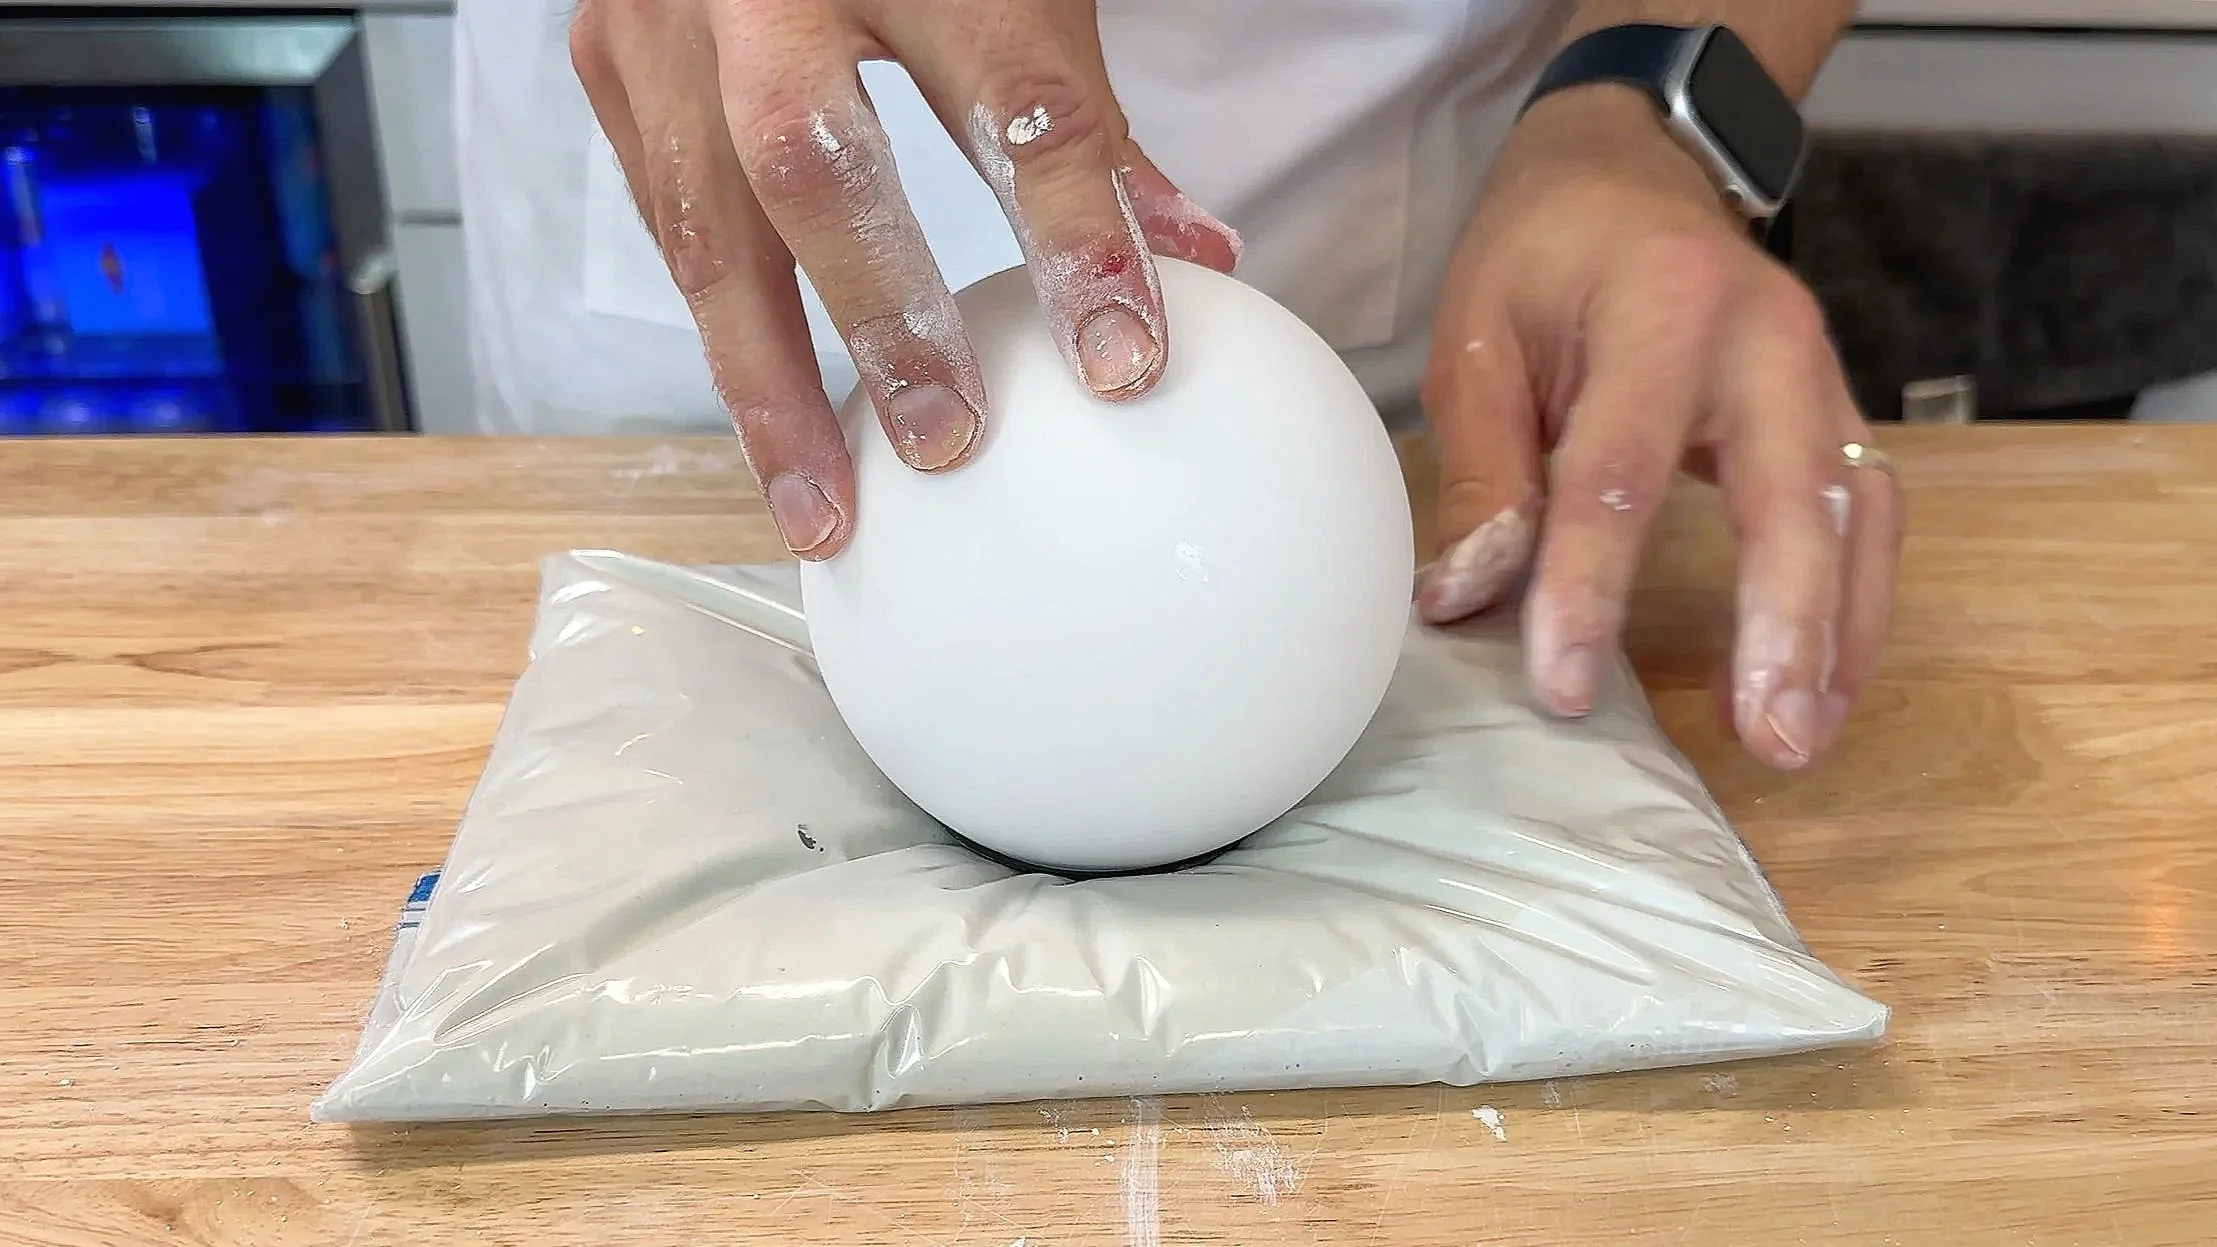
How to Get Realistic Wrinkles (The “Smoosh” Detail)
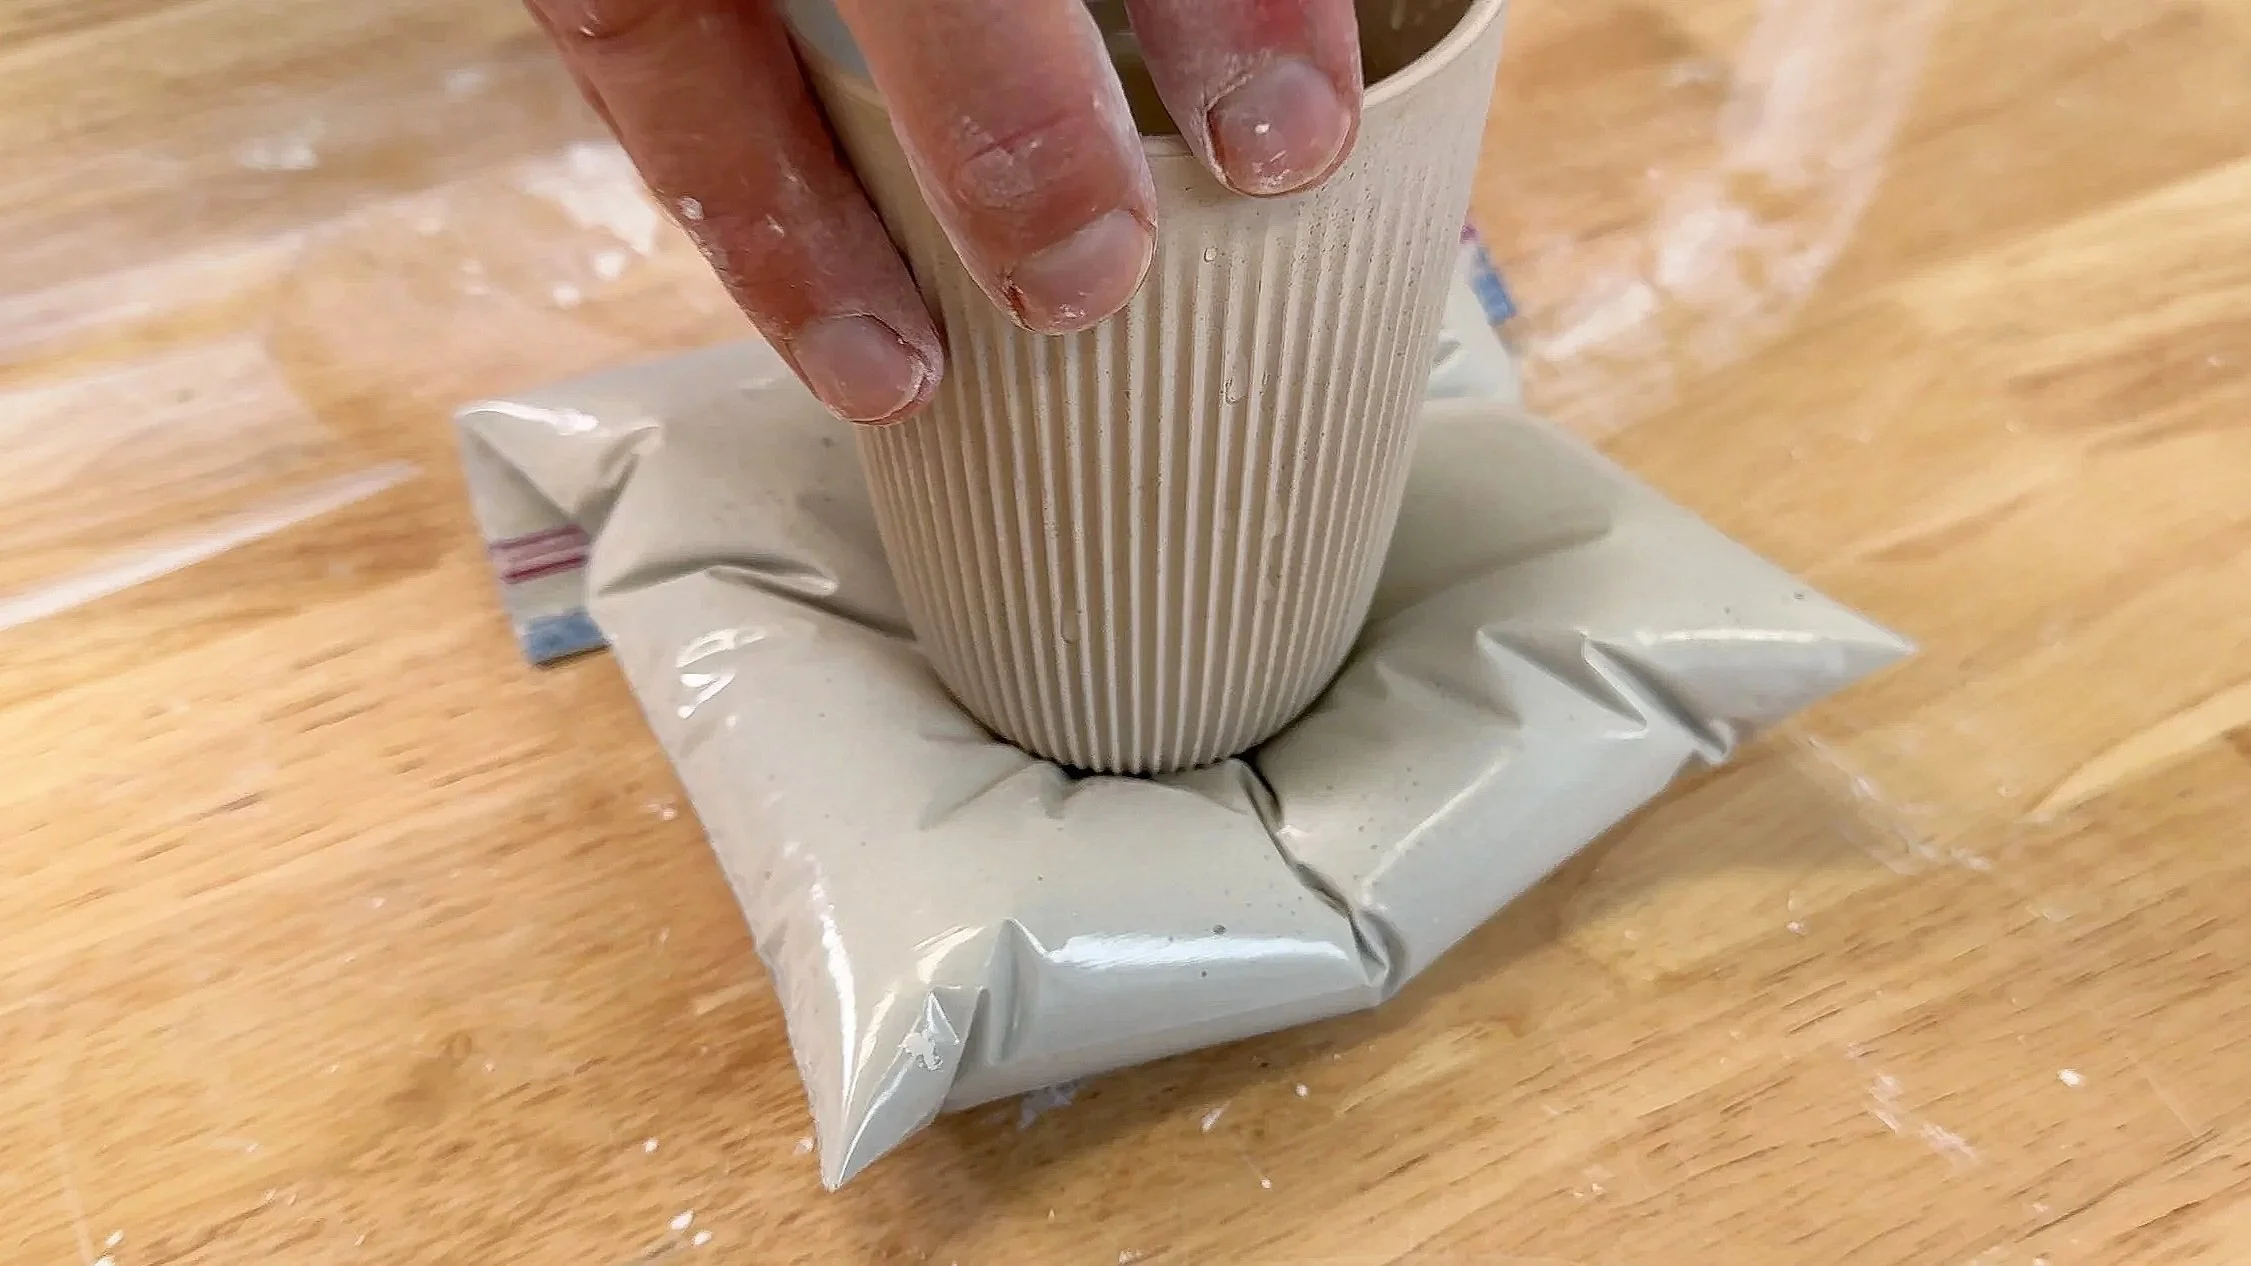
A plaster pillow isn’t really a pillow until it gets compressed.
To create the iconic wrinkled corners:
place a cup or object in the center of the bag
let the weight press down while the plaster cures
the corners will wrinkle upward naturally
In the video, we even filled the cup with water to add weight, which creates deeper, more dramatic wrinkles.
More plush + more compression = more wrinkle detail.
Paddle Mixer vs. Stir Stick: How to Avoid Air Bubbles
We tested two approaches for our DIY plaster pillow coasters:
Looser mix + paddle mixer
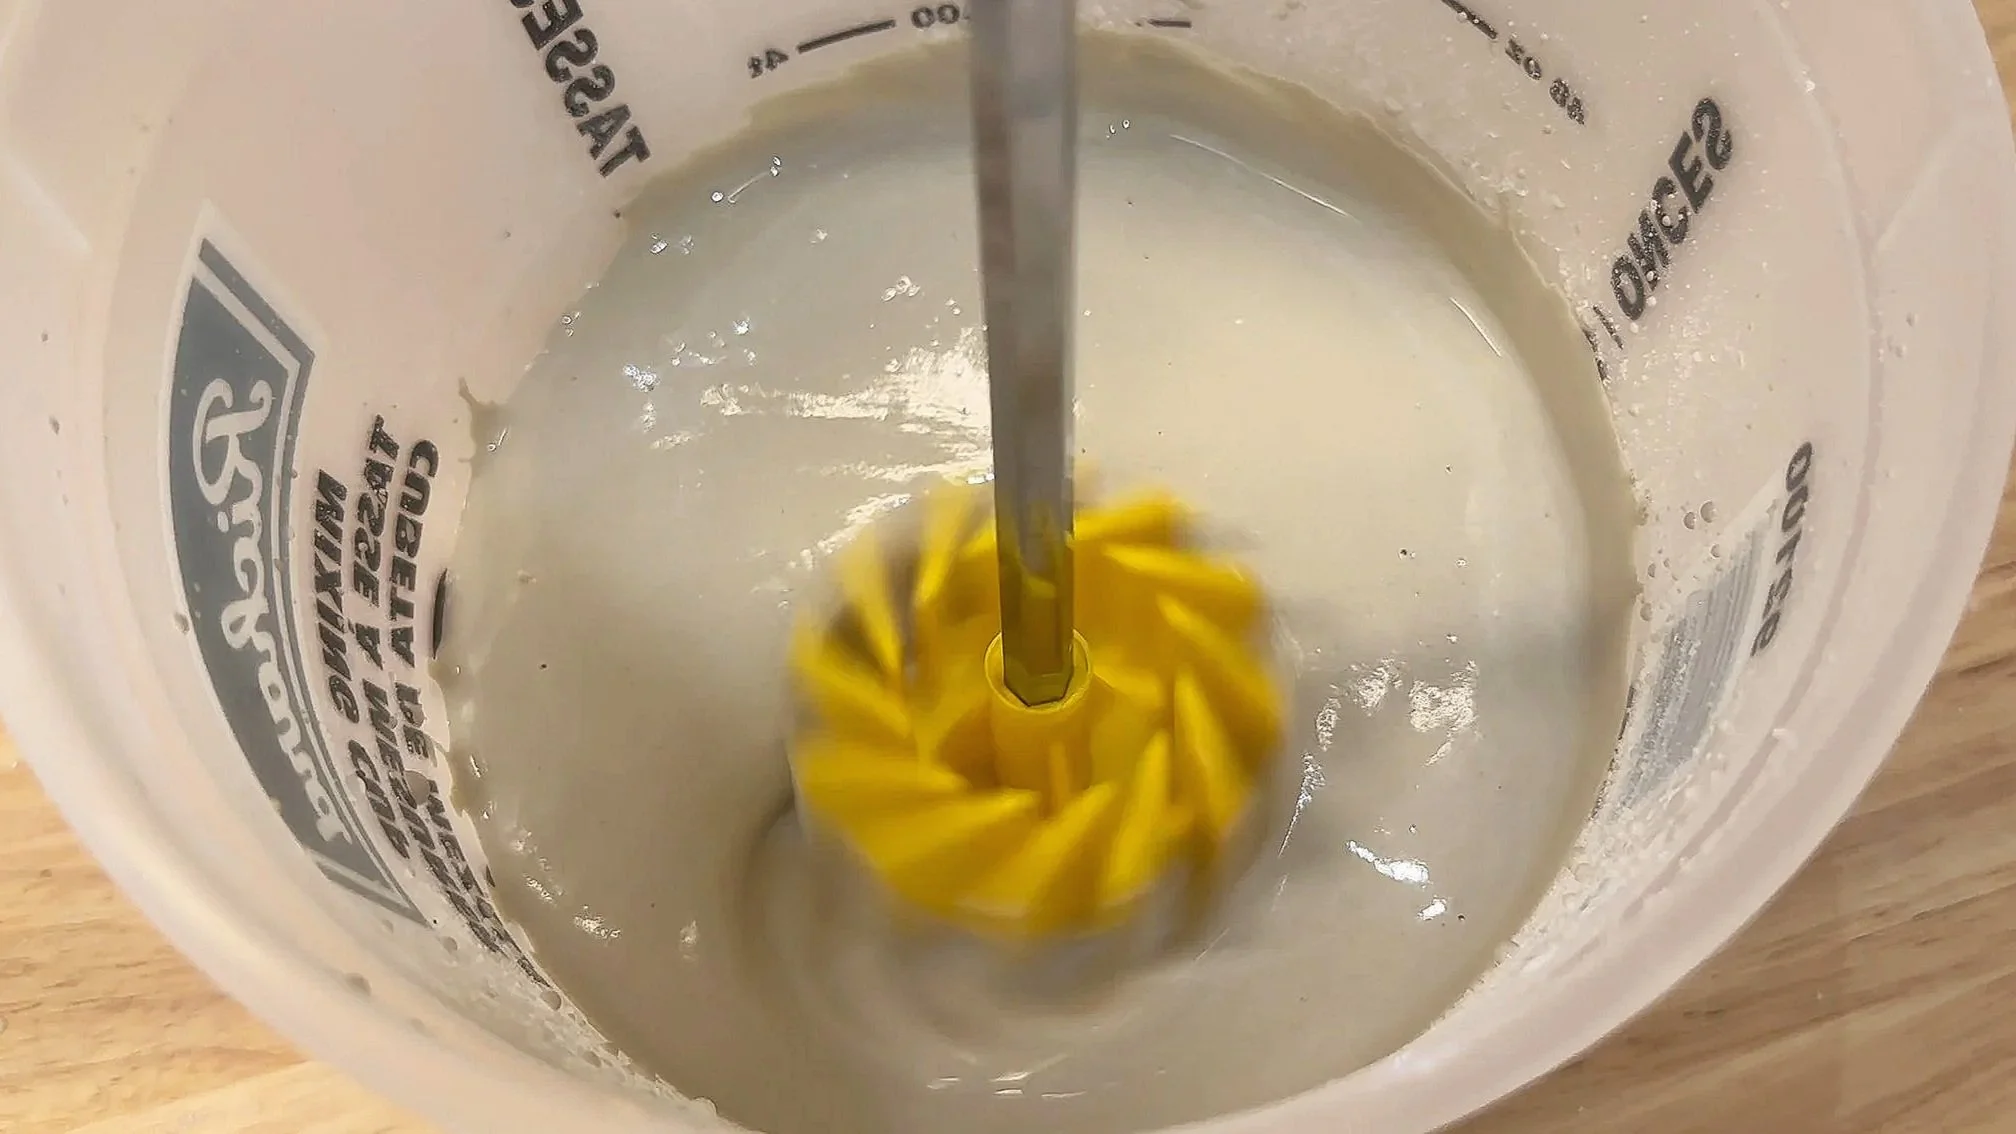
Faster mixing
Can introduce more air if you overmix
Works fine if you take the time to work the air out of the bag properly
Slightly thicker mix + stir stick
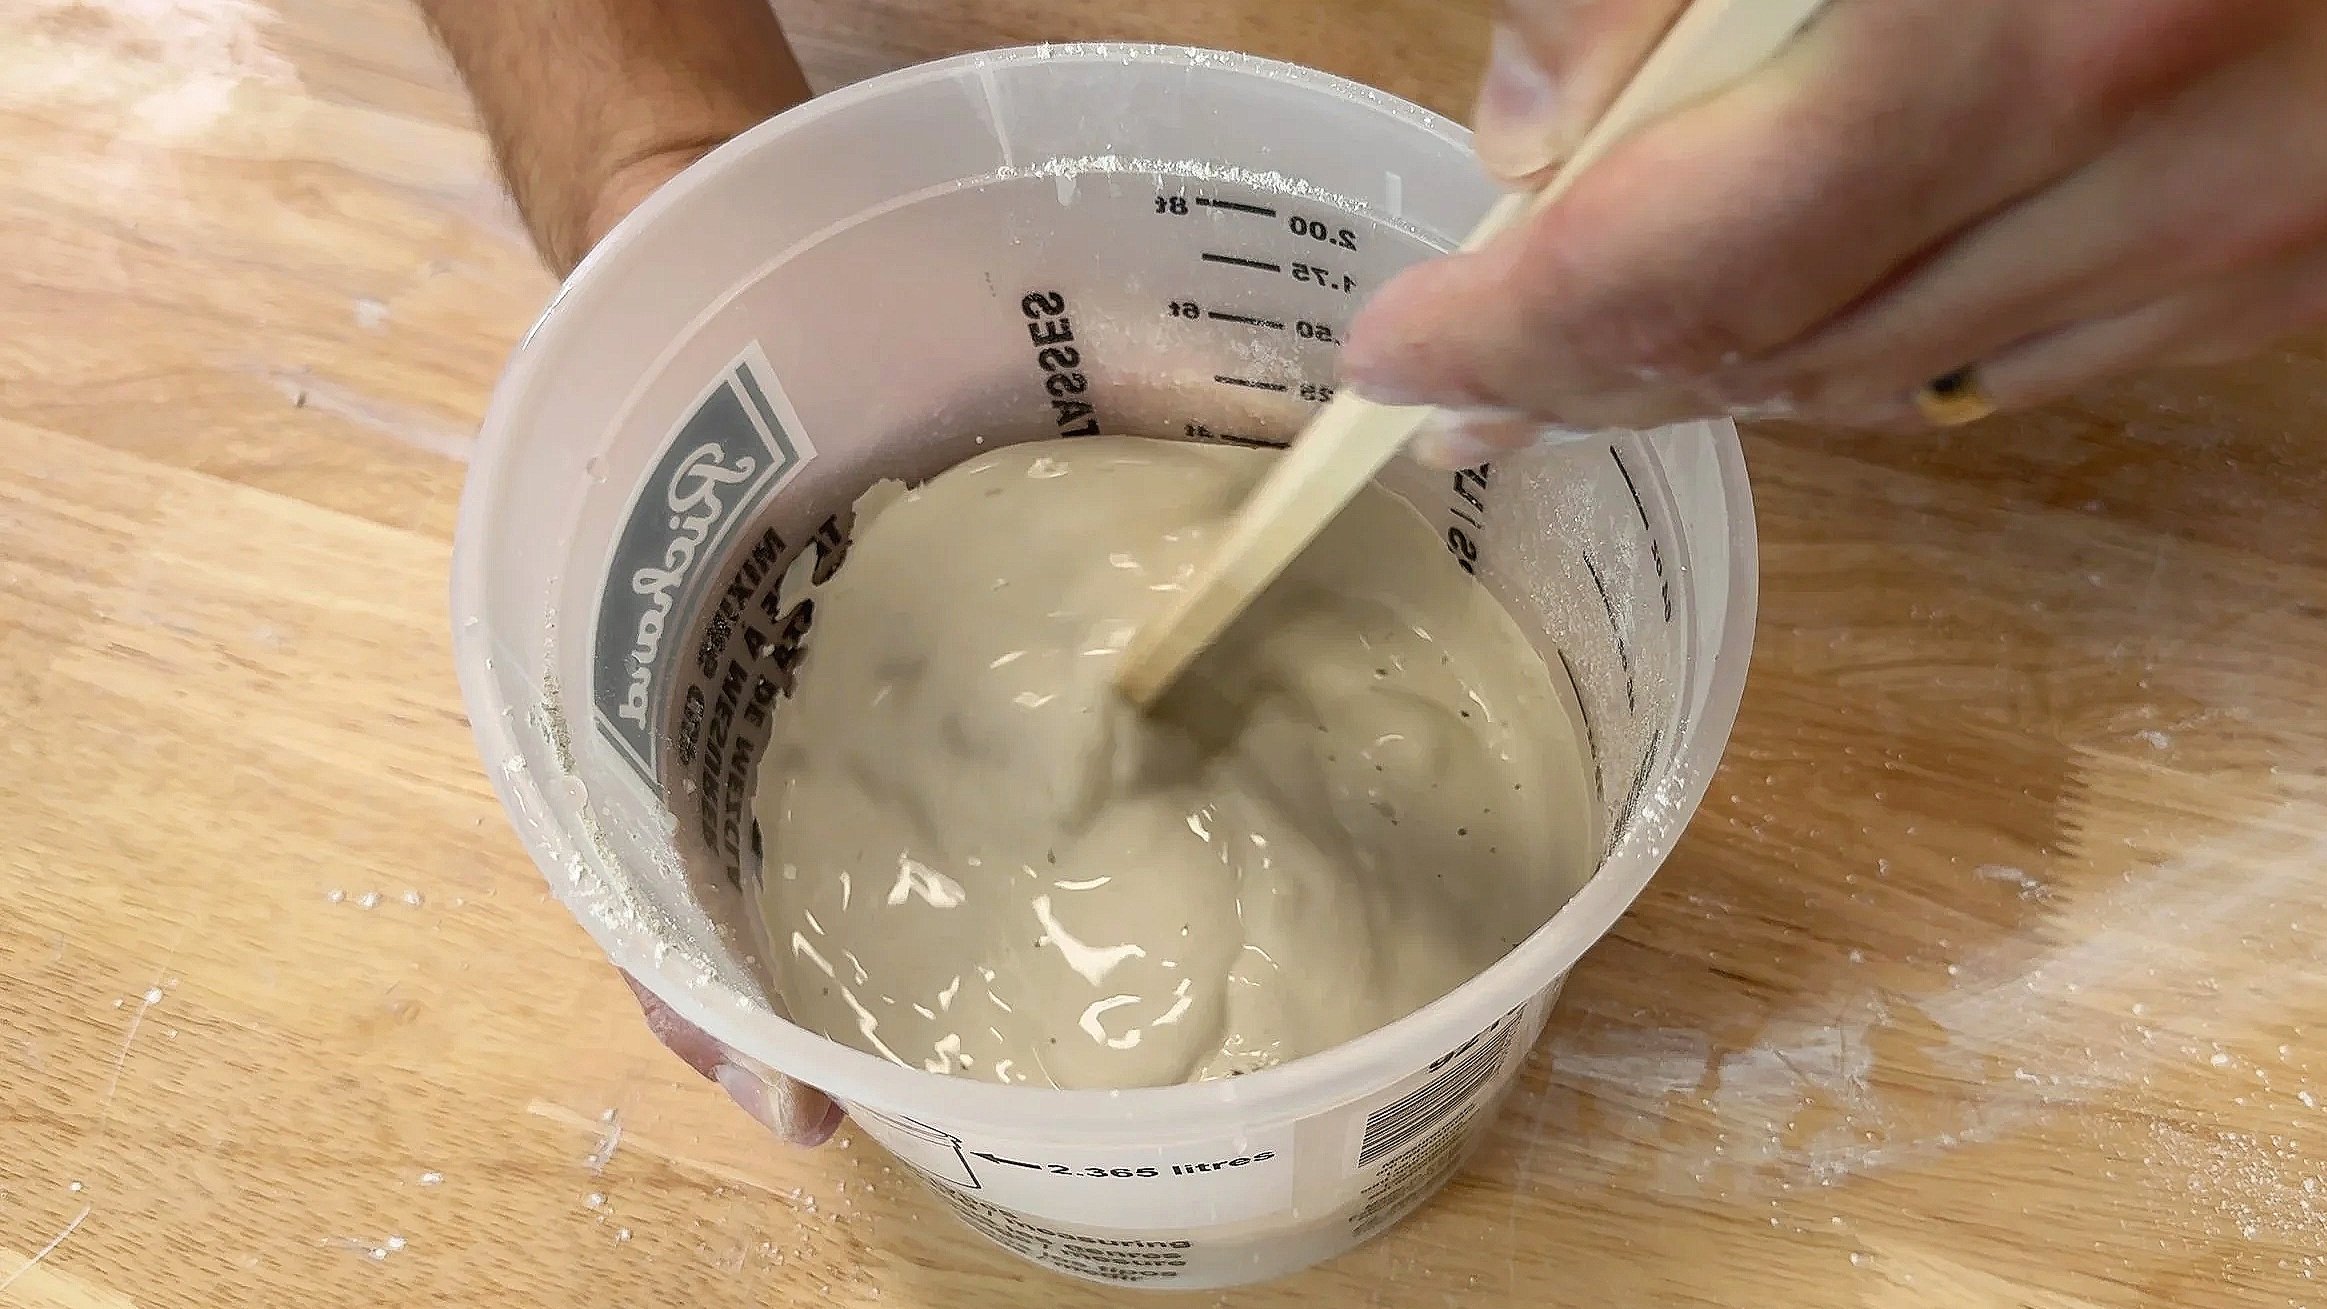
Adds less air
Often yields a cleaner surface
Still needs careful bubble removal in the bag
Even with the “better” batch, tiny micro-bubbles can happen—so the real win is a balanced mix (not too wet) plus careful de-airing.
Unmolding: When to Open the Bag (And What to Expect)
Plaster sets quickly, and once it’s cured:
the Ziploc bag peels off easily (it doesn’t really stick)
the piece may feel warm as it finishes curing (normal)
This is the best part—like unwrapping a tiny modern art burrito.
Painting + Sealing Plaster (Rustoleum Chalked + Matte Clear)
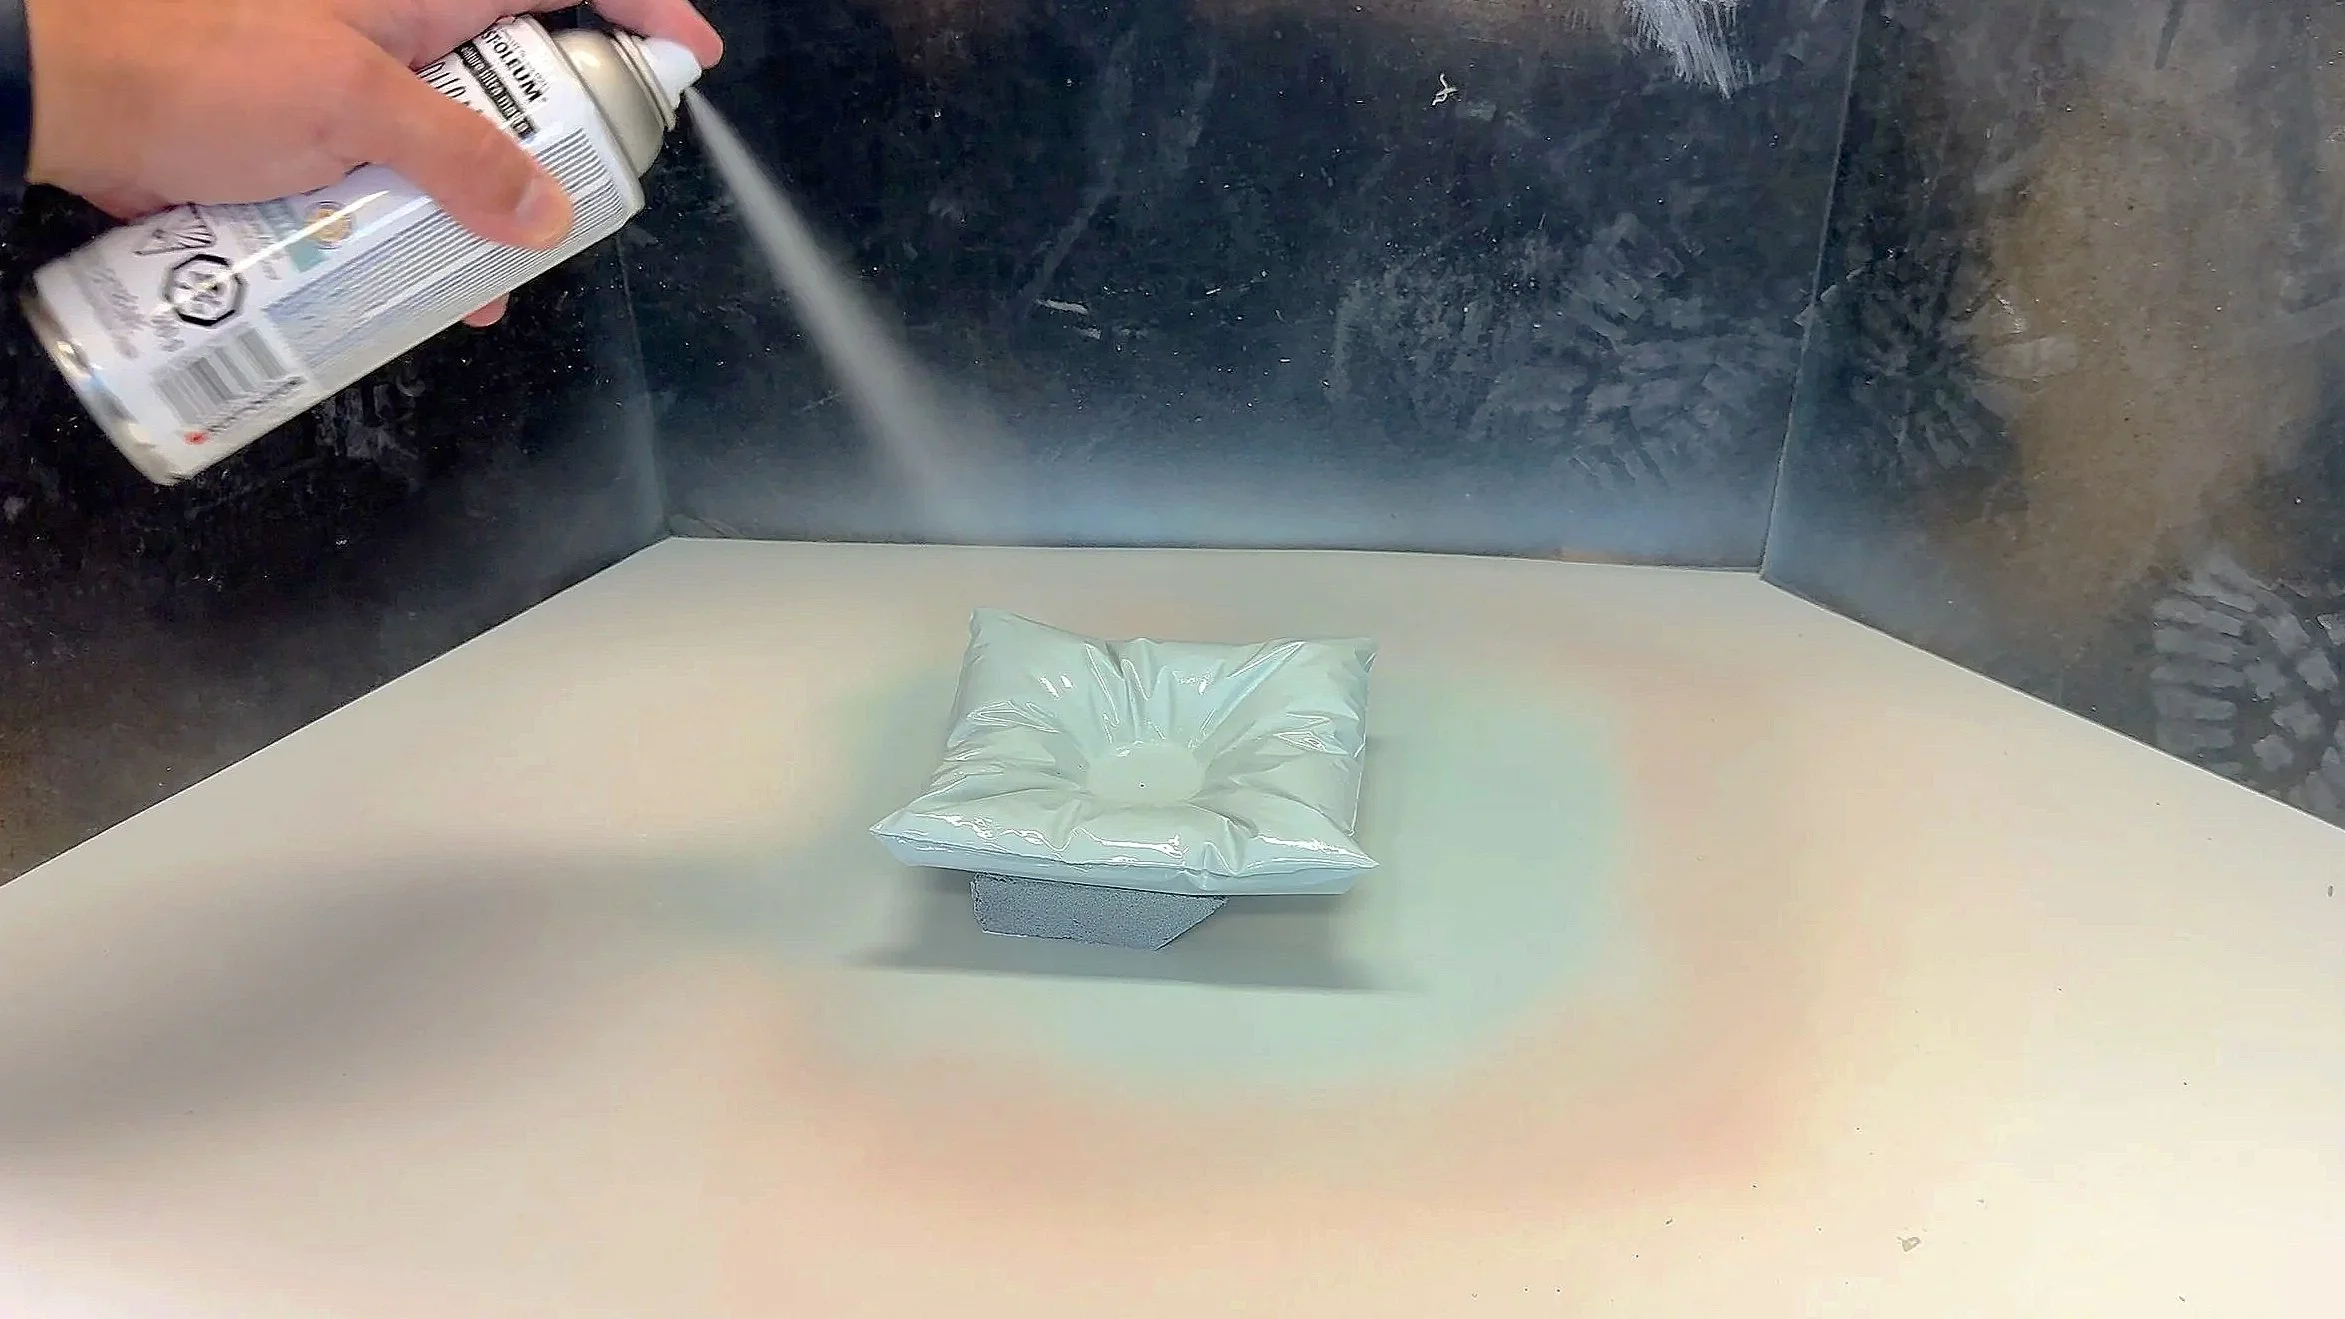
You can leave plaster pillow coasters raw (it looks very stone-like), but sealing helps them hold up better—especially for drinks.
We used:
Rustoleum Chalked spray paint (soft, ultra-matte colors)
Clear matte top coat for protection and moisture resistance
Also tested clear matte top coat only on raw plaster for a natural stone finish
*Depending on the sealer you choose, you may find (like we did) that even a ‘matte’ clear coat still adds a slight sheen to the pillows. If you want them to remain totally matte and chalky, you might be better leaving them ‘raw’.
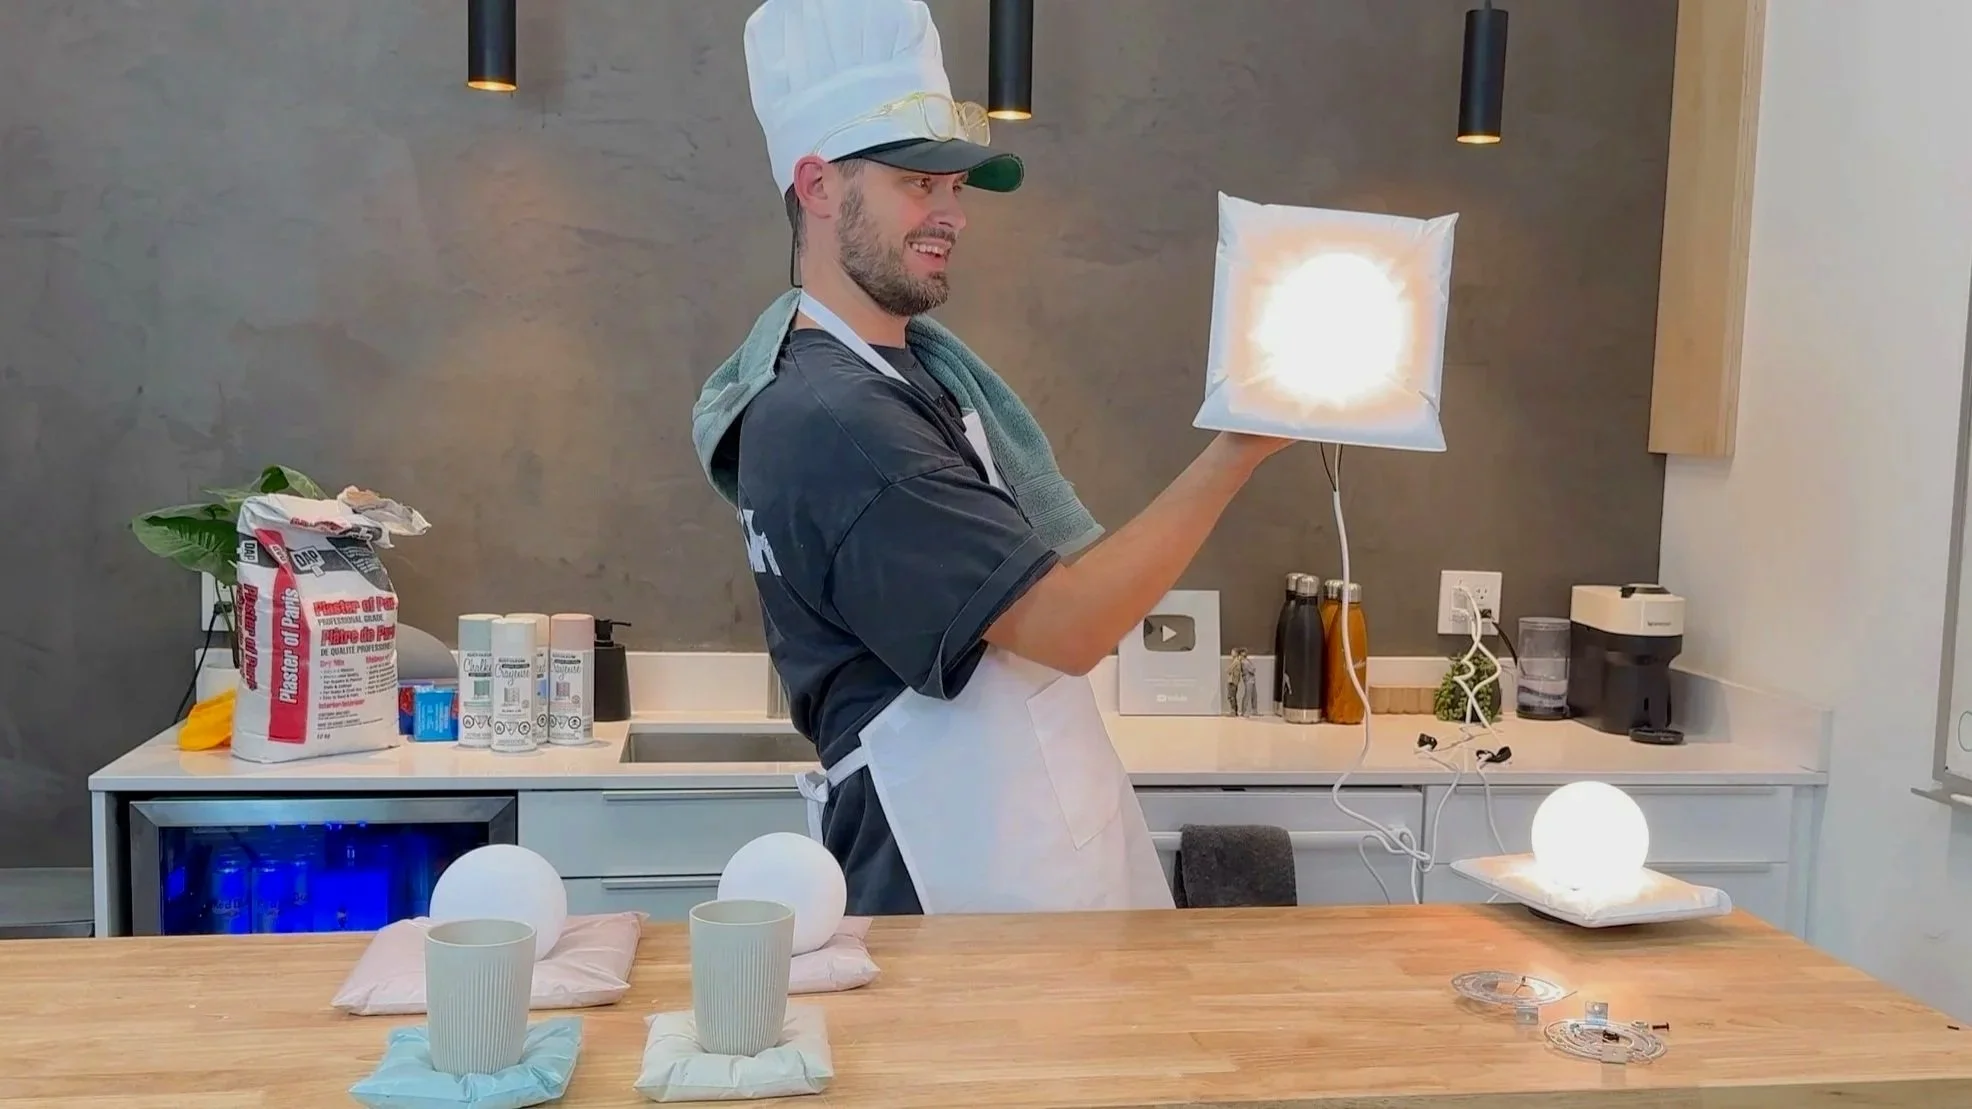
DIY Plaster Pillow Sconce: Turning the Trend Into a Wall Light
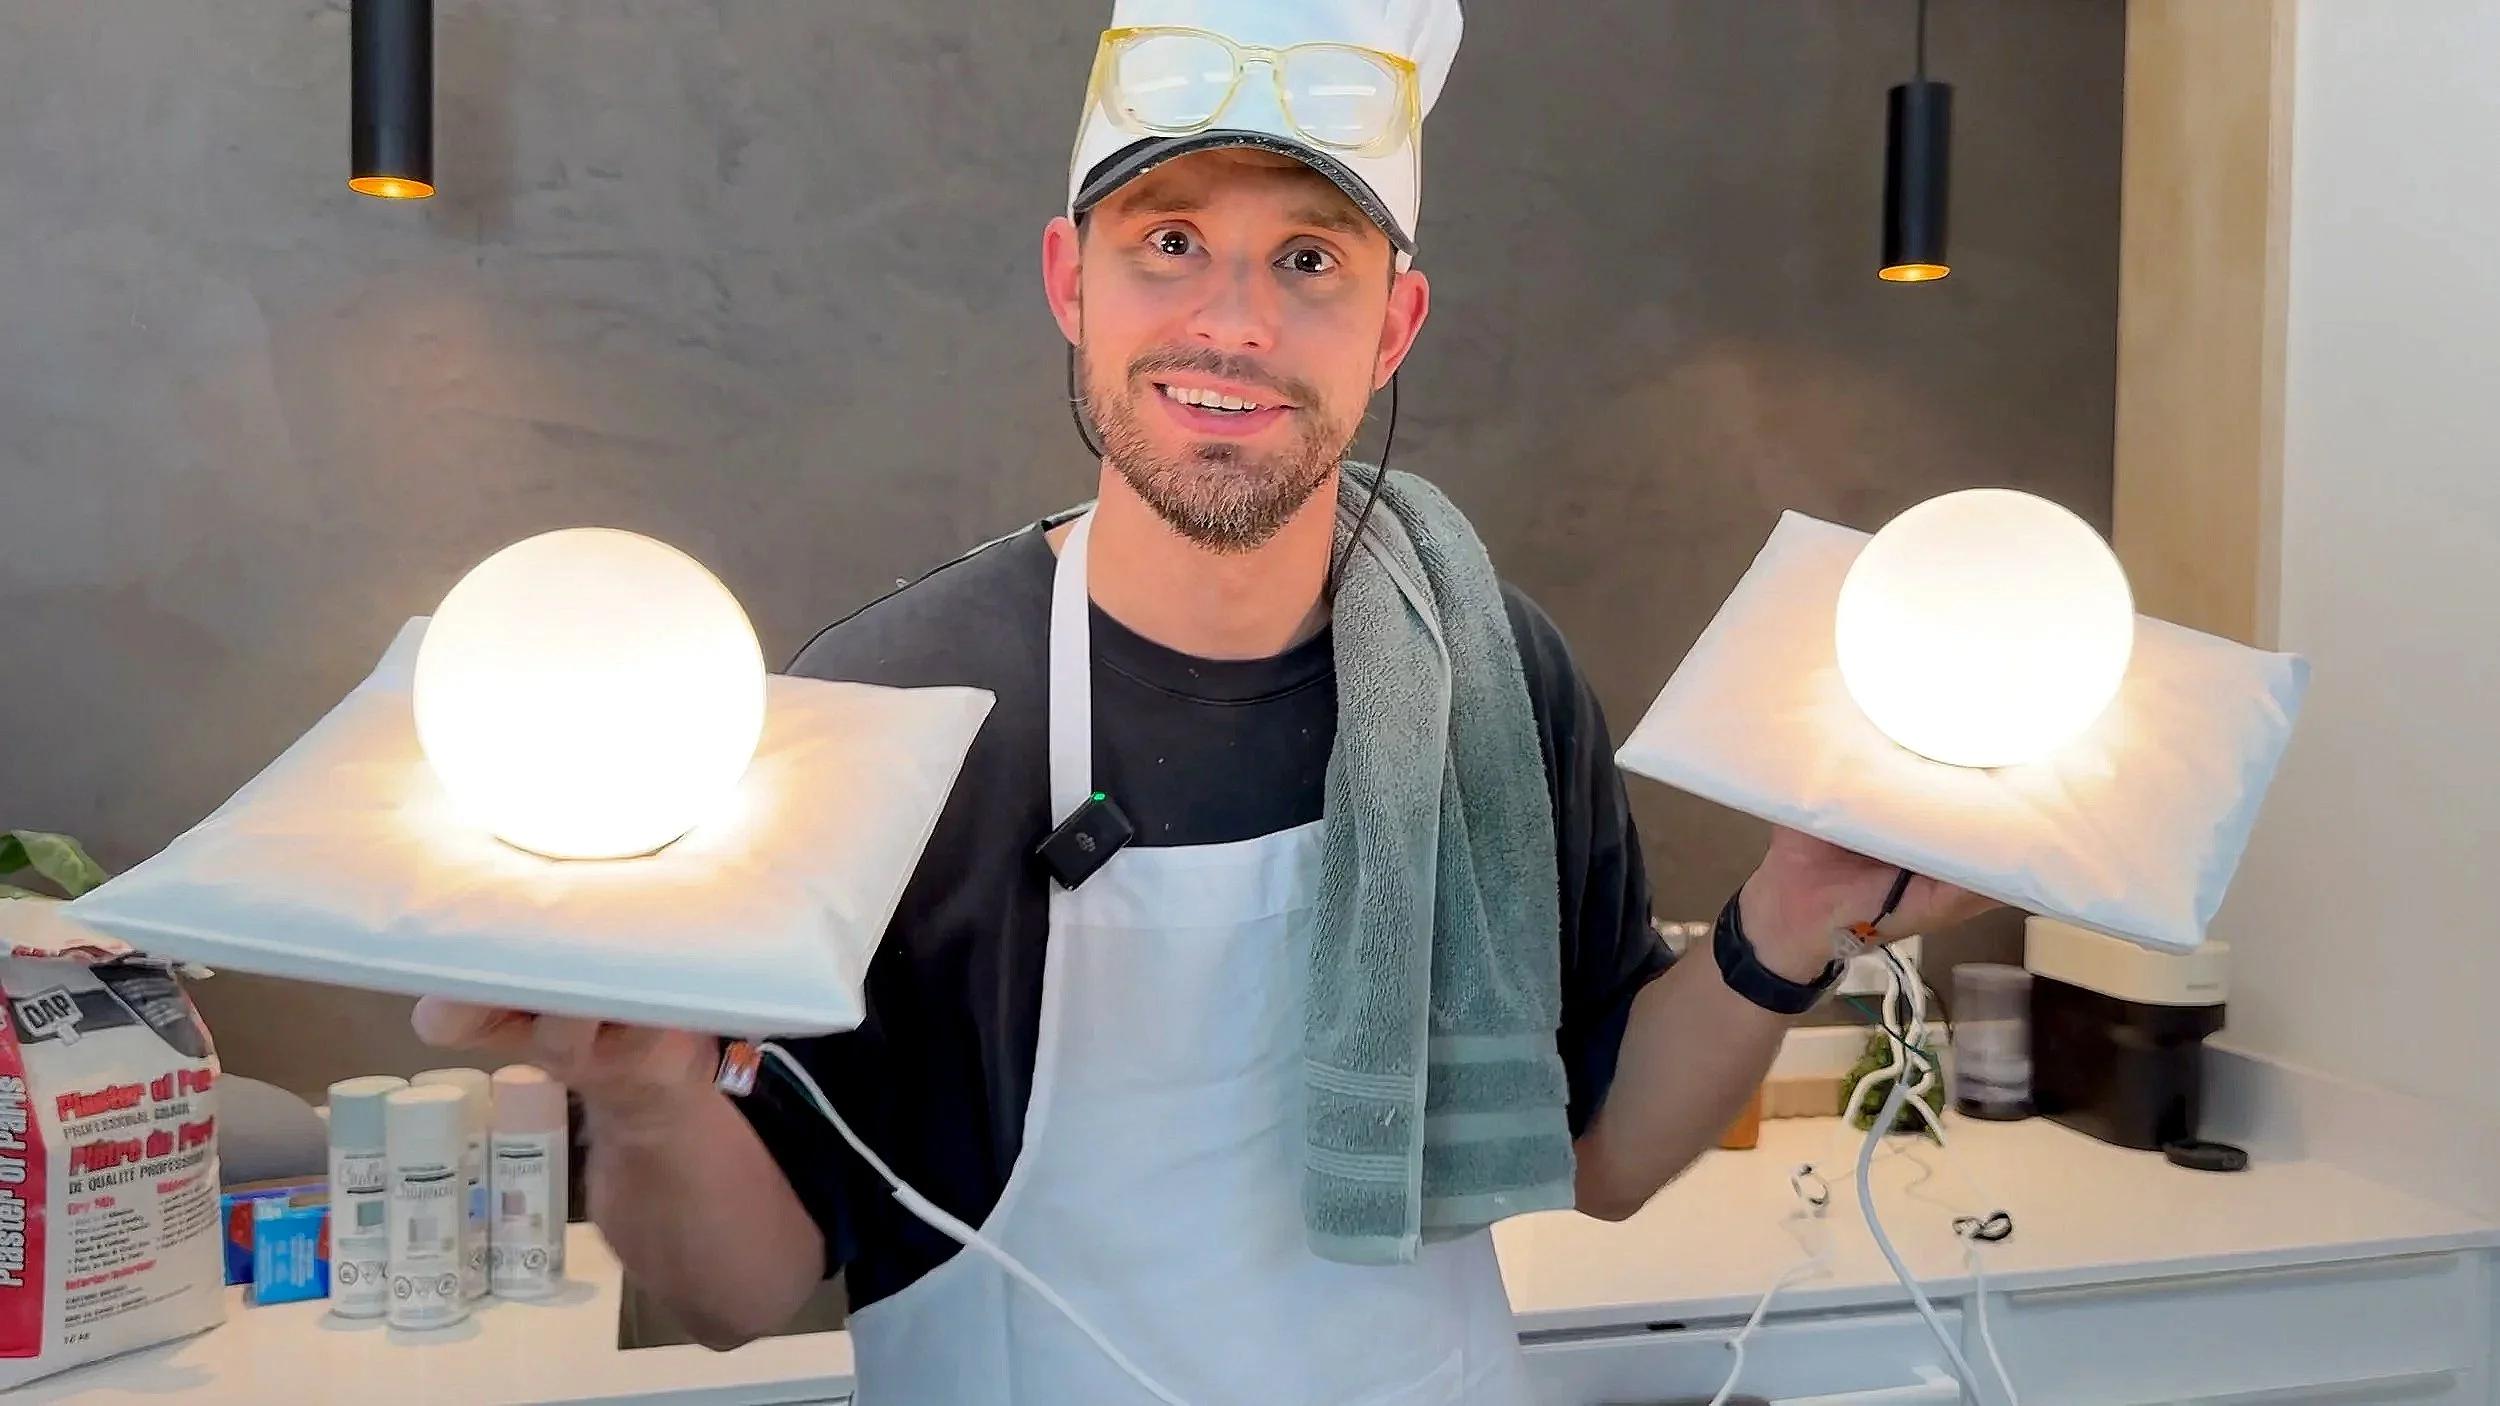
Yes—a plaster pillow wall sconce is a thing… now…and it looks incredible.
The concept is the same as the coasters:
mix plaster
pour into a bag
remove air
shape it into a plump pillow
compress/form a cavity where the light will sit
Once painted and sealed, it reads like a soft pillow—but it’s rigid plaster with a clean, modern finish. It’s the kind of project that makes people ask where you bought it… and you get to say, “I didn’t.”
DIY Plaster Pillow Coasters: Final Tips for Best Results
Prep everything first—plaster doesn’t wait
Don’t overmix (especially with a paddle)
Remove any air from the bag thoroughly before shaping
Plump the bag for a fuller pillow look
Add weight to your center object for deeper wrinkles
Seal your coasters if they’ll see moisture
Make Your Own Plaster Pillow Decor (Coasters, Sconces, and More)
Now you know how to make DIY plaster pillow coasters, how to control bubbles, how to create realistic wrinkles, and how to take the same method and build a plaster pillow sconce.