
Painting Wallpaper: Can You — and Should You? What to Know Before You Start
When you walk into a room covered in outdated wallpaper, one question comes quickly to mind: Do you remove the wallpaper… or can you simply paint over it?
If you're watching our video on this topic or landing here after a desperate Google search, you’re probably weighing the time, effort, and potential disaster of wallpaper removal. Good news: you can paint over wallpaper — but only if you do it the right way.
At Refresh Home Improvements, we’ve tackled countless wallpapered rooms. Below, we break down when painting is a viable option, what tools and primers you need, and exactly how to prep the walls so your finished paint job looks seamless (literally!).
Should You Remove Wallpaper or Paint Over It?
Before we get started, let’s get this out of the way:
It’s almost always better to remove wallpaper first.
Stripping wallpaper usually delivers the best long-term results, and eliminates any chance of unexpected results in the end- But anyone who has attempted removal knows it can be messy, slow, and often requires wall repair afterward.
So when is painting over wallpaper acceptable?
When Painting Over Wallpaper Is Okay
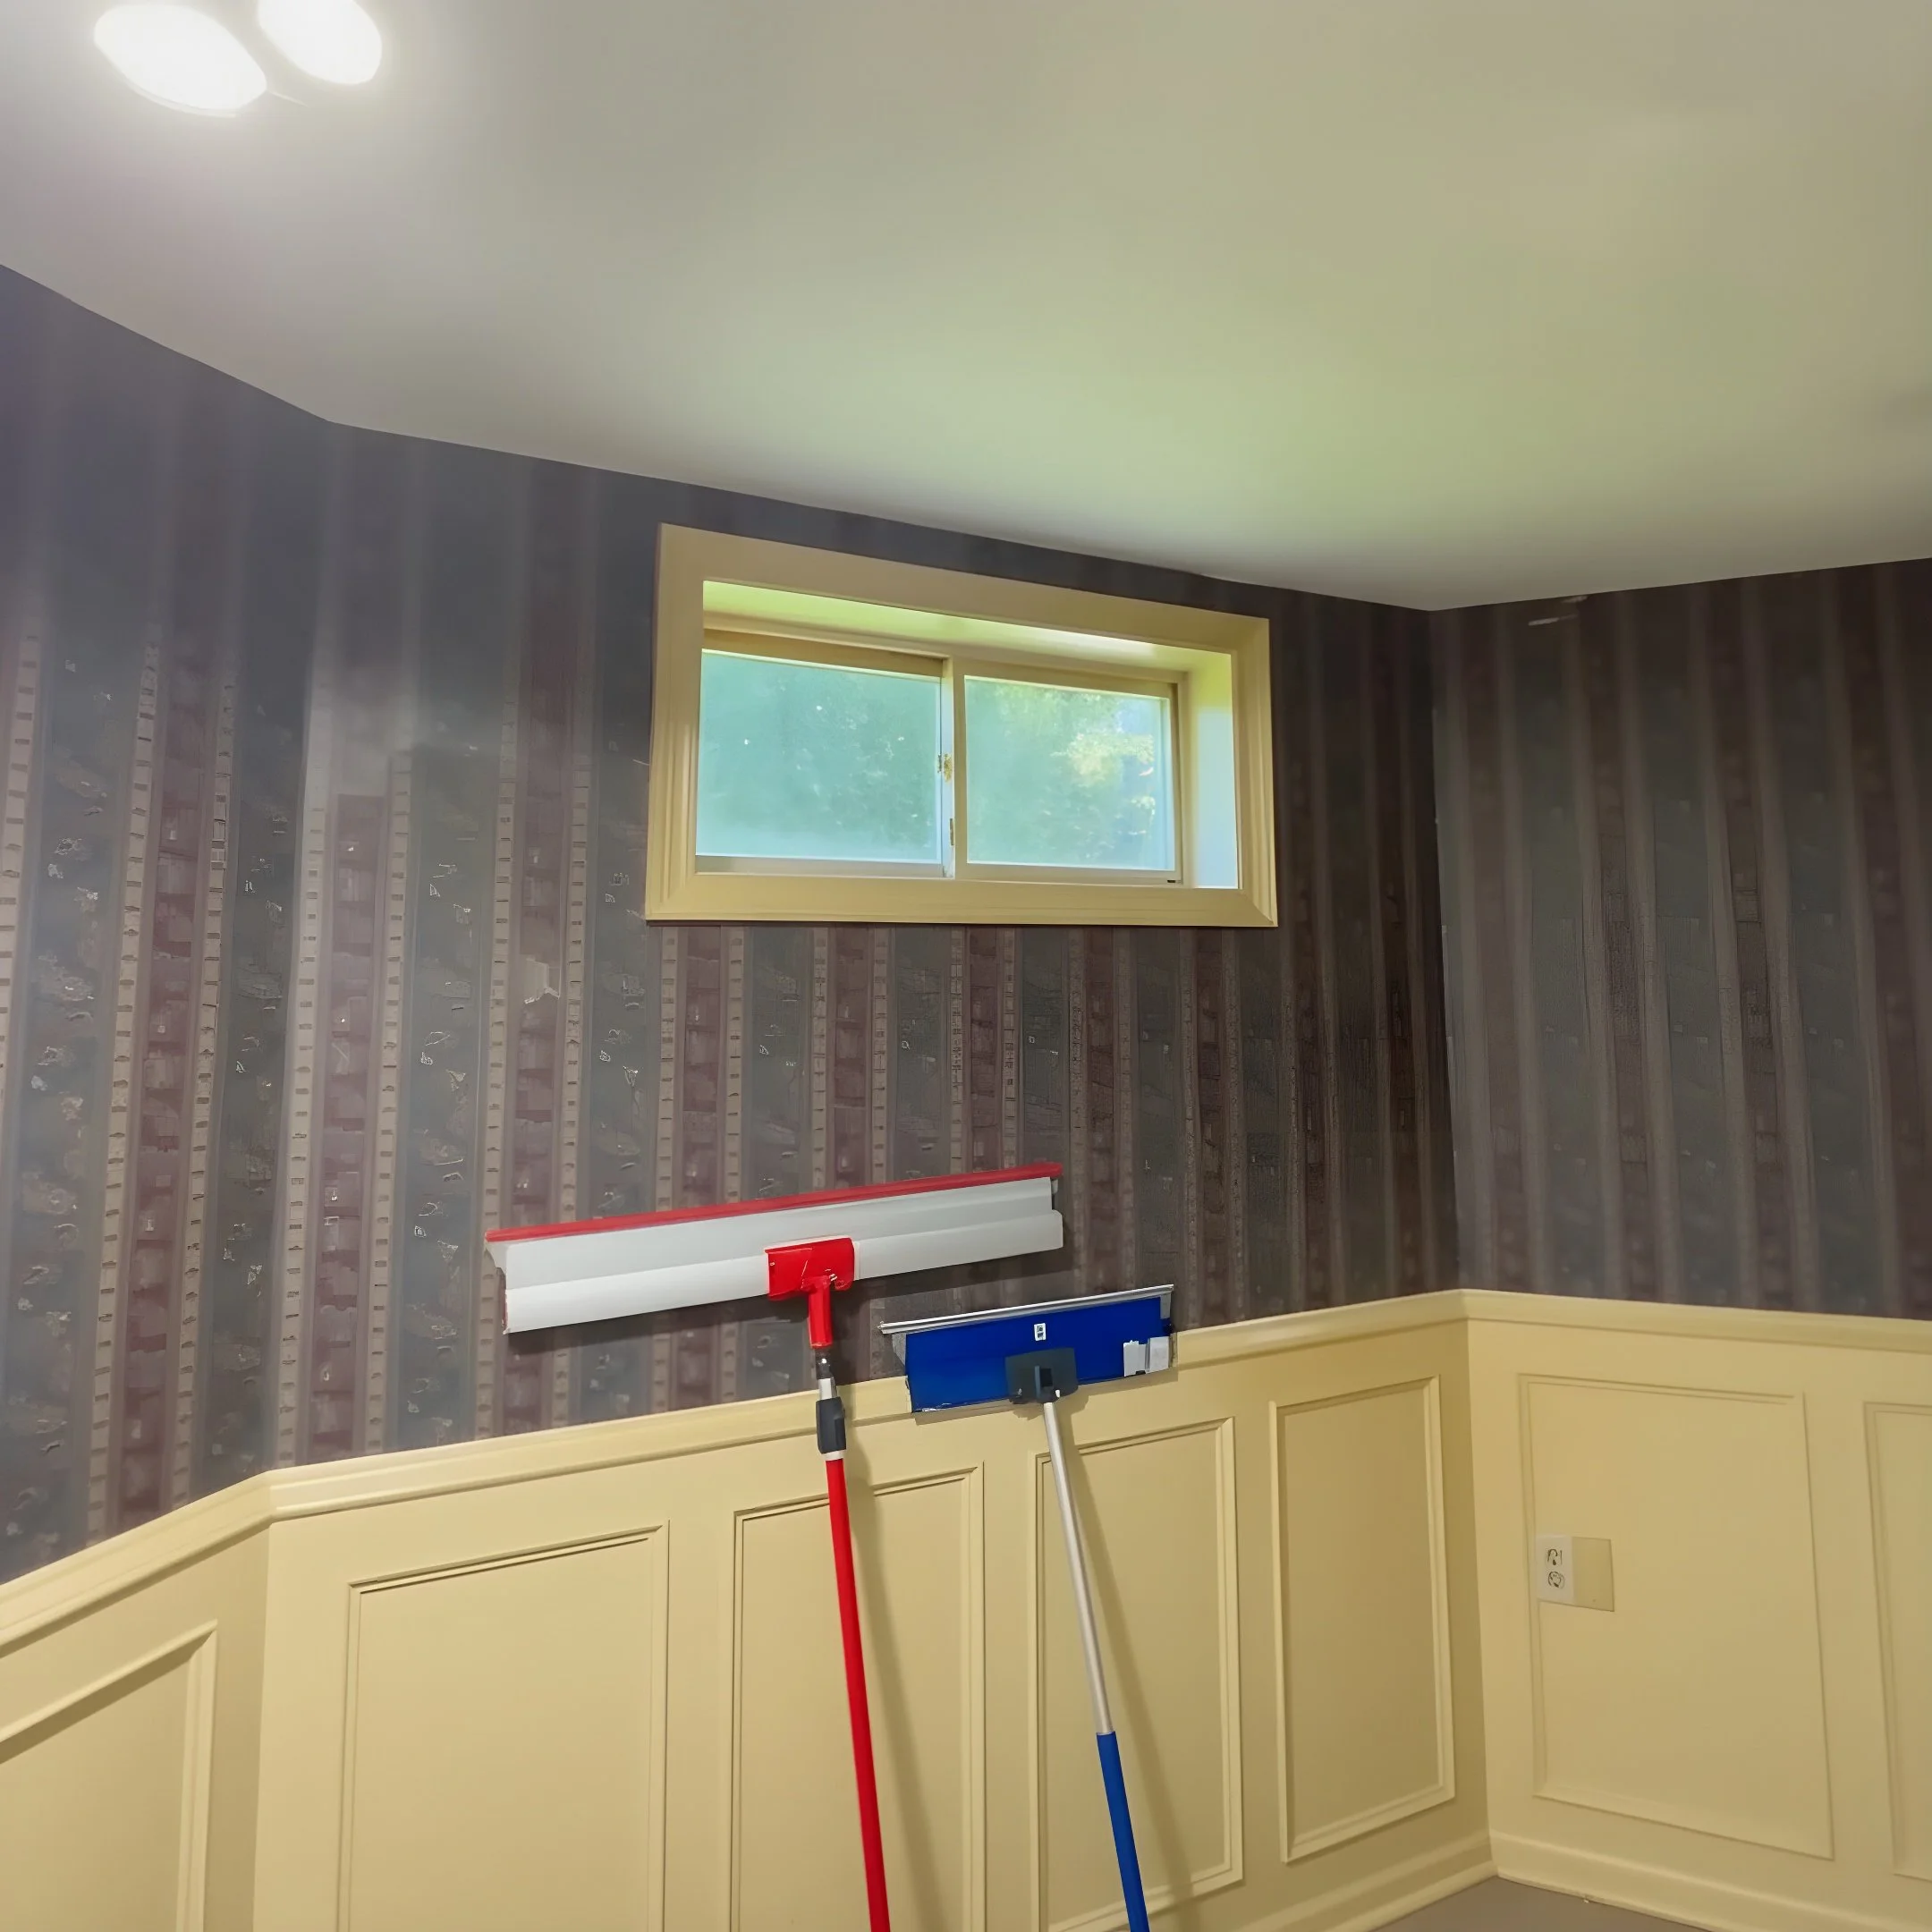
The wallpaper is solidly adhered with no loose edges.
There’s no bubbling, peeling, or significant damage.
Removing the wallpaper would cause more wall damage than it’s worth.
Time or budget constraints make removal unrealistic.
If your wallpaper checks these boxes, painting is a perfectly valid option — and with proper prep, no one will ever know what’s underneath.
The Most Important Step: Use the Right Primer
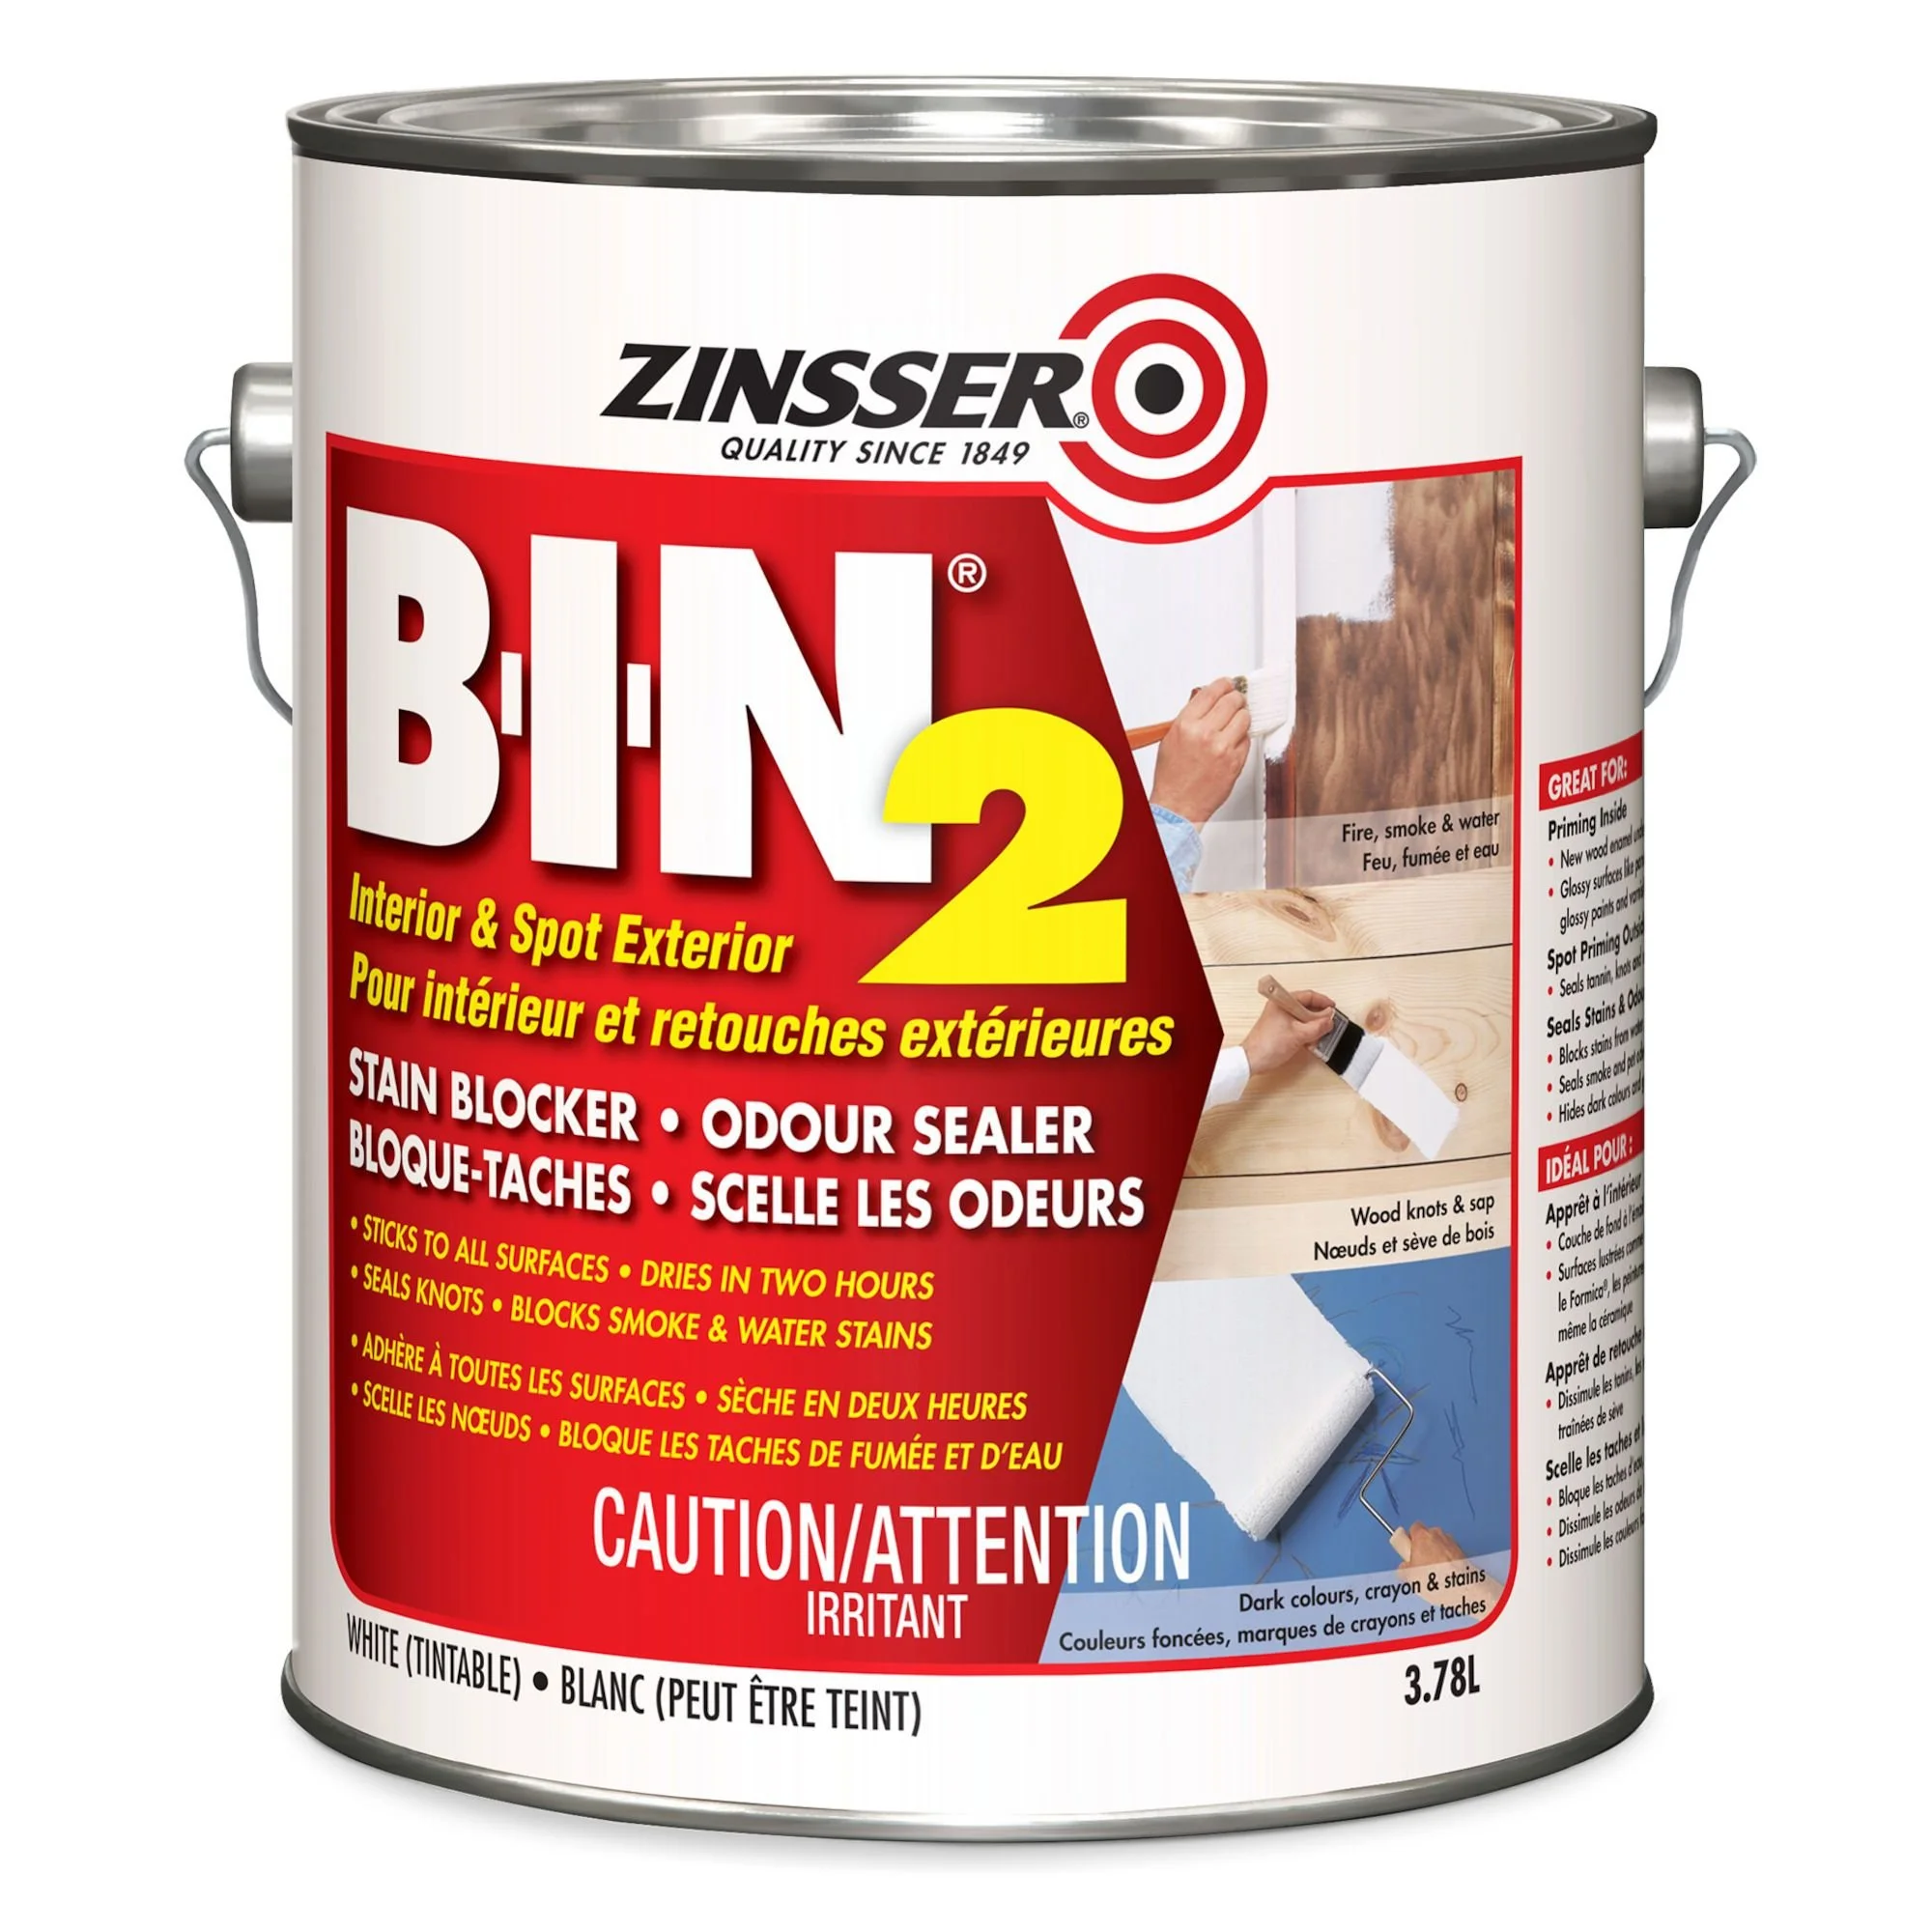
This is where many wallpaper cover-up jobs go wrong.
❌ Do NOT use water-based primer directly on wallpaper.
Water can reactivate wallpaper adhesive, causing:
bubbling
delamination
peeling
seams lifting
✔️ Instead, use a high-quality solvent-based primer.
Solvent-based primers:
won’t reactivate the adhesive
seal the wallpaper surface
provide strong adhesion for paint
help hide underlying patterns or textures
This is the foundation of a successful wallpaper-painting job.
Step-by-Step: How to Paint Over Wallpaper Properly
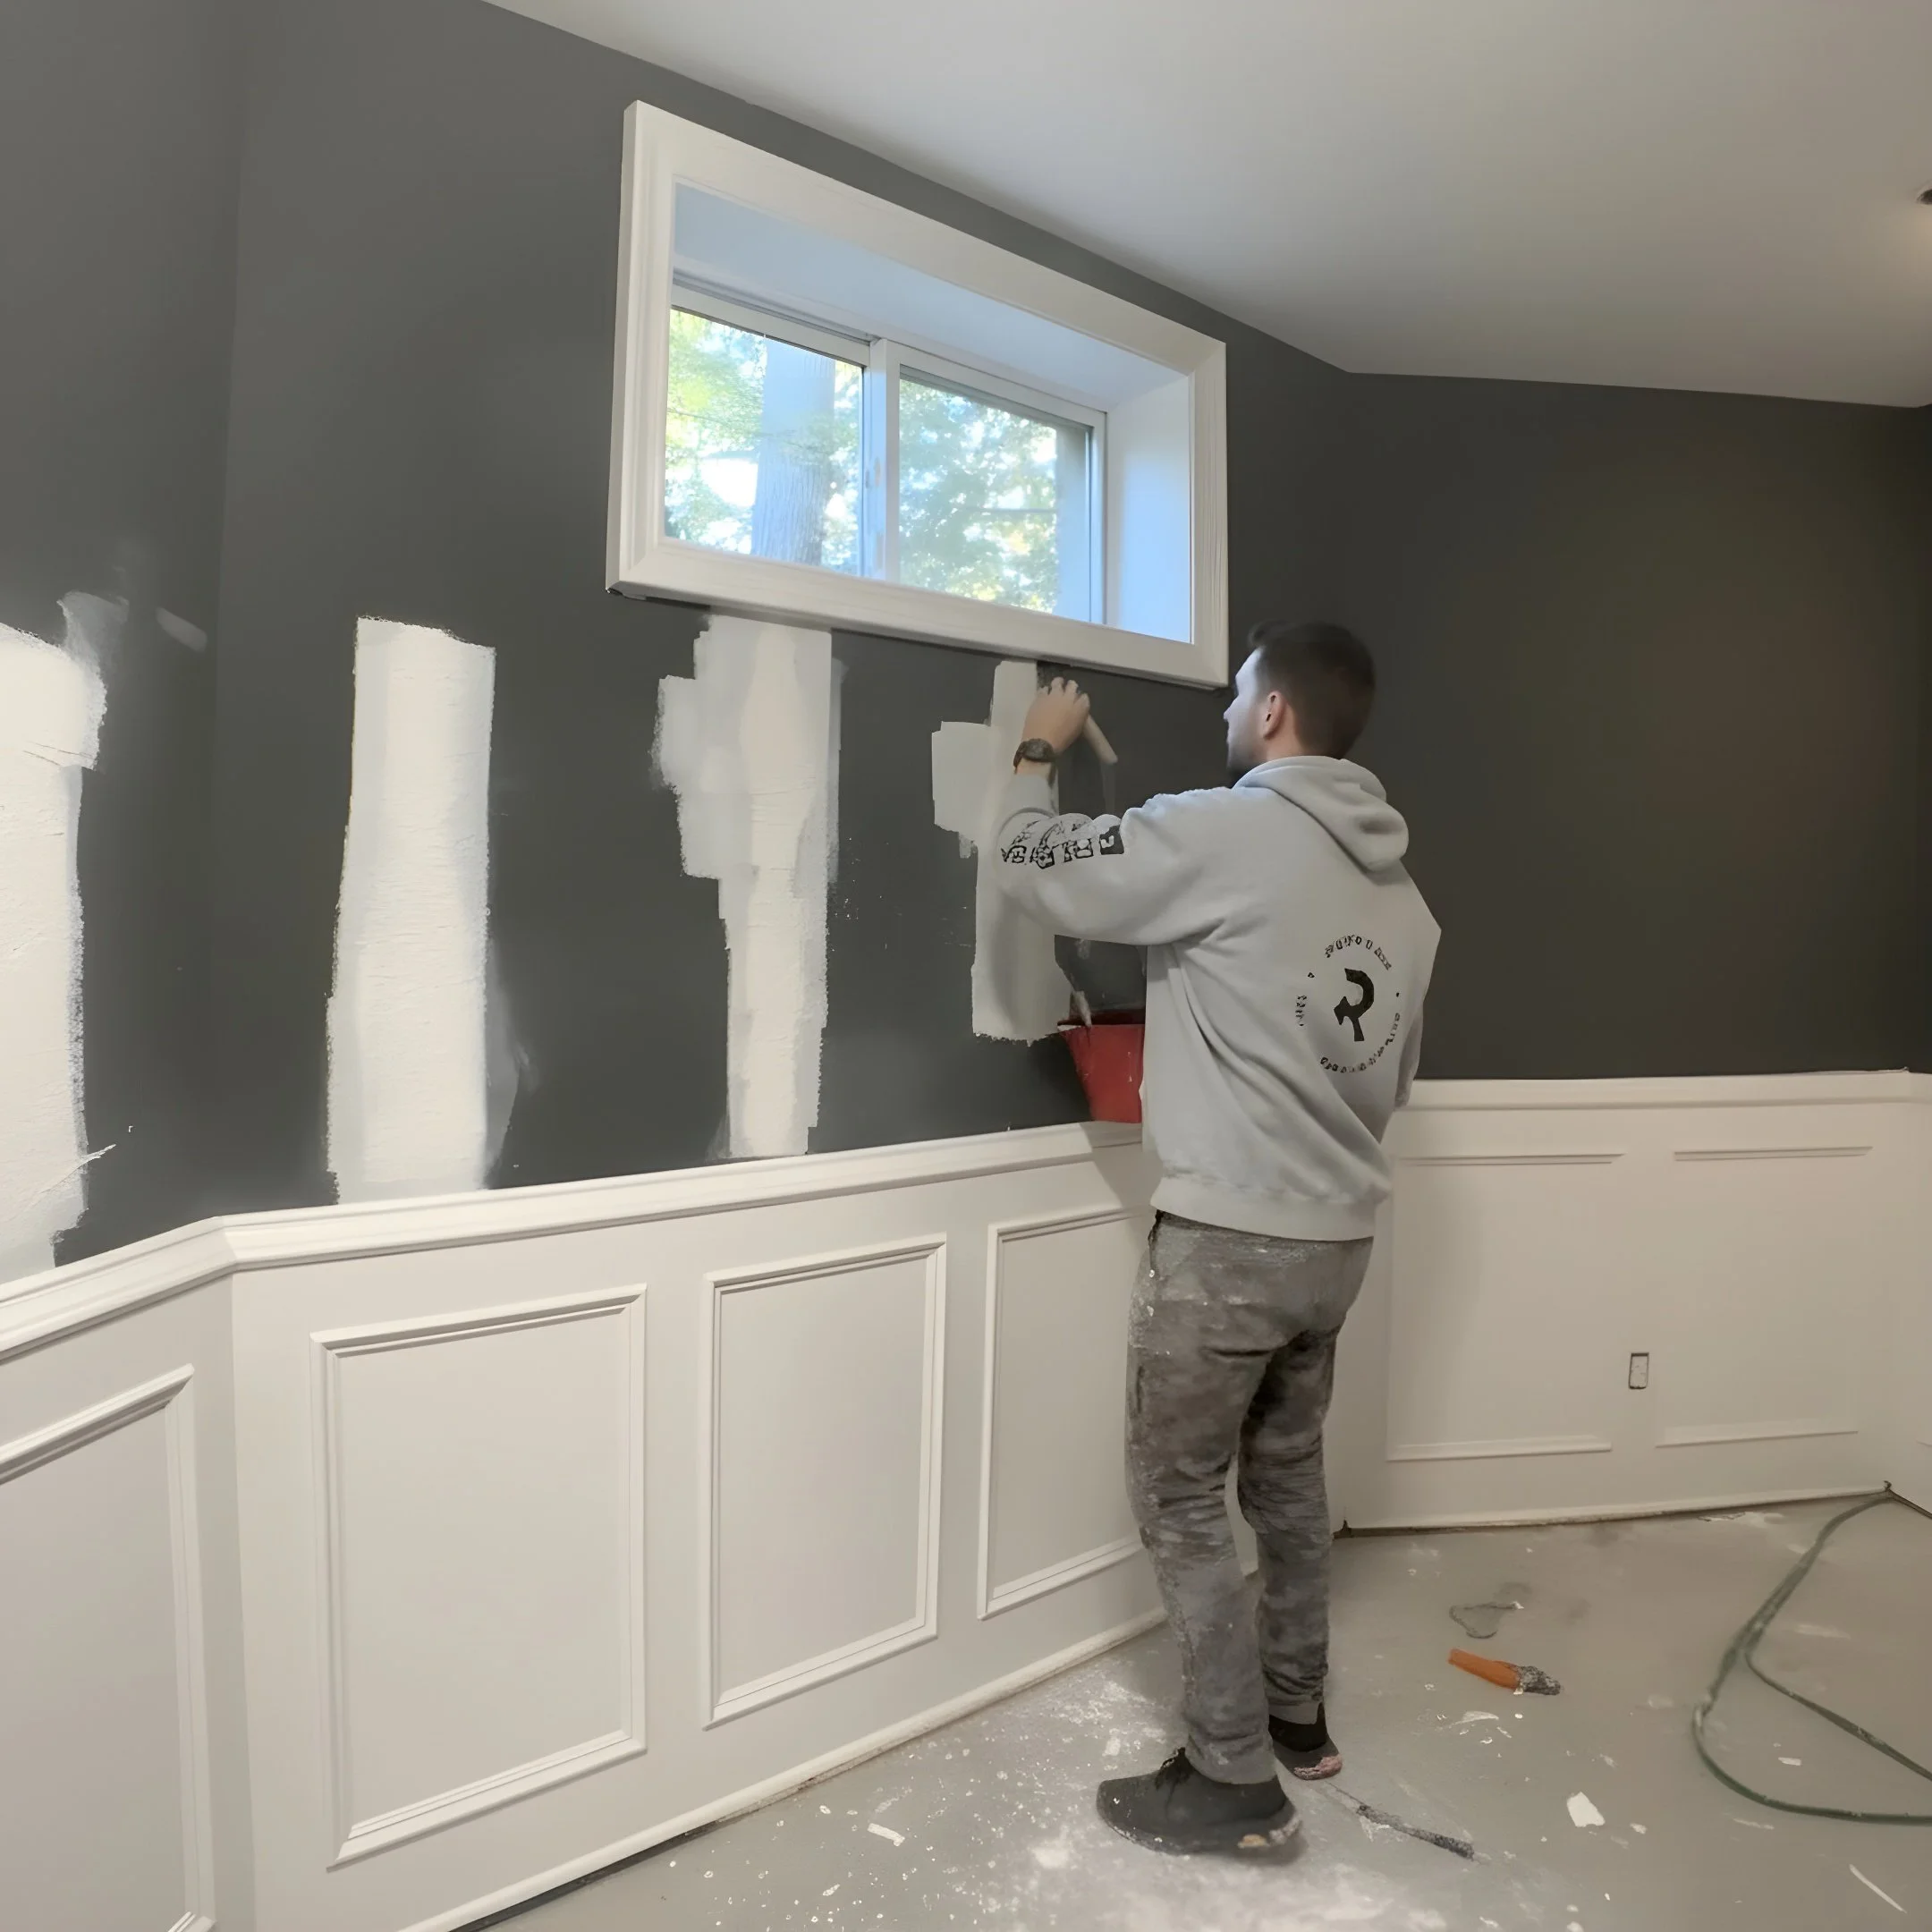
1. Prime the Wallpaper
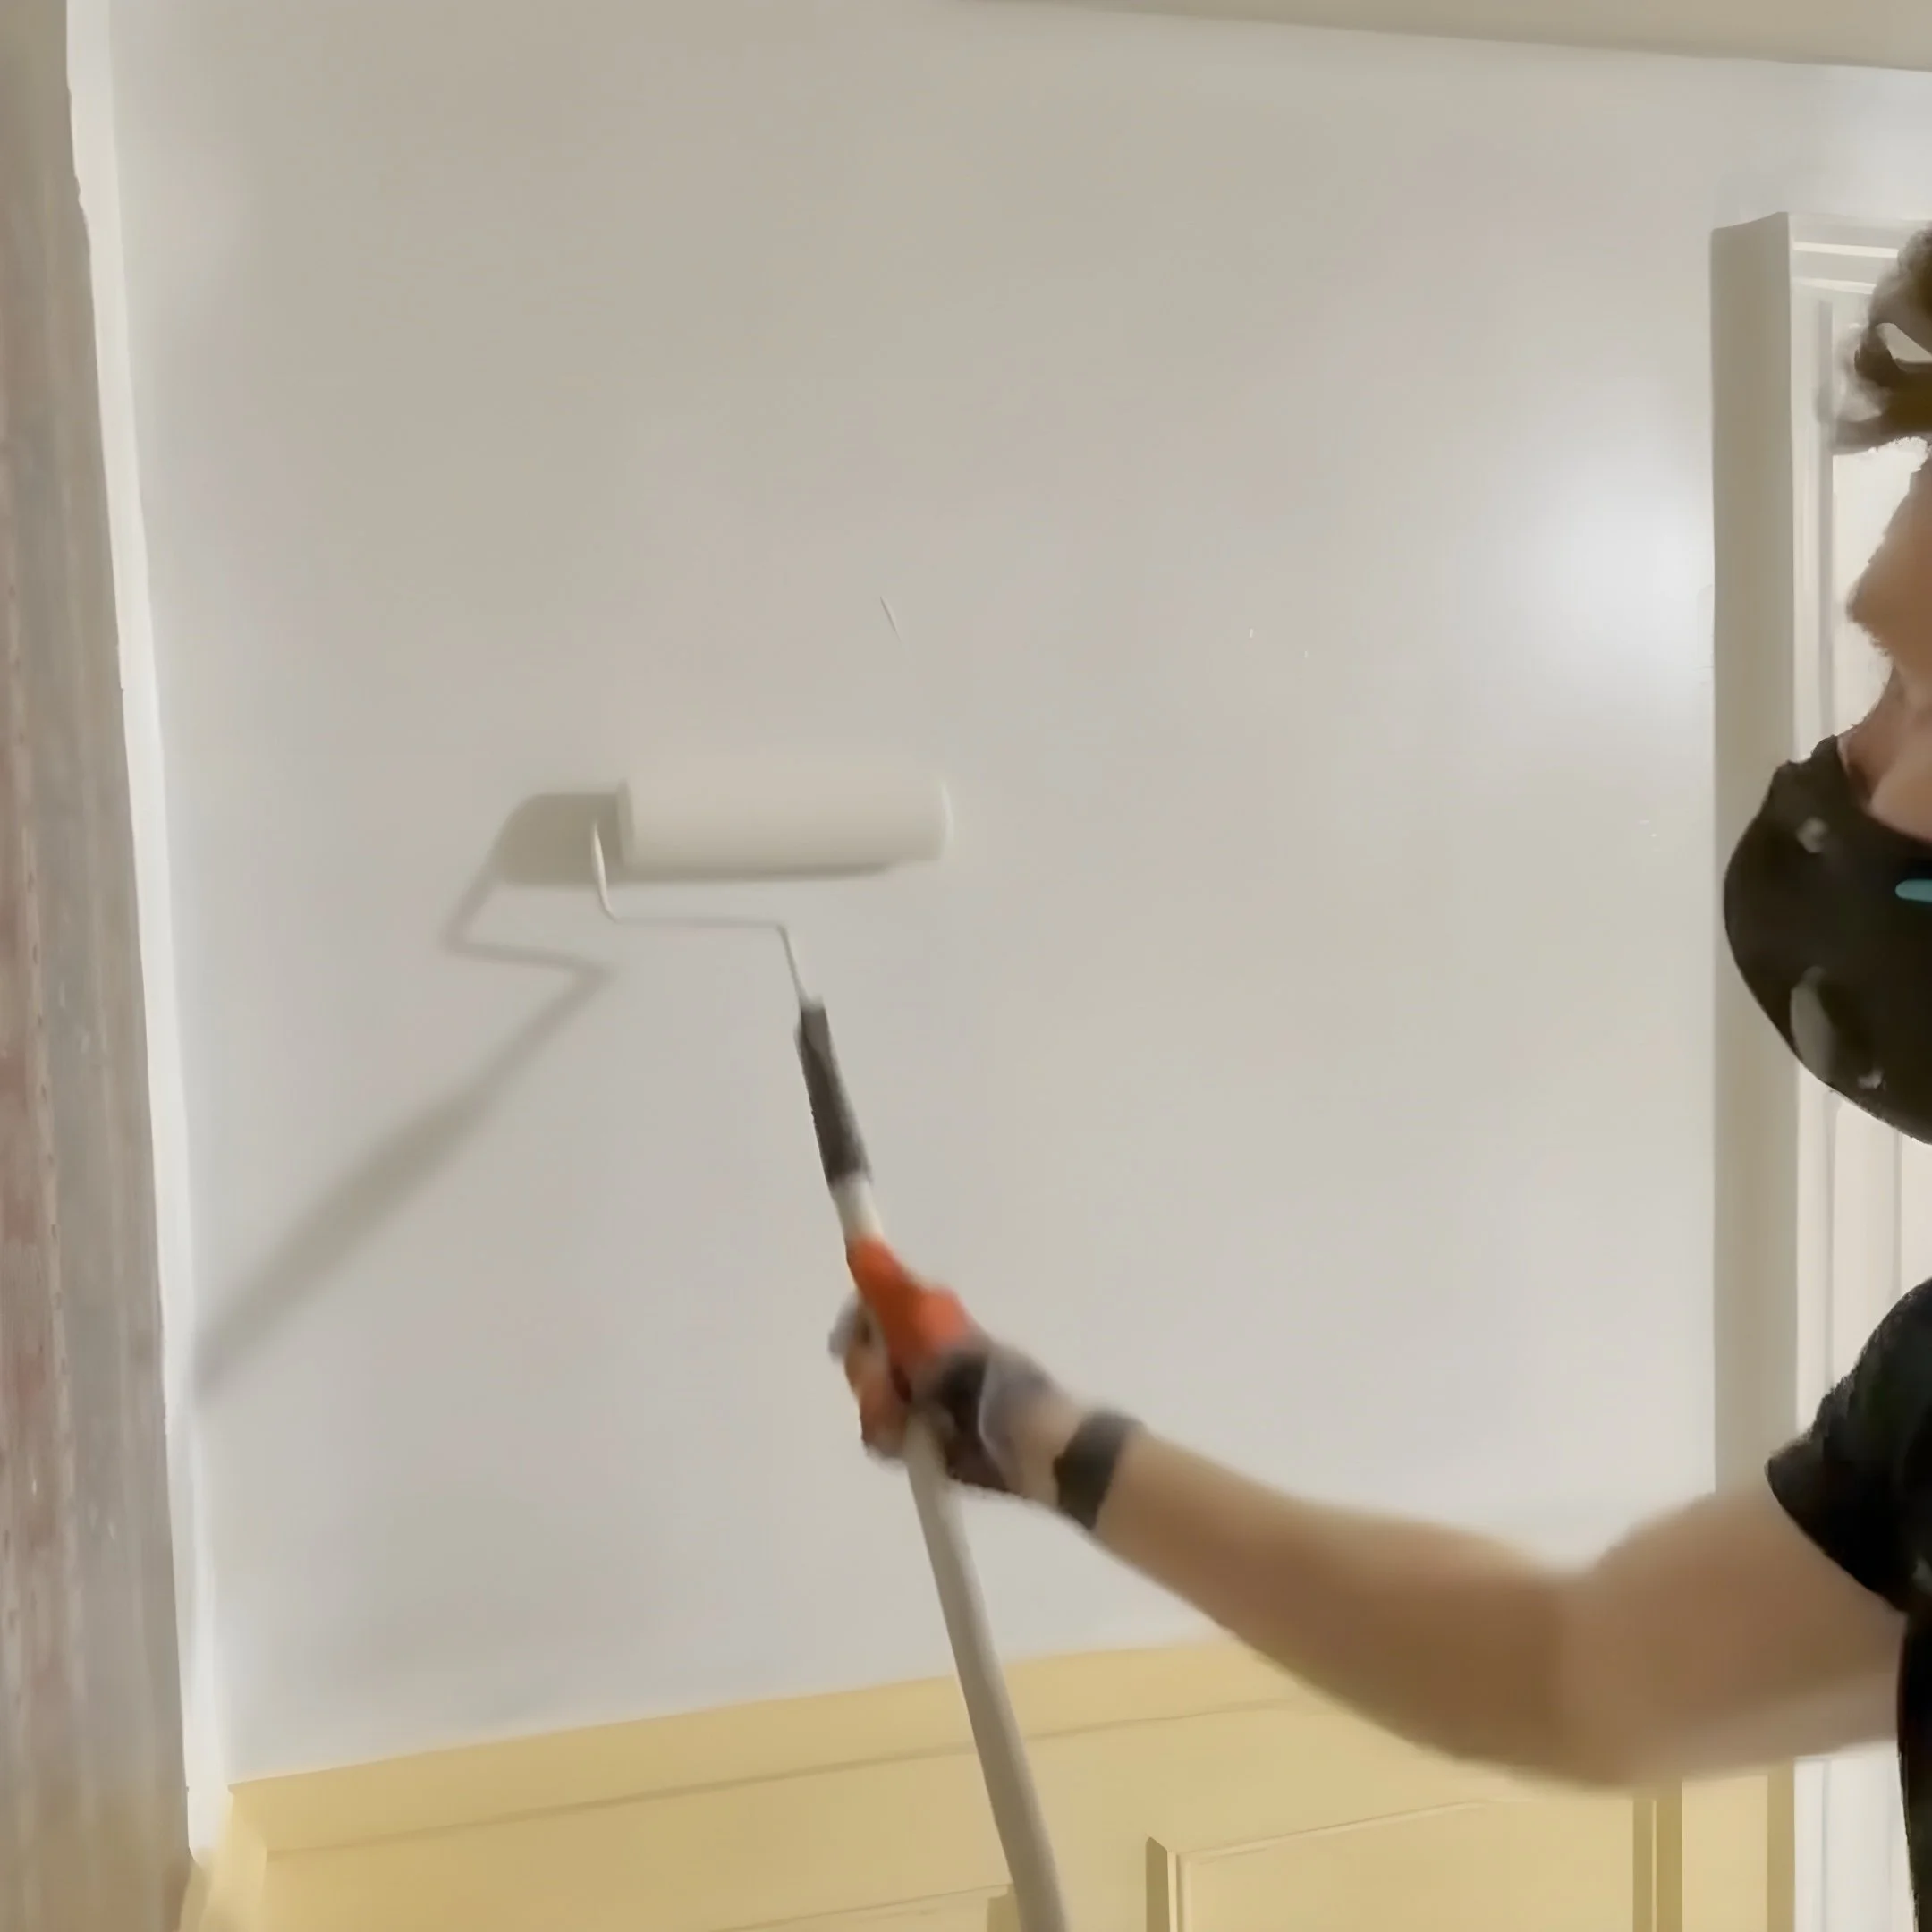
After applying the solvent-based primer, the room will look like a blank canvas.
But this is when imperfections—especially seams—begin to appear more clearly. Also, as you’ll quickly notice, painting a whole room in any solvent based primer will have a very strong smell. Make sure to ventilate the room as much as possible and wear proper PPE while applying the primer.
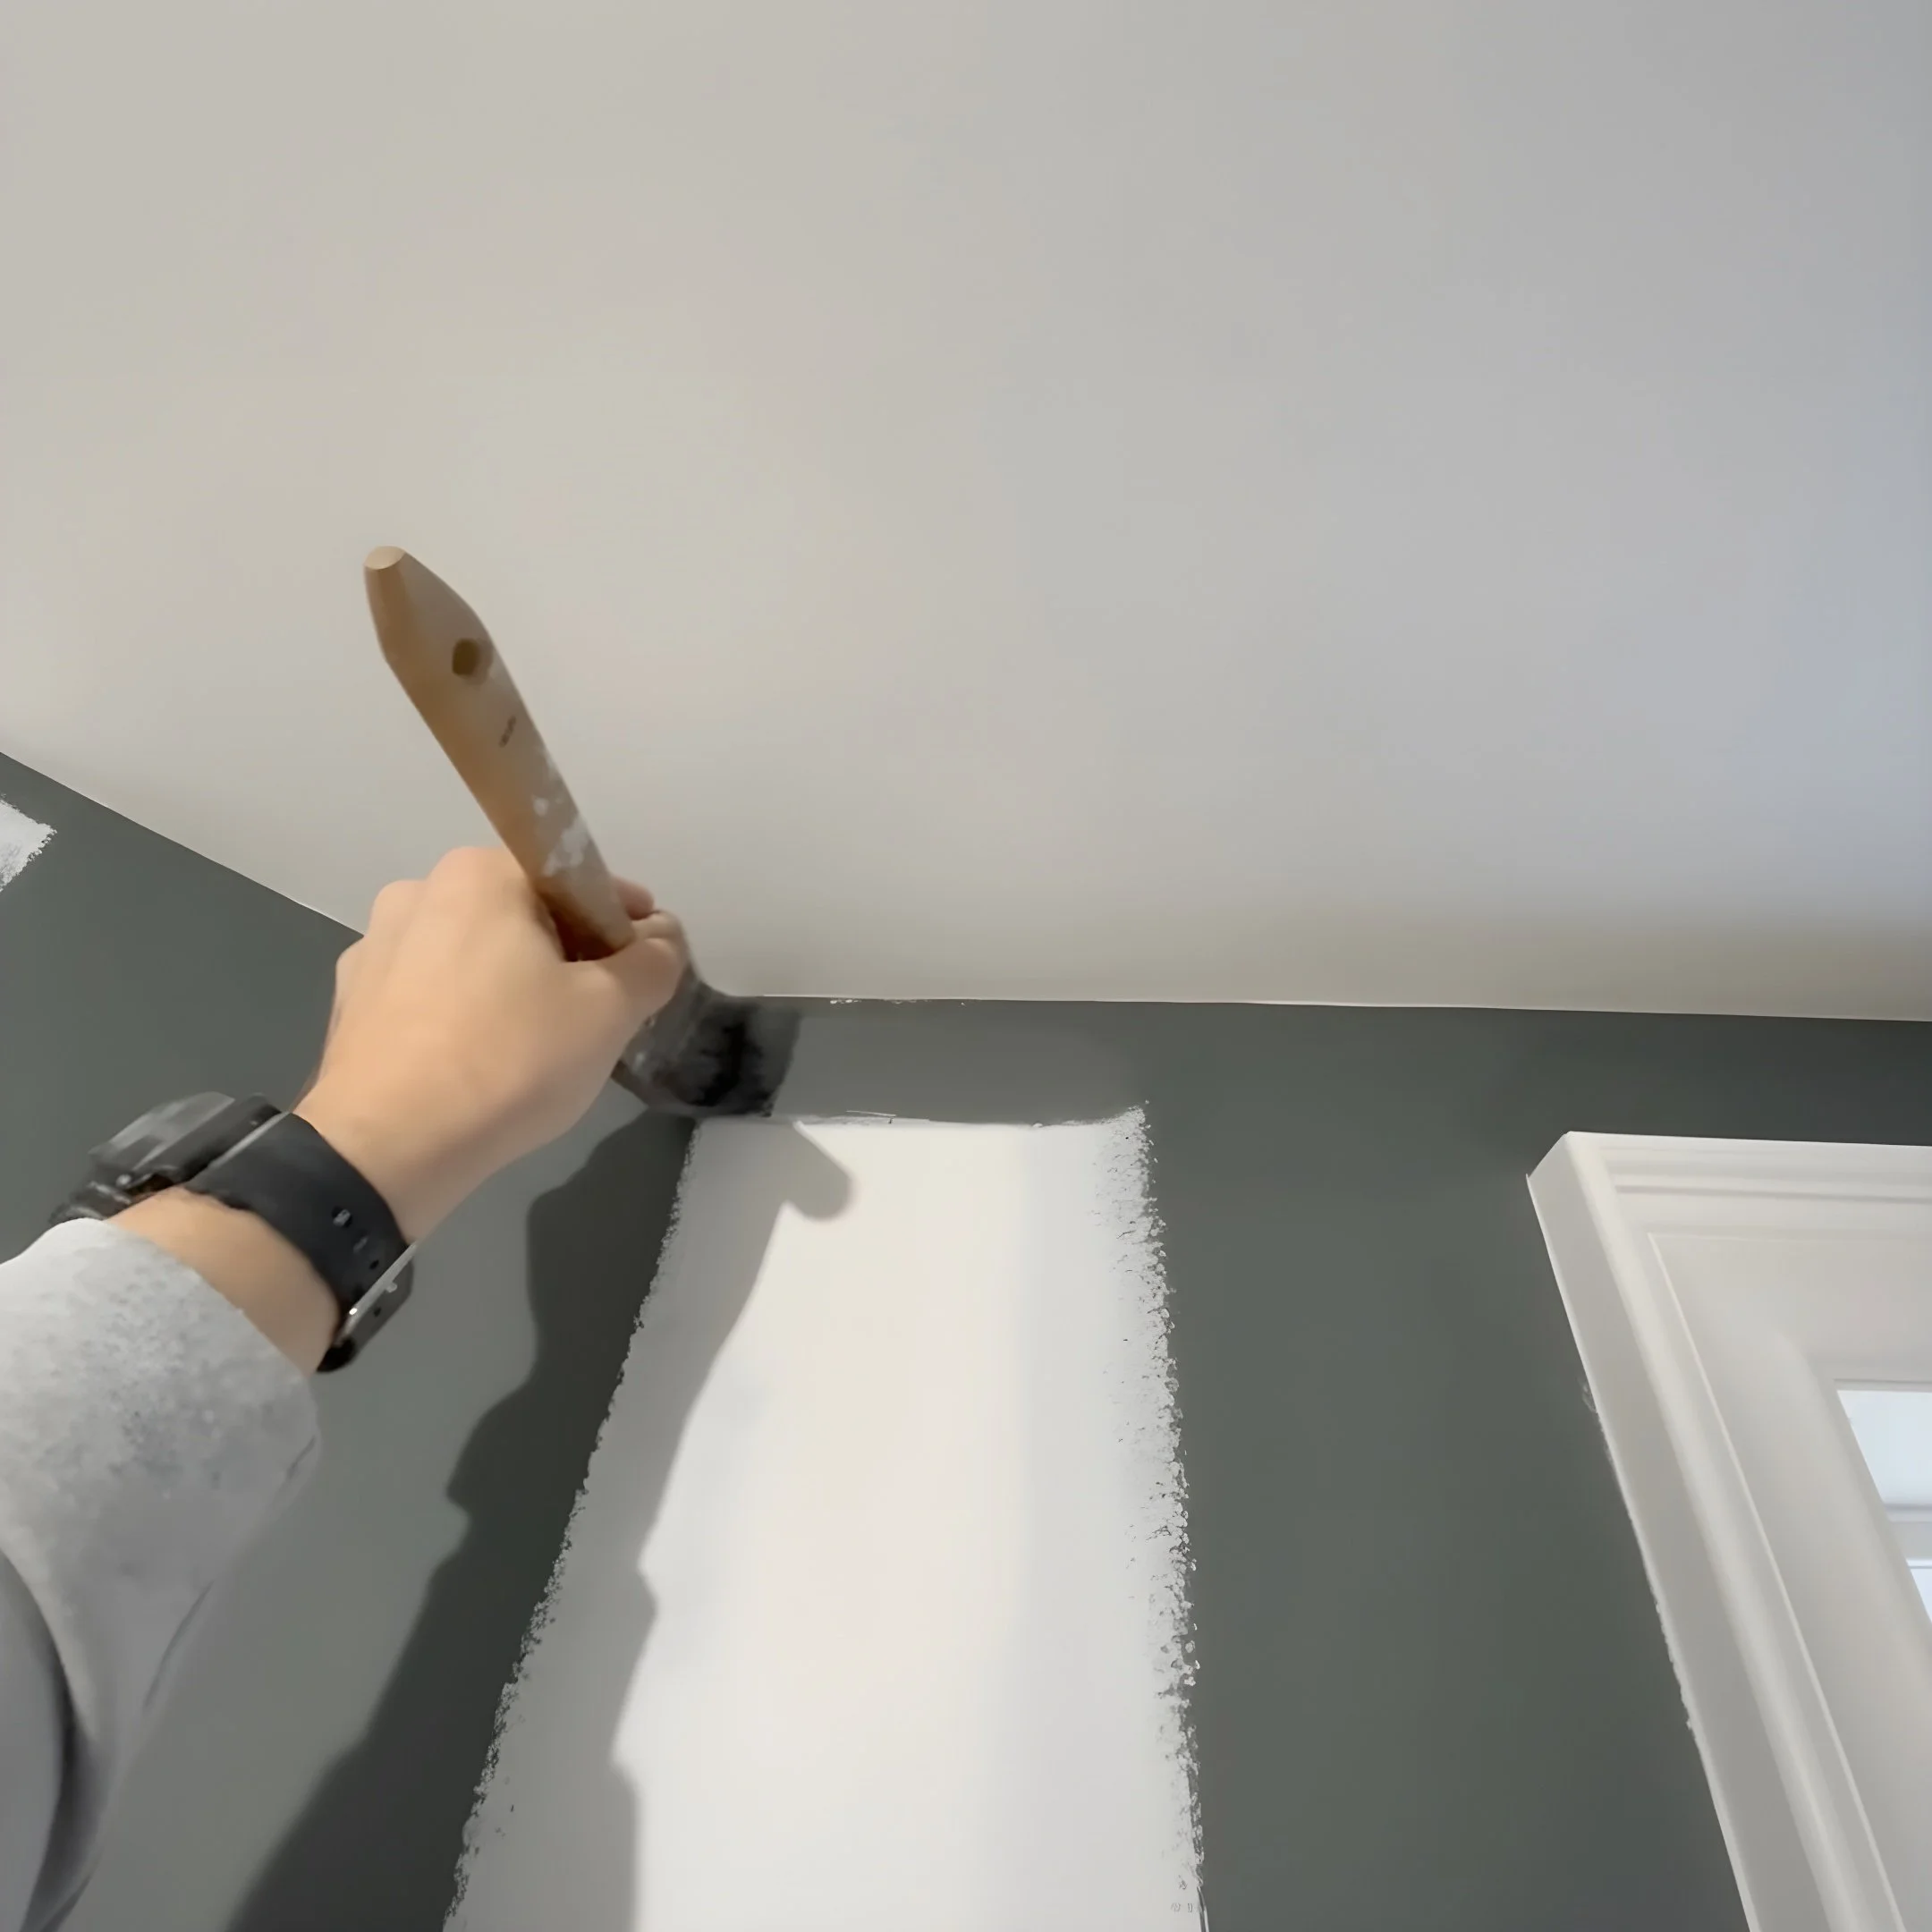
2. Address Seams and Wall Imperfections
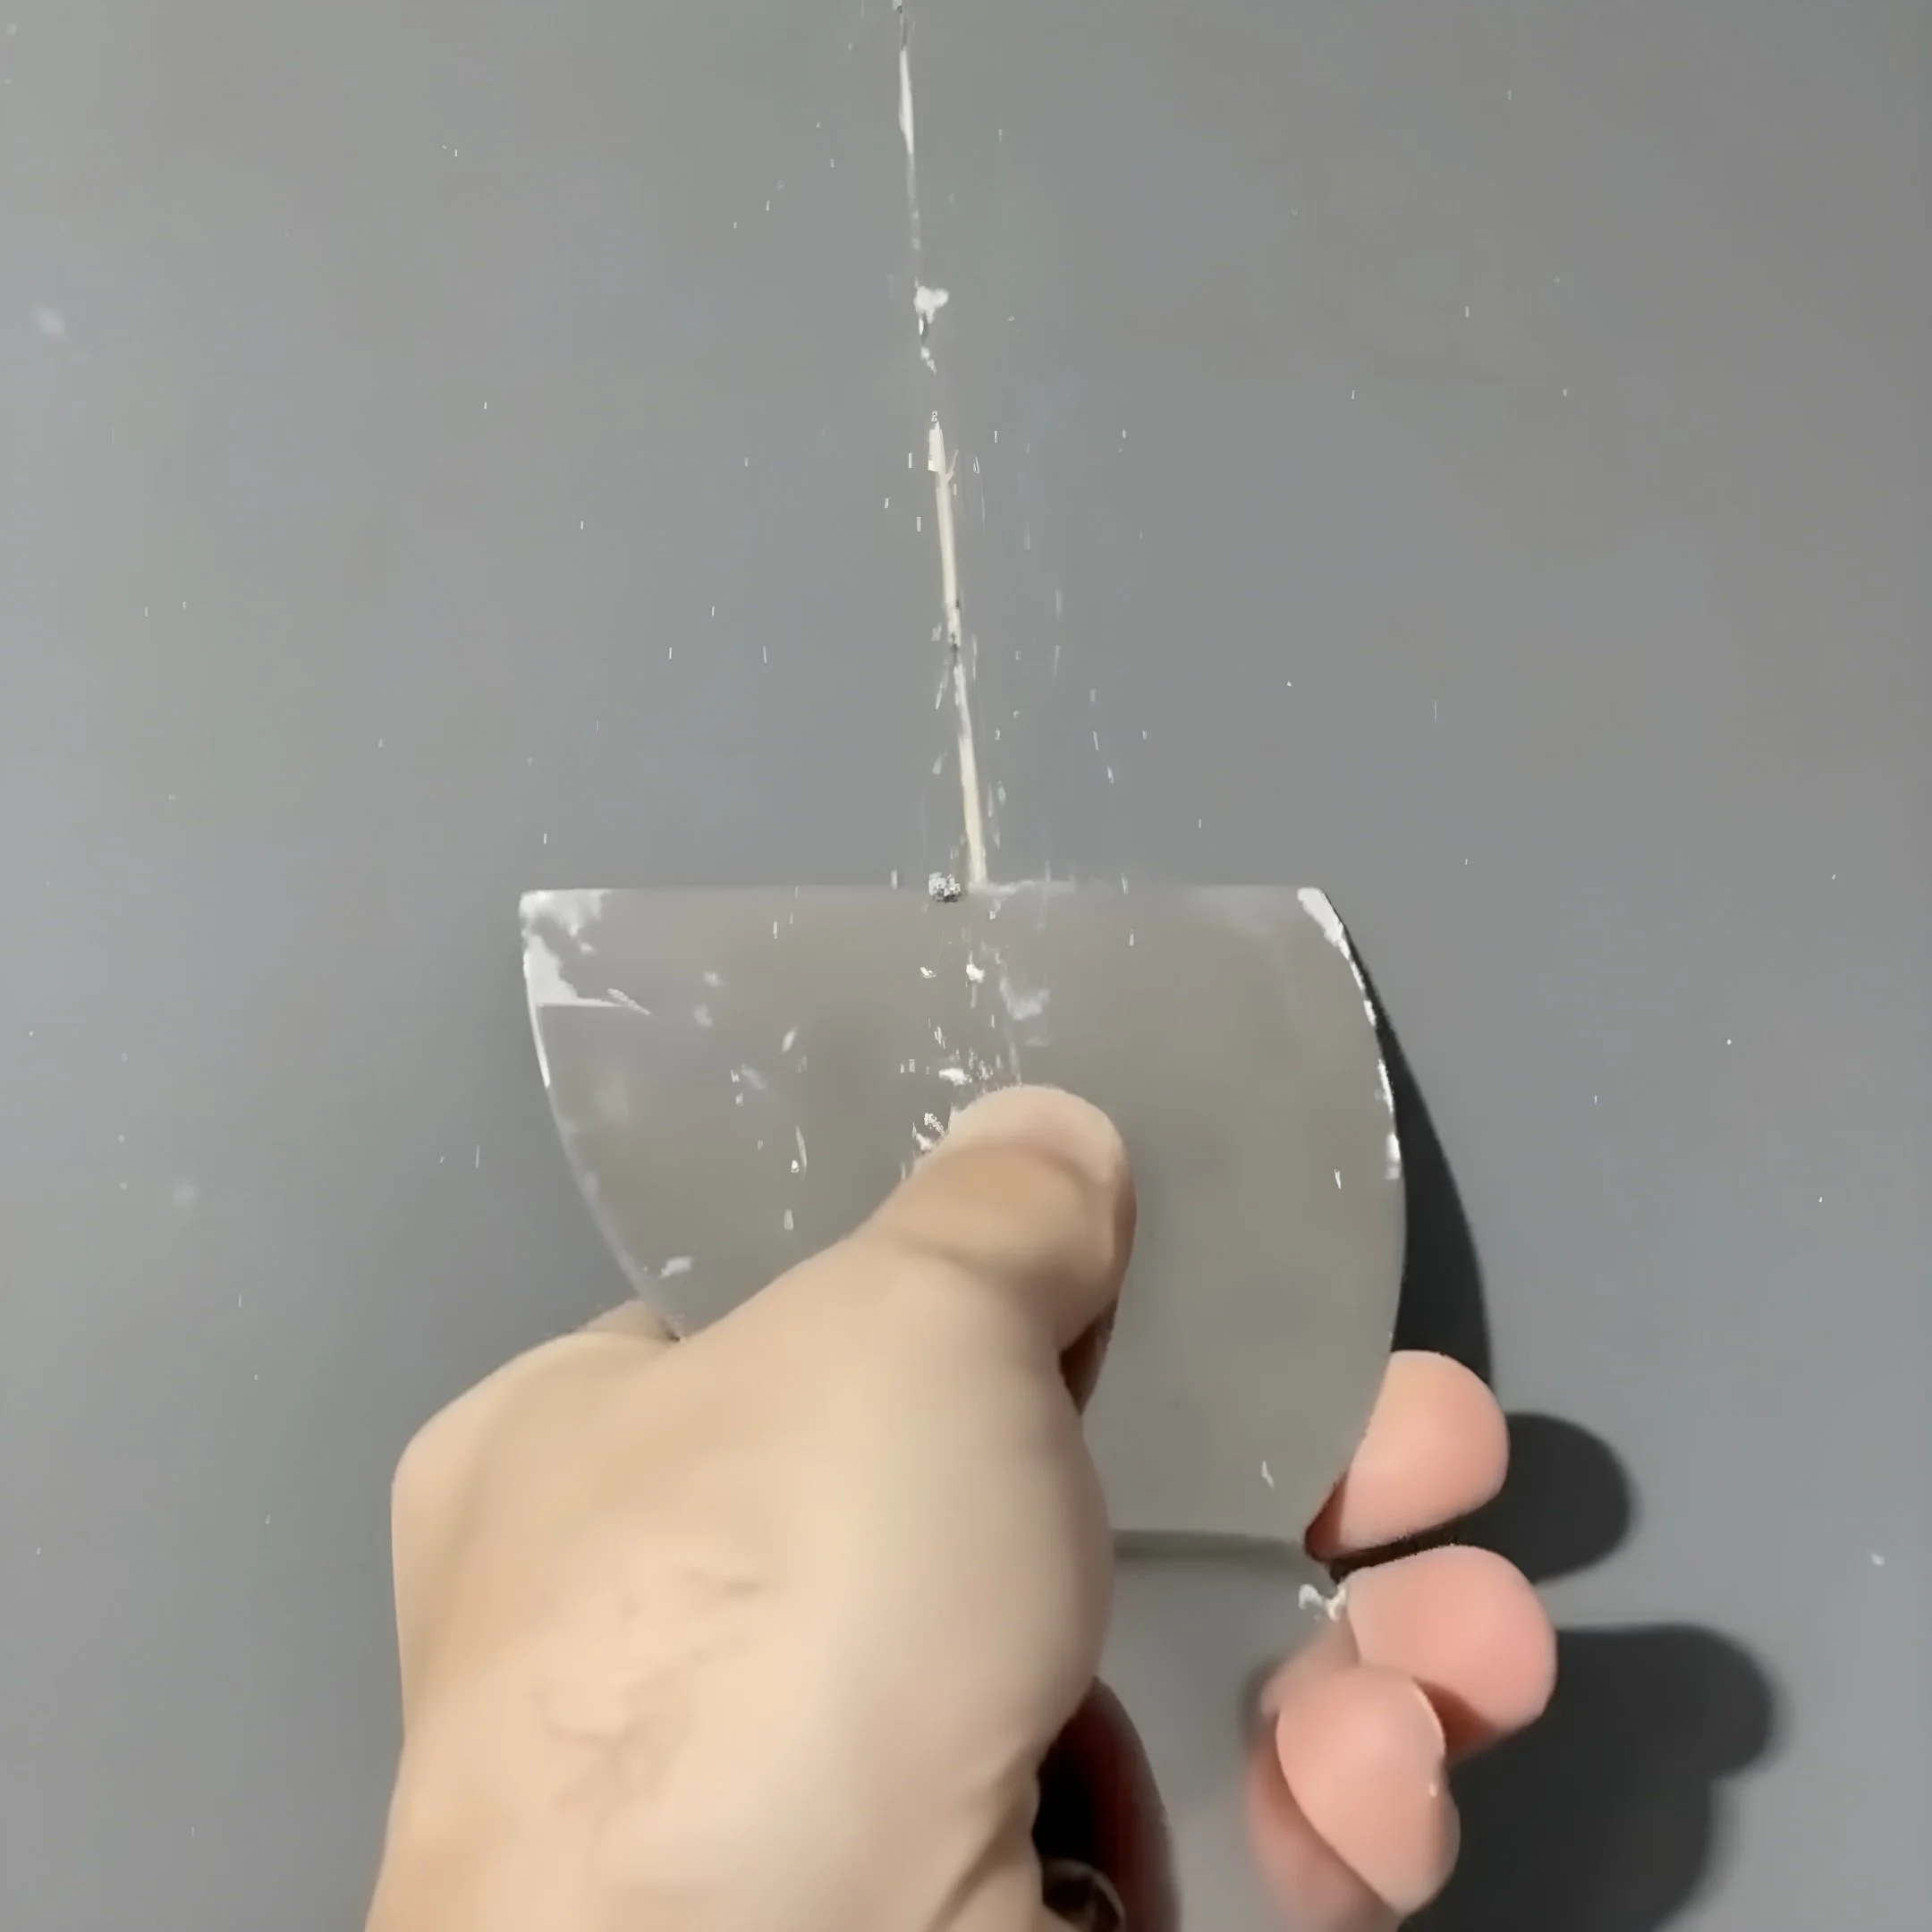
This is where you’ll decide how “perfect” your finish needs to be. After all the wallpaper has been coated with a solvent based primer, you now have a blank canvas that can be treated just like drywall.
You may need to:
sand raised seams
fill them using drywall compound
repair holes or dents
lightly feather edges for a smooth finish
The point is, take the time now to address any problem areas, just like you would with drywall, and it will pay dividends when you apply your top coat later.
3. Prime Again (Lightly)
After patching, give the repaired areas a quick prime.
Let everything fully dry before judging how well the seams have disappeared — wet mud can look more visible than it will once dry. Don’t be discouraged.
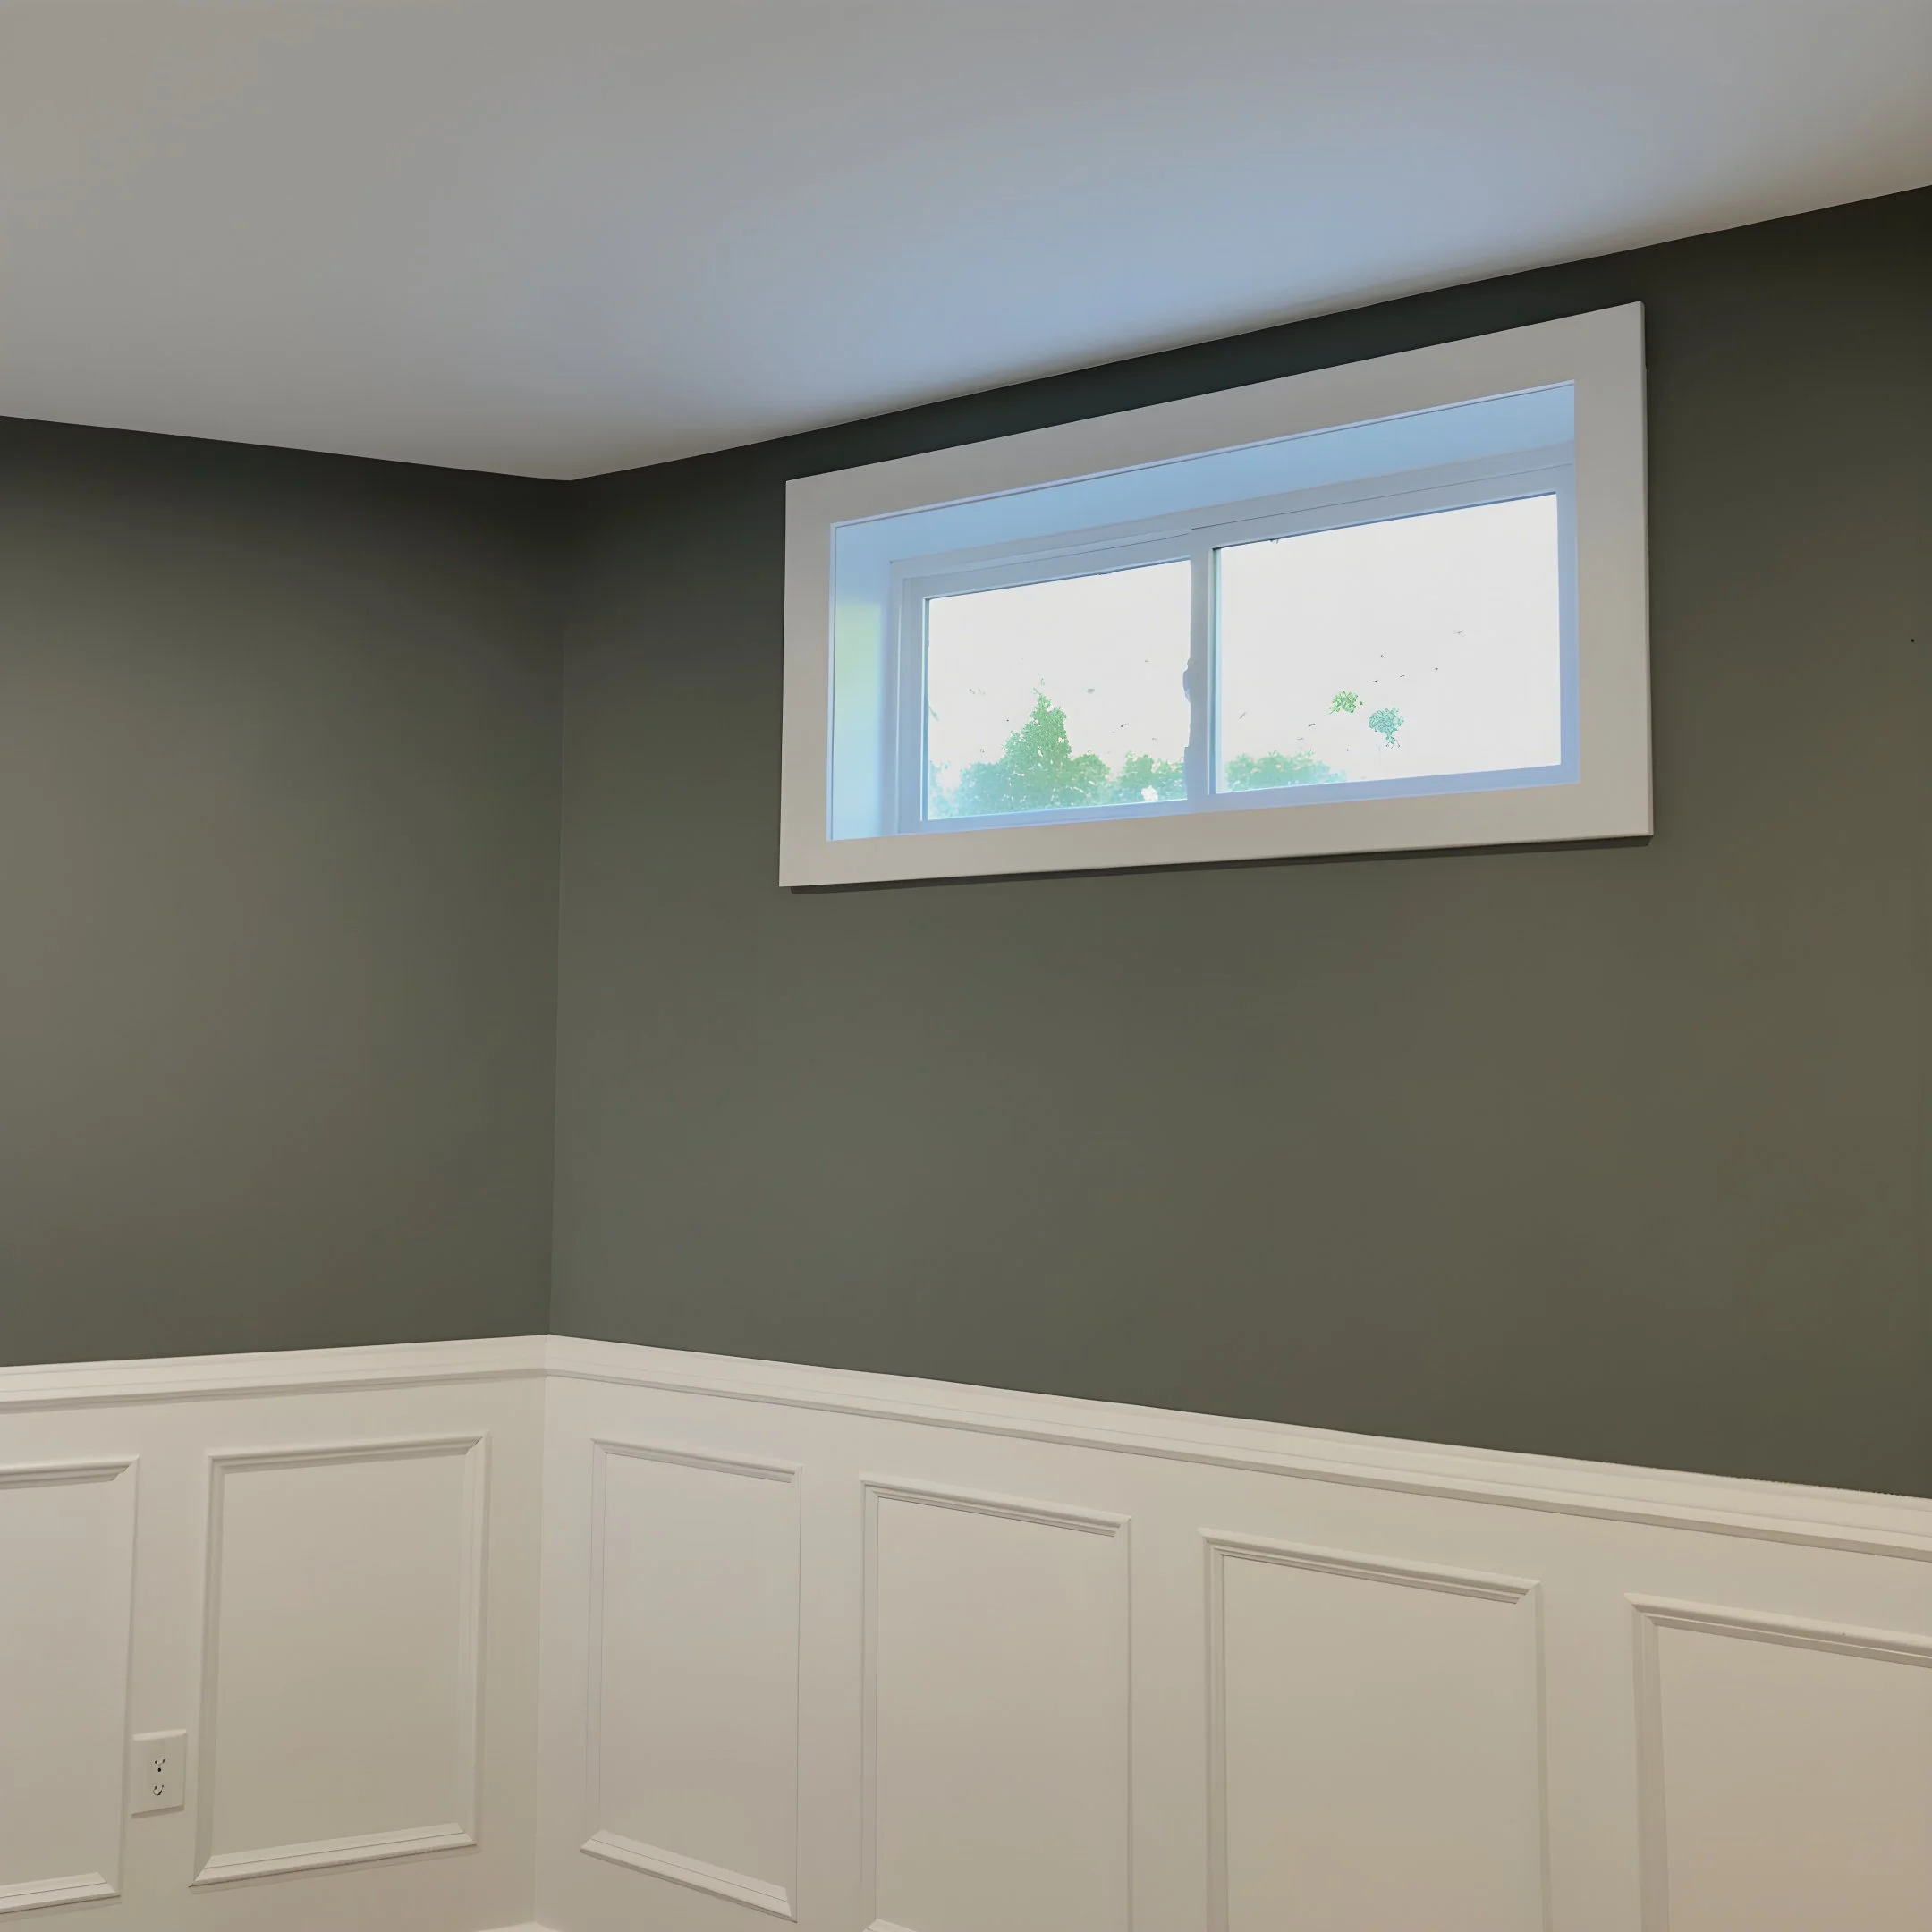
4. Apply Your Wall Paint
When done correctly, the finished room will have a smooth, seamless appearance, making it look as though wallpaper was never present in the first place.
Is Painting Over Wallpaper Easy?

Let’s be honest — not always.
There are several opportunities for things to go wrong, and it requires patience, proper materials, and a willingness to fix imperfections. But the payoff can be huge: clean, modern walls without the chaos of wallpaper removal.
And as shown in our video, when the steps are followed, the results are impressively seamless.
Final Thoughts: Can You Paint Over Wallpaper?
Yes, you absolutely can.
Should you? It depends.
If the wallpaper is stable and you prep the surface properly, painting is a smart, efficient solution. Just remember:
Use a solvent-based primer
Address seams and surface issues
Don’t rush drying or sanding
Know when removal might actually be easier
By following these guidelines, you’ll achieve a smooth, durable finish—and nobody will know what’s hiding underneath.