
Painter’s Tape Basics: Easy Methods for Sharp Paint Lines
Getting perfect paint lines doesn’t have to be frustrating. With the right painter’s tape and a few simple techniques, you can achieve crisp, professional-looking edges on every painting project. In this blog post, we break down tested methods from our latest YouTube video, so you can see which painter’s tape tricks really work — and which ones to avoid.

Testing Regular Painter’s Tape

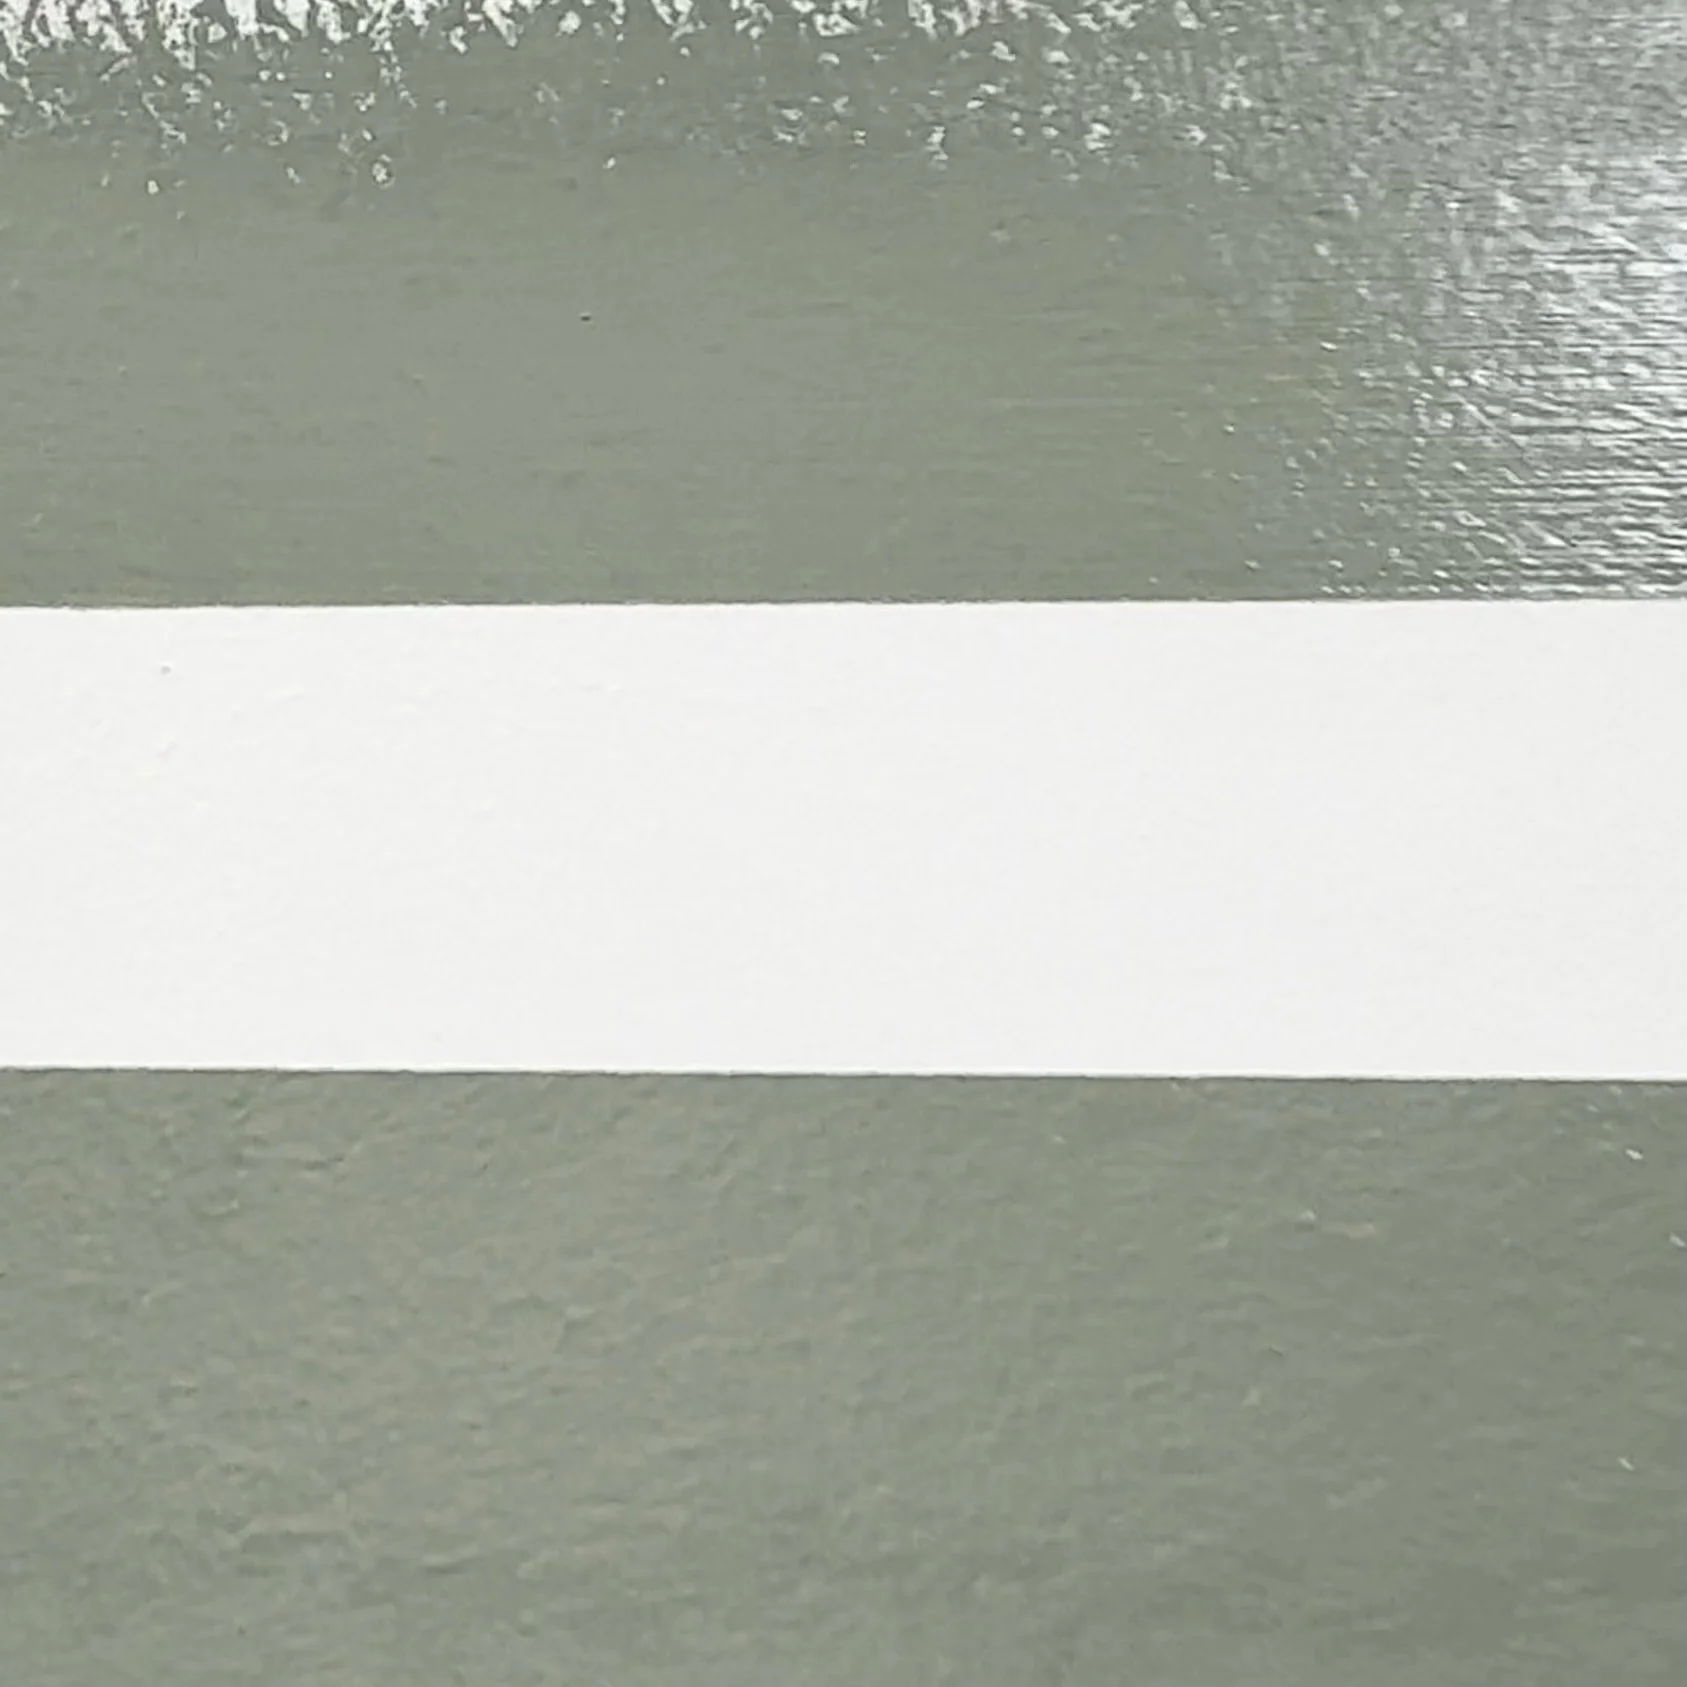
We started with the most common option: regular green painter’s tape. Applied directly to the wall with no extra tricks, it gave us decent results when tested with both a brush and a roller. While the line was cleaner than freehand painting, there was still some bleed-through, proving that painter’s tape alone isn’t always enough if you’re after perfection.
Frog Tape: Dry vs. Water-Activated
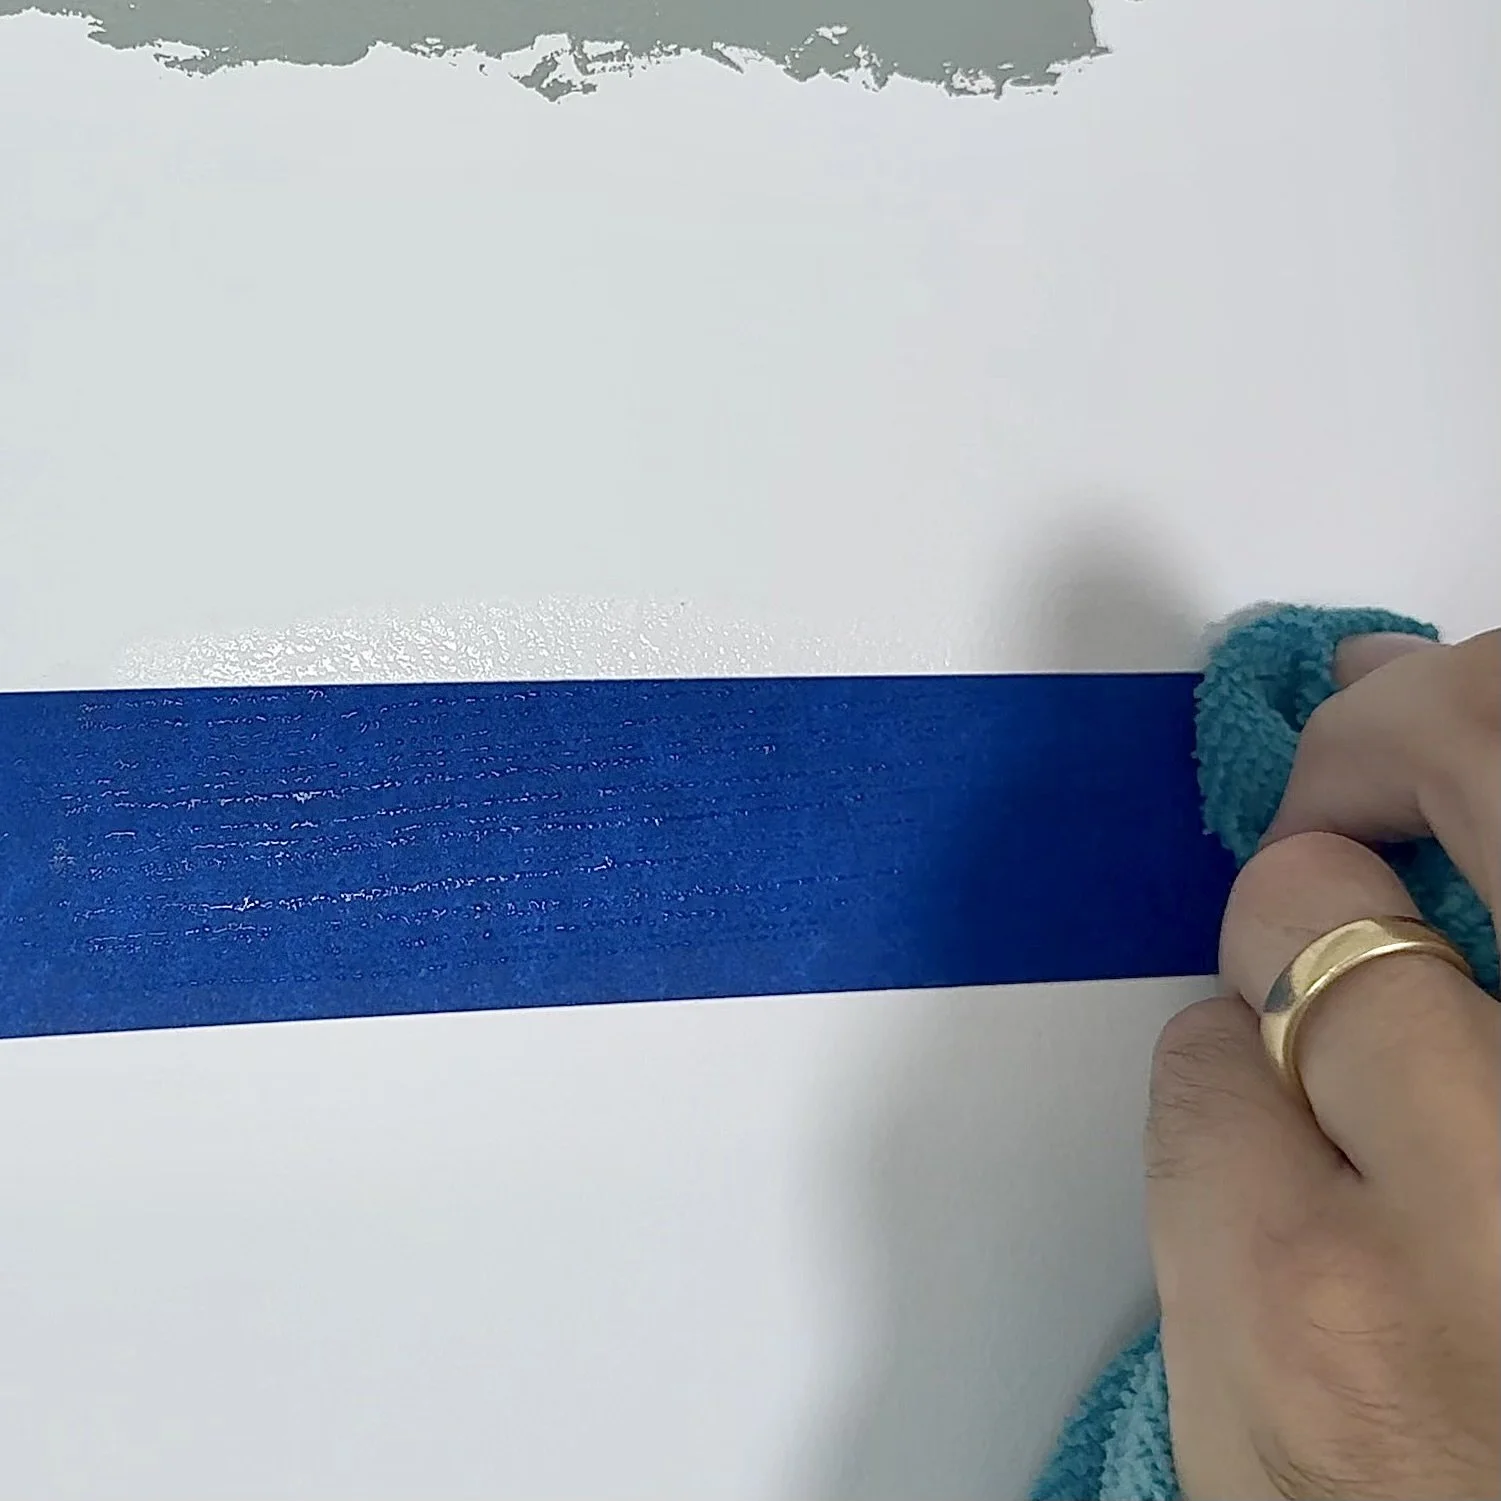
Next, we tested Frog Tape, which is designed with a special powder that activates when it comes into contact with water. We tried it both dry and lightly dampened with a rag. Surprisingly, the results were inconsistent. In one test, the dampened tape performed worse than expected, showing how unpredictable this method can be. On a second attempt with standard green Frog Tape, however, we got a much sharper line — closer to the “pro” results promised on the label.
The Clear Sealant Method
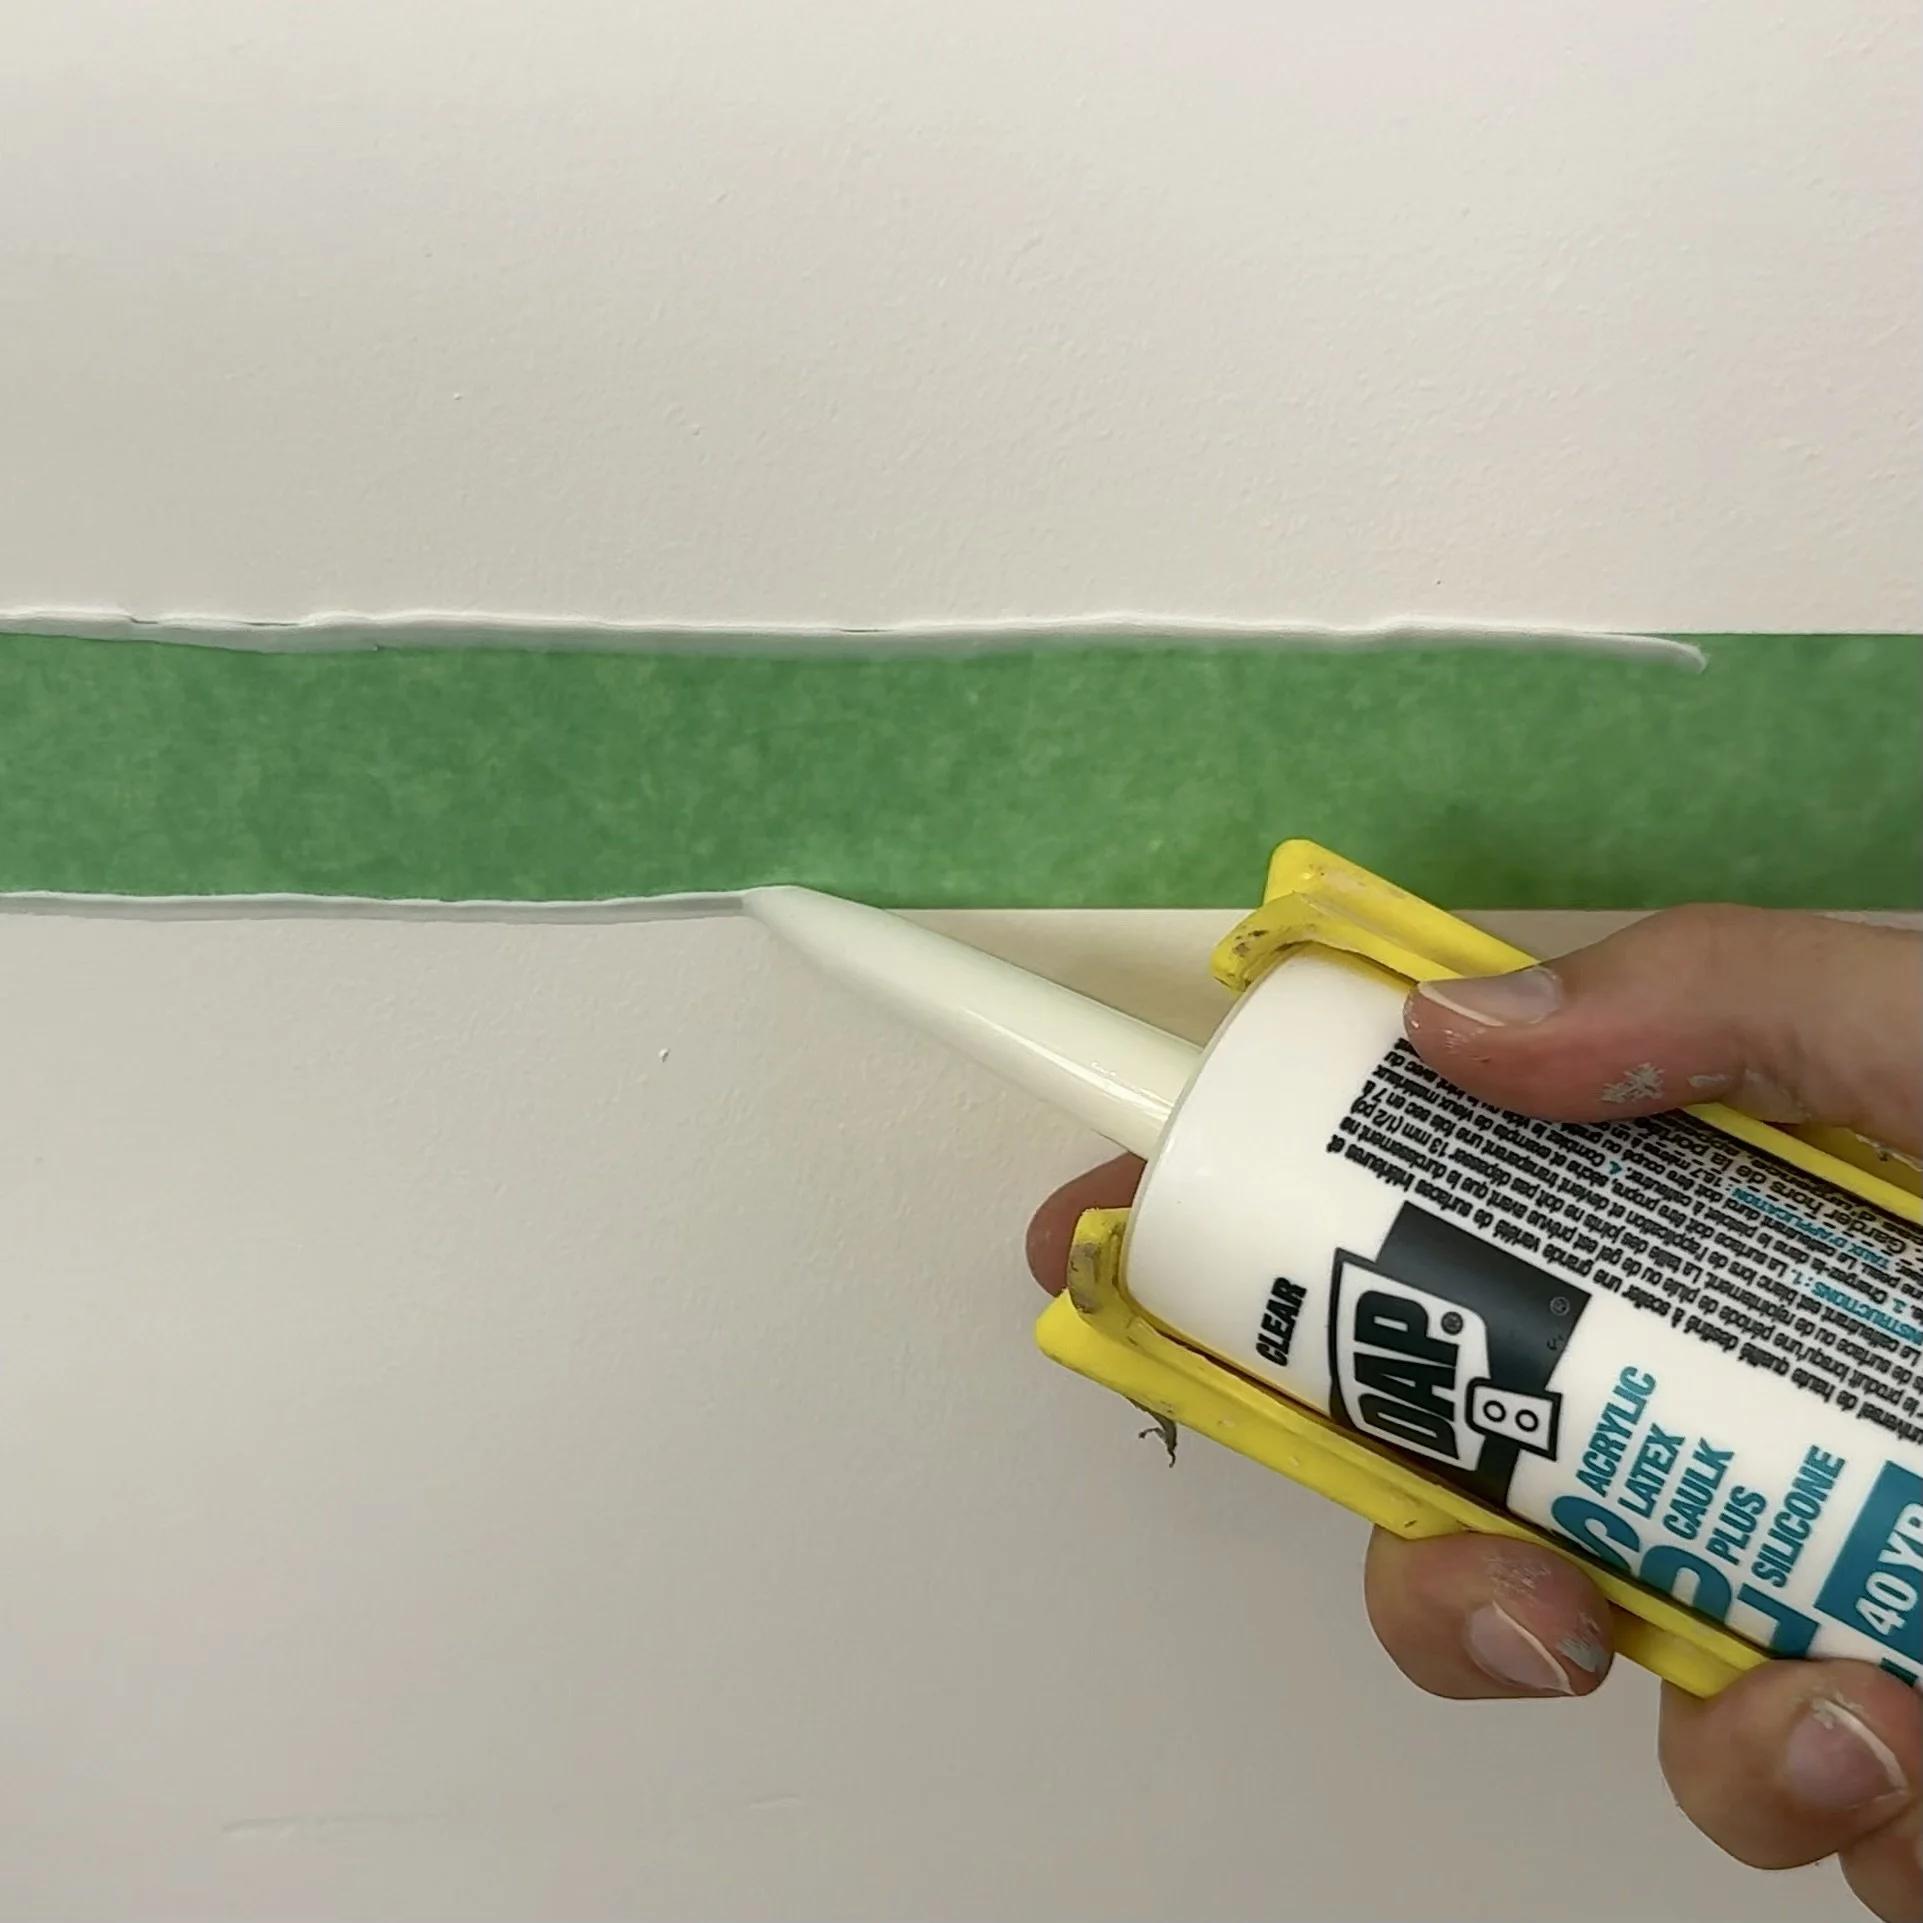
When you want ultra-crisp edges, a clear latex sealant can take your tape game to the next level. After applying painter’s tape to the wall, we ran a thin bead of clear sealant along the edge and smoothed it in with a finger. Once painted, the results were excellent: no paint bleed and a line almost as sharp as if it were cut by a machine. This is a fantastic method if your walls are particularly bumpy, rough or there are large voids and gaps. The downside? This method requires an extra product on hand and must be done quickly before the sealant sets.
The Wall Paint Sealing Trick
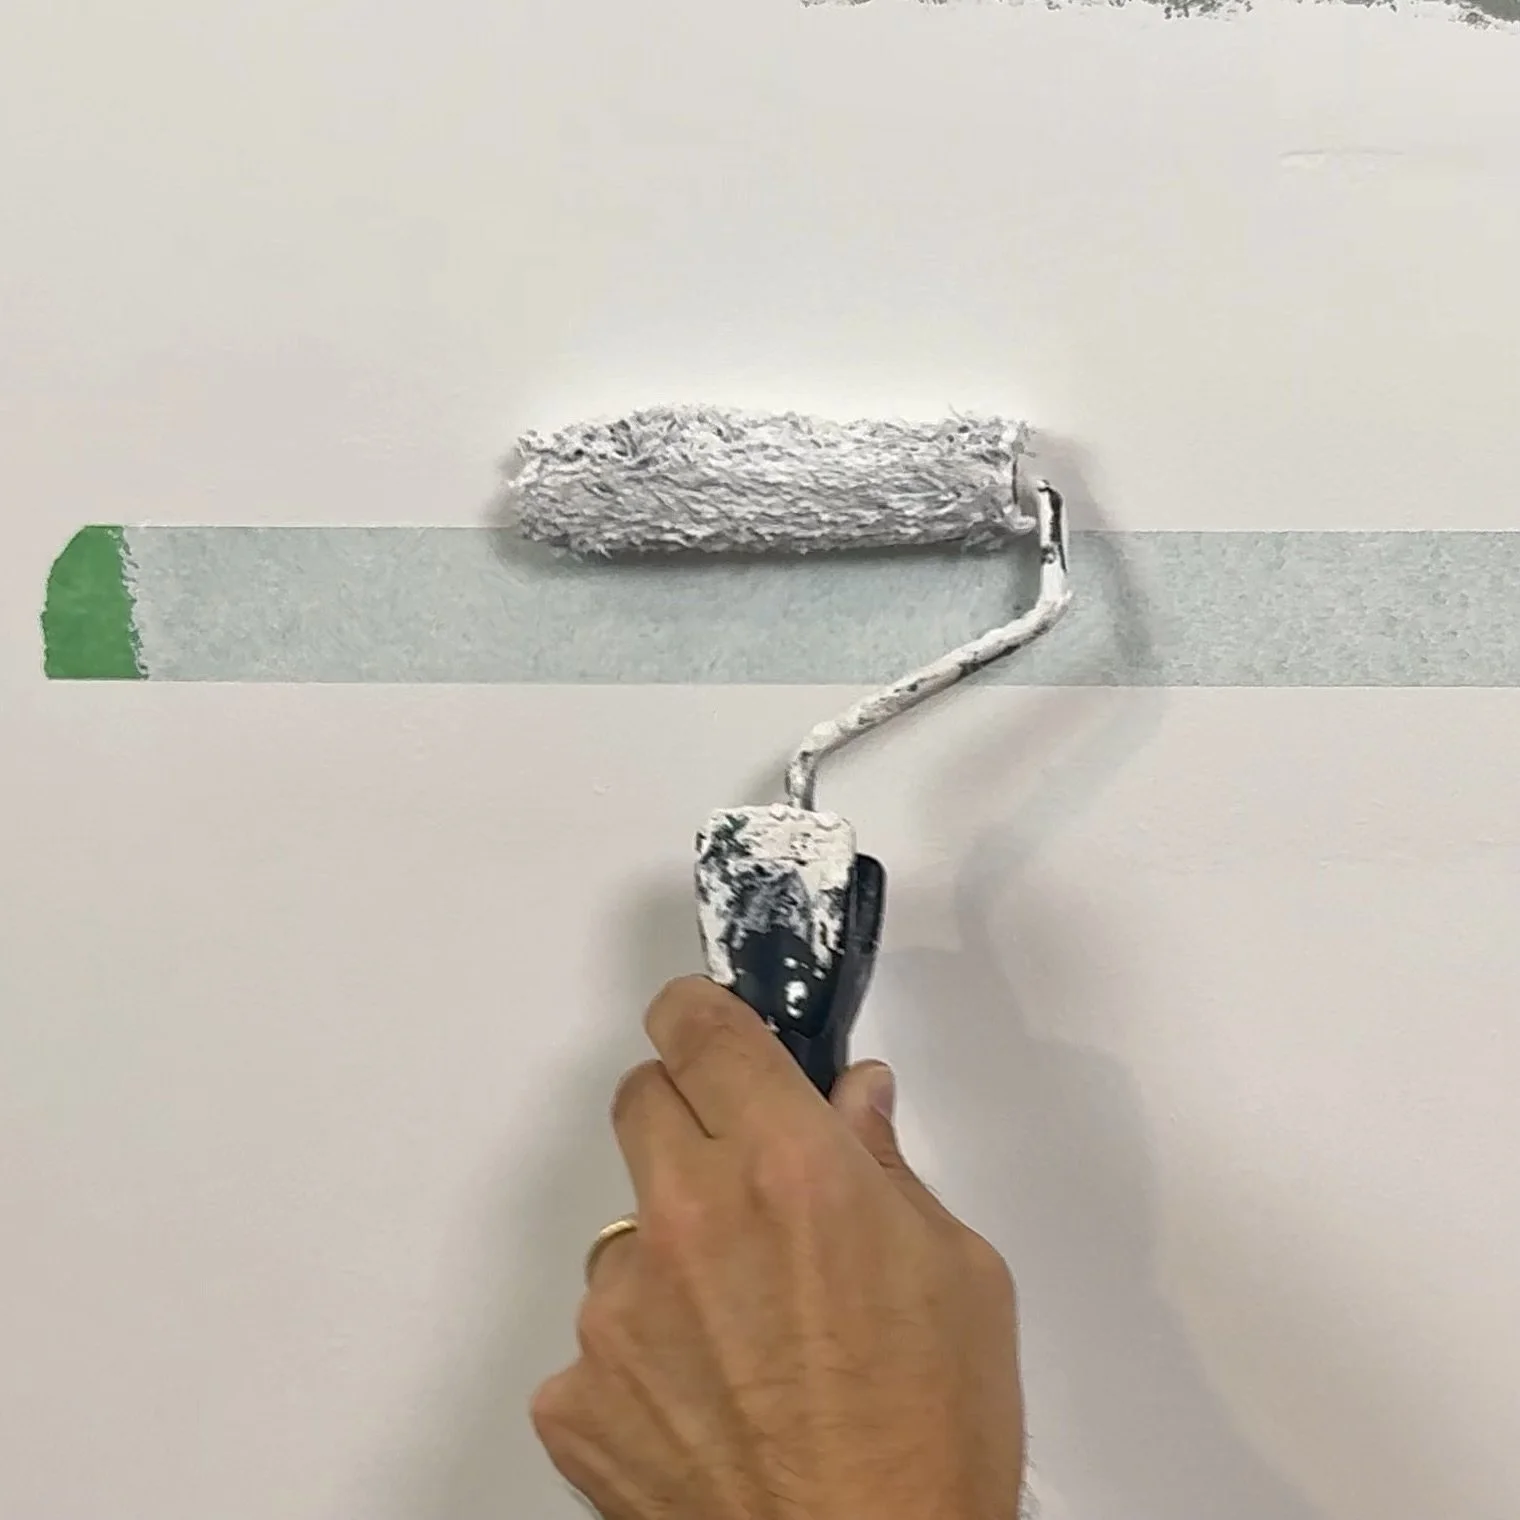
Our favorite method doesn’t require anything fancy — just the wall paint you already have. By sealing the tape edges with the same color already on the wall before applying your new paint color, you lock in any bleed-through. Once dry to the touch, you paint over again with your new color, and when the tape comes off, you’re left with a flawless, razor-sharp line. This simple trick is inexpensive, reliable, and nearly foolproof.
Bonus Brush Technique
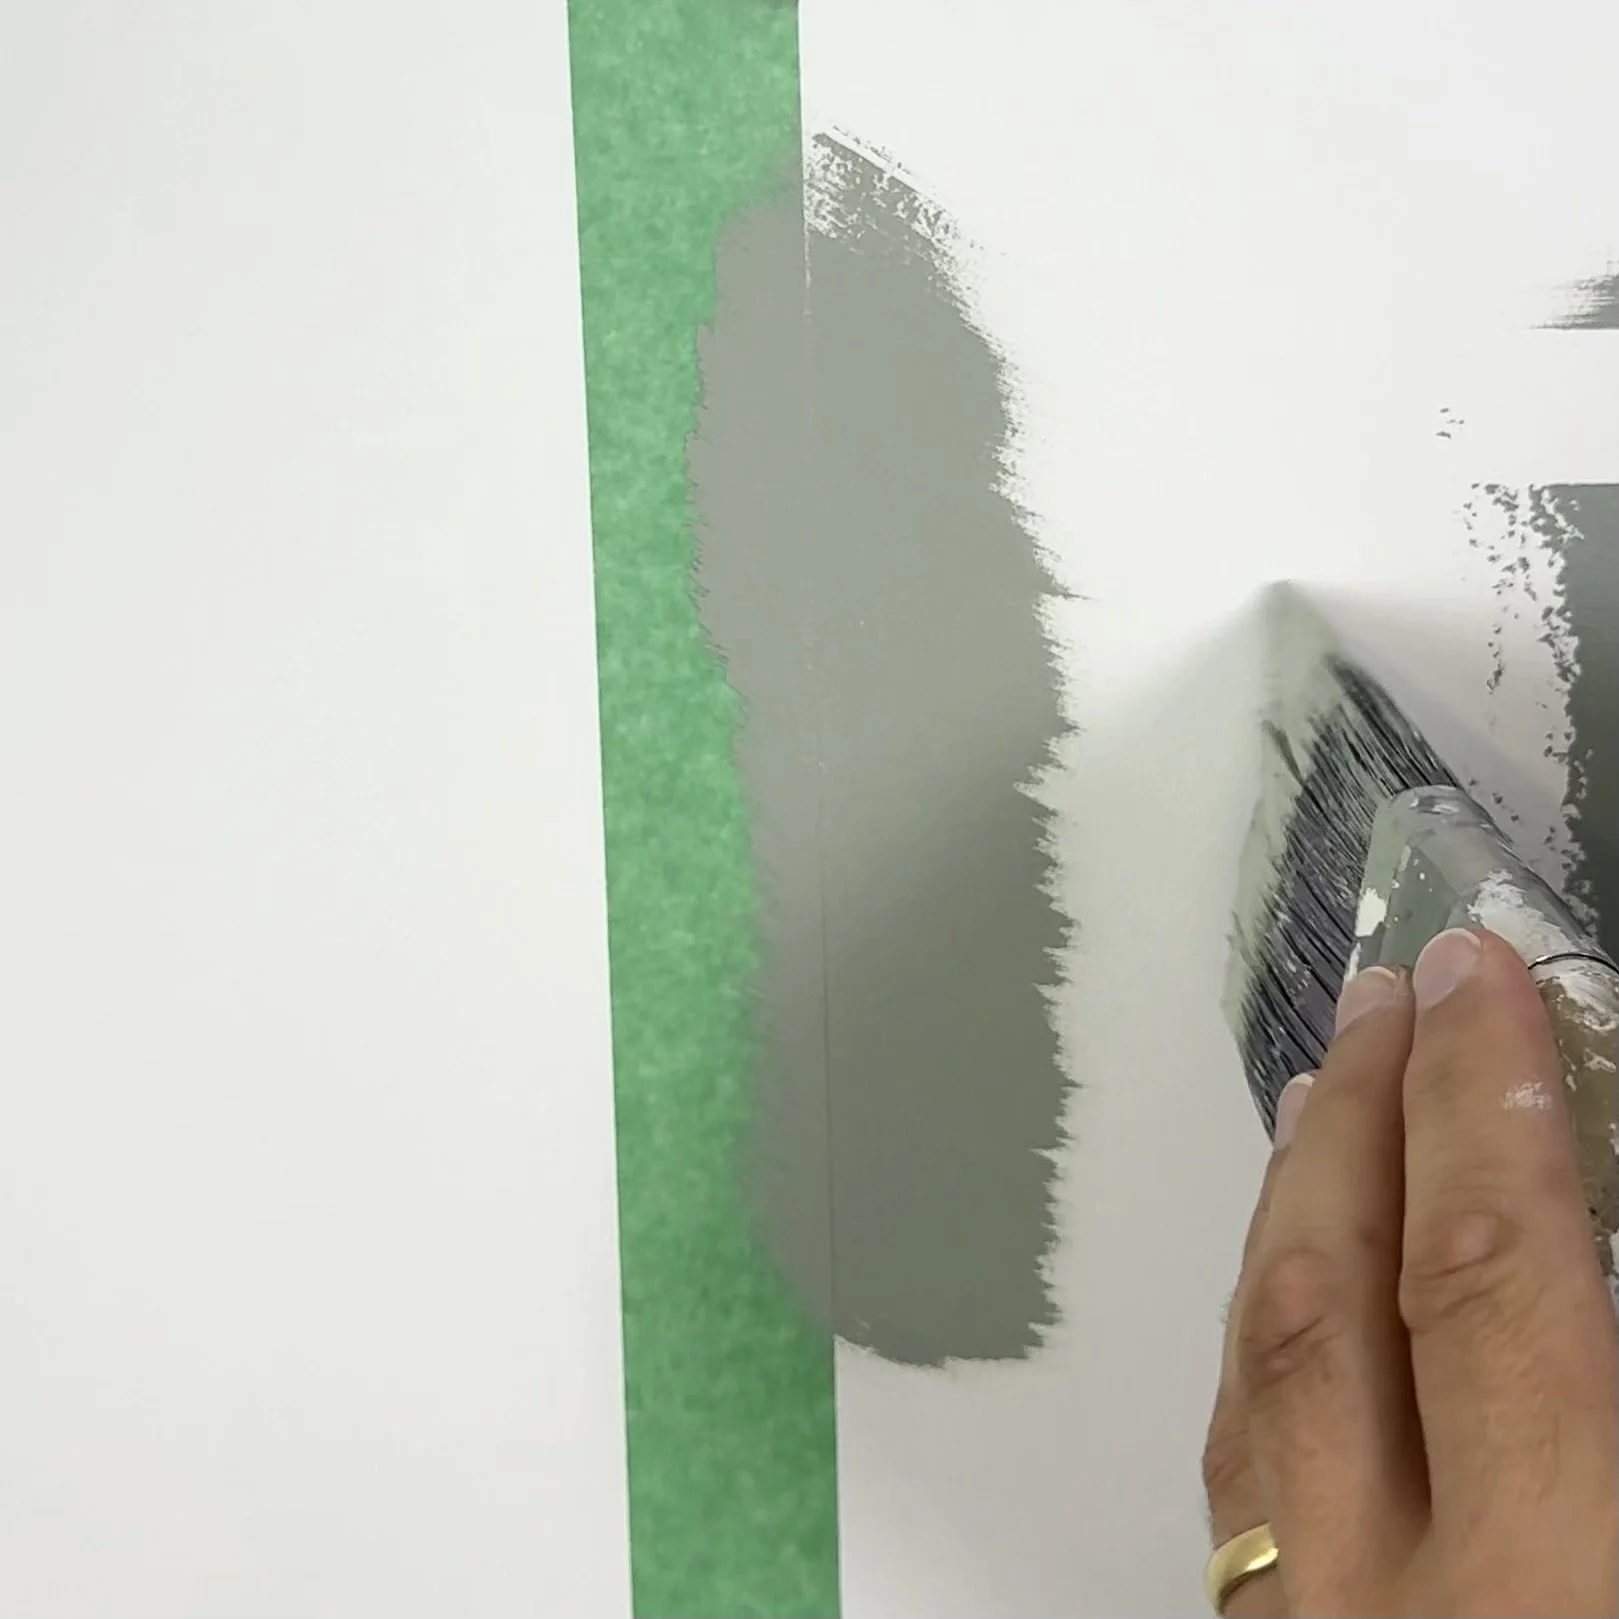
If all you’ve got is basic painter’s tape and no extras, don’t worry — you can still improve your results. Instead of brushing toward the tape, which pushes paint underneath, pull the brush away from the tape edge. This reduces the chance of bleed-through and gives you a cleaner finish, even without specialty products.
Take Your Paint Lines to the Next Level
With these techniques in your toolkit, you’ll never have to settle for messy edges again. From simple brush adjustments to the wall paint sealing method, there’s an approach for every skill level and budget. Whether you’re tackling a quick accent wall or a full-room makeover, these painter’s tape tricks will help you get the professional finish you’ve been looking for.