
How to Tile a Floor: Beginner’s Guide to Tiling Like a Pro!
Tiling a floor can feel like an intimidating project if you’ve never done it before, but with the right tools, techniques, and a little patience, anyone can achieve professional-looking results. In our latest YouTube tutorial, “How to Tile a Floor: Beginner’s Guide to Tiling Like a Pro!” we break down every step of the process so you can transform an outdated floor into a beautiful, durable surface. From removing old tile and preparing the subfloor, to laying tile, grouting, and finishing, this guide is designed to give you the confidence and know-how to take on your first tiling project with ease.
Removing the Old Tile

Demolition of the existing floor tiles.
The first step in any floor tiling project is demolition. Depending on how well the existing tiles are adhered, you may be able to remove them with a hammer and chisel, or you may need a heavier tool like an SDS drill or demo hammer to break them free. The key is to strip the surface completely until there’s no mortar or tile left behind. A clean, bare subfloor is essential before you can begin building your new floor.
Prepping the Subfloor
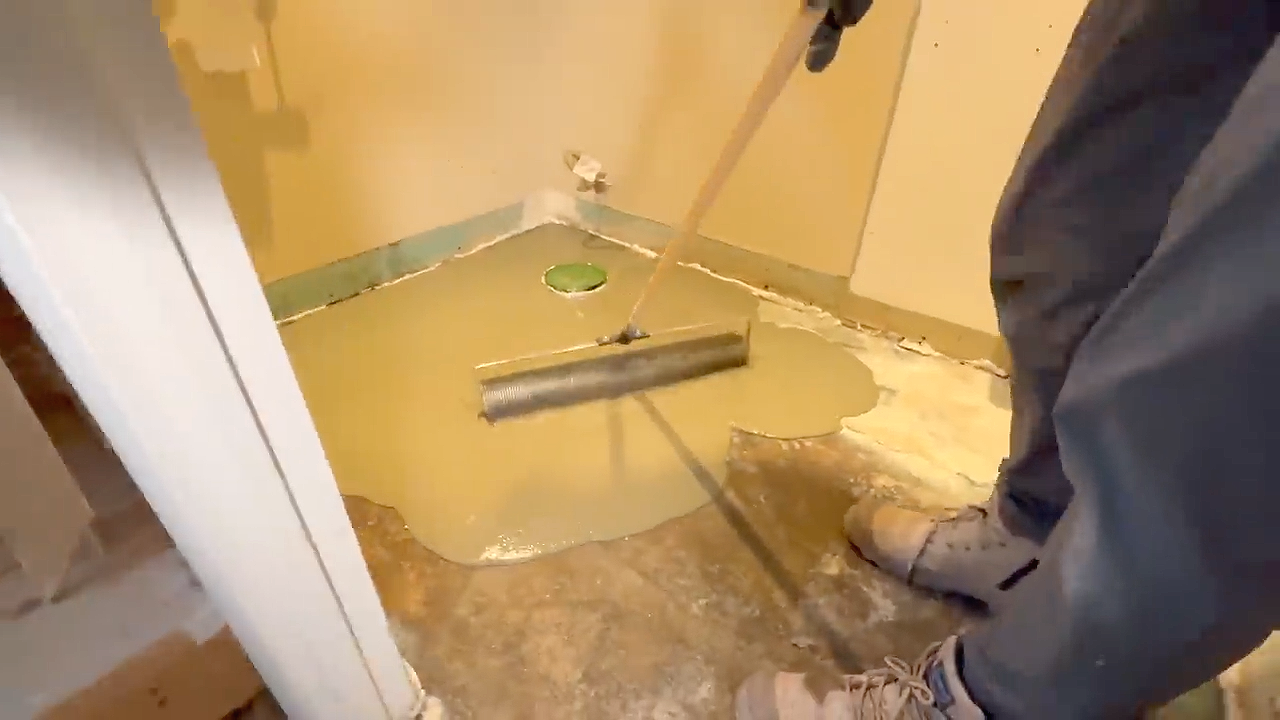
Rolling out the self-leveller with a spiked roller.
Once the old tiles are gone, the next step is to prepare your subfloor. This stage often determines how smooth and professional your finished floor will look. Any uneven spots need to be patched or leveled, and in many cases, a self-leveling compound is necessary to correct dips and slopes. Taking the time to get this step right will make laying tile much easier and ensure that your finished floor feels solid underfoot.
Adding a Crack Isolation Membrane
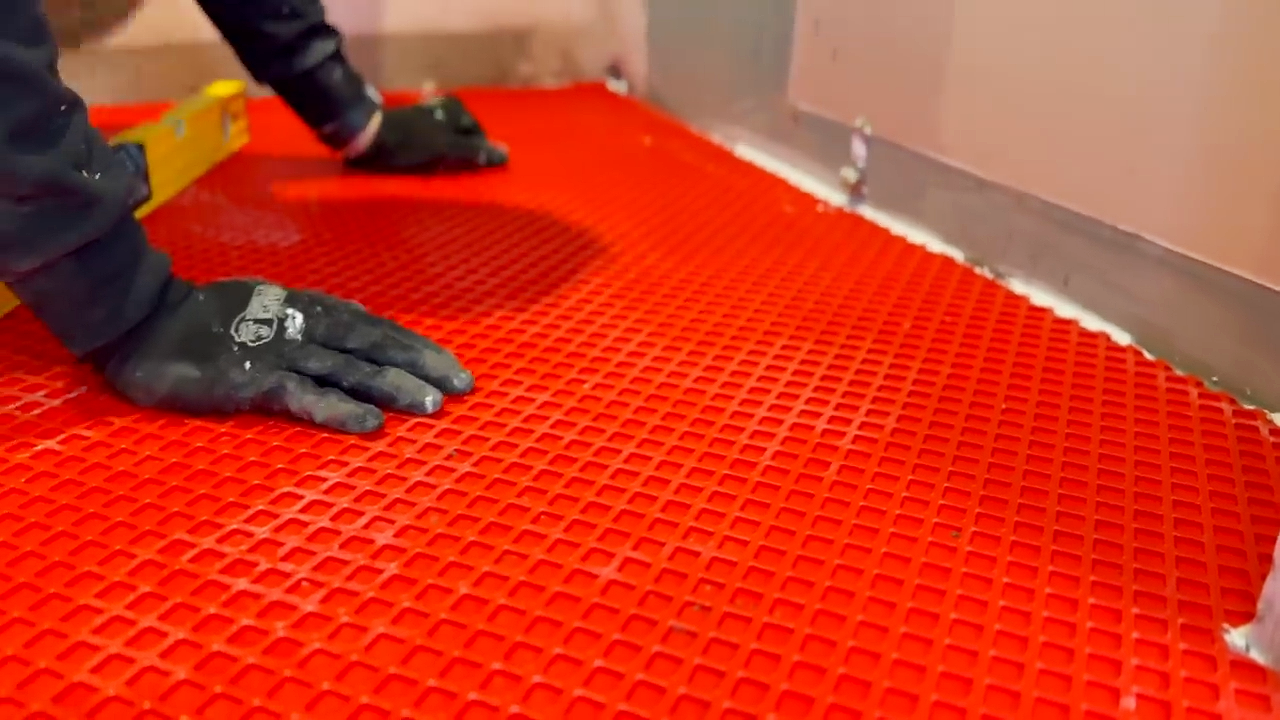
Embedding a crack-isolation membrane in mortar.
After leveling, it’s time to add an uncoupling or crack isolation membrane. This flexible layer is installed over a thin bed of mortar and acts as a buffer between the subfloor and the tile. By allowing minor movement beneath the surface, it helps prevent cracks in both the tiles and grout lines. Pre-cutting your membrane to size before embedding it in thin-set mortar, ensures long-lasting durability and a smoother tiling process.
Creating Your Tile Layout
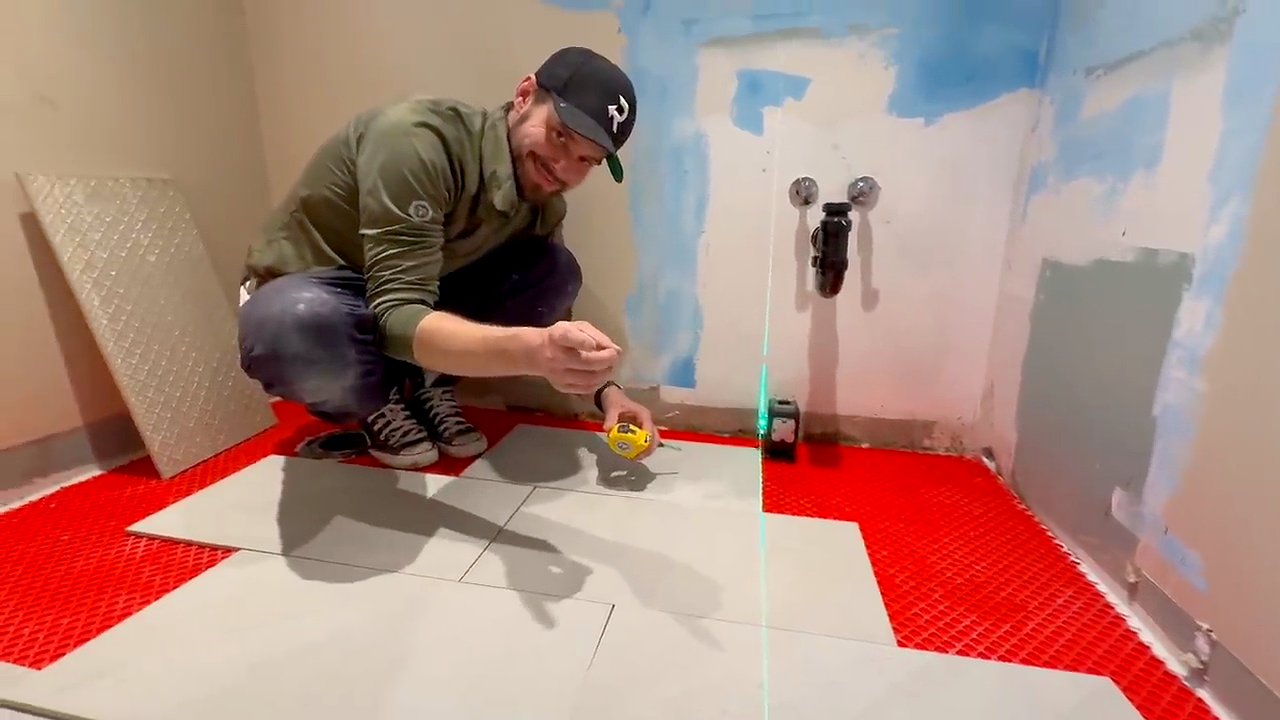
Laying out tiles before installation.
Before mixing mortar, it’s crucial to plan your tile layout. Dry-laying tiles across the floor gives you the opportunity to check spacing, alignment, and how cuts will land around the edges. This step helps you avoid thin, awkward slivers of tile that can detract from the final look. Adjusting the layout now means fewer surprises later and a more polished result when the floor is finished.
Cutting Tiles to Fit
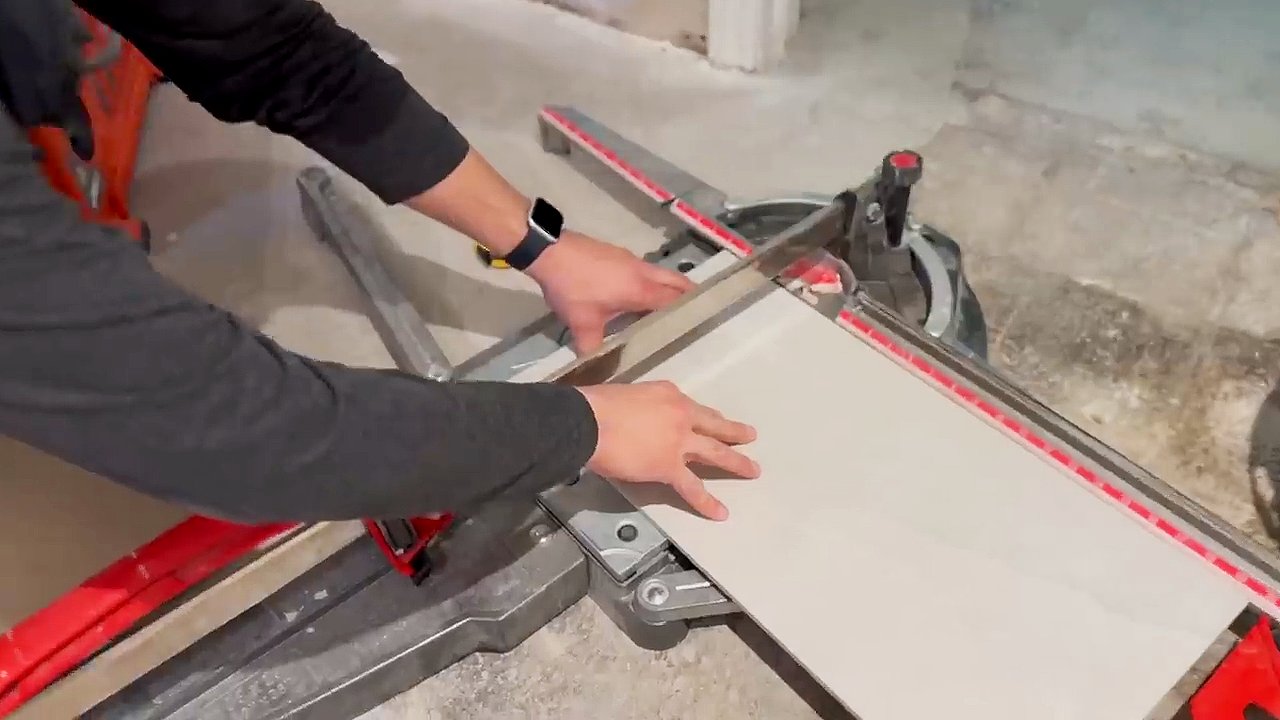
Cutting tile using a tile snap.
Once the layout is set, it’s time to make your cuts. Tools like a tile snap or wet saw will help you shape tiles to fit around edges, corners, and tricky spots like door casings or toilet flanges. For areas that require precise shaping, such as cutting a circle around a toilet flange, a grinder with a cutting wheel works best. Pre-cutting as many tiles as possible before applying mortar will save you time and stress during installation.
Laying Tile with Mortar
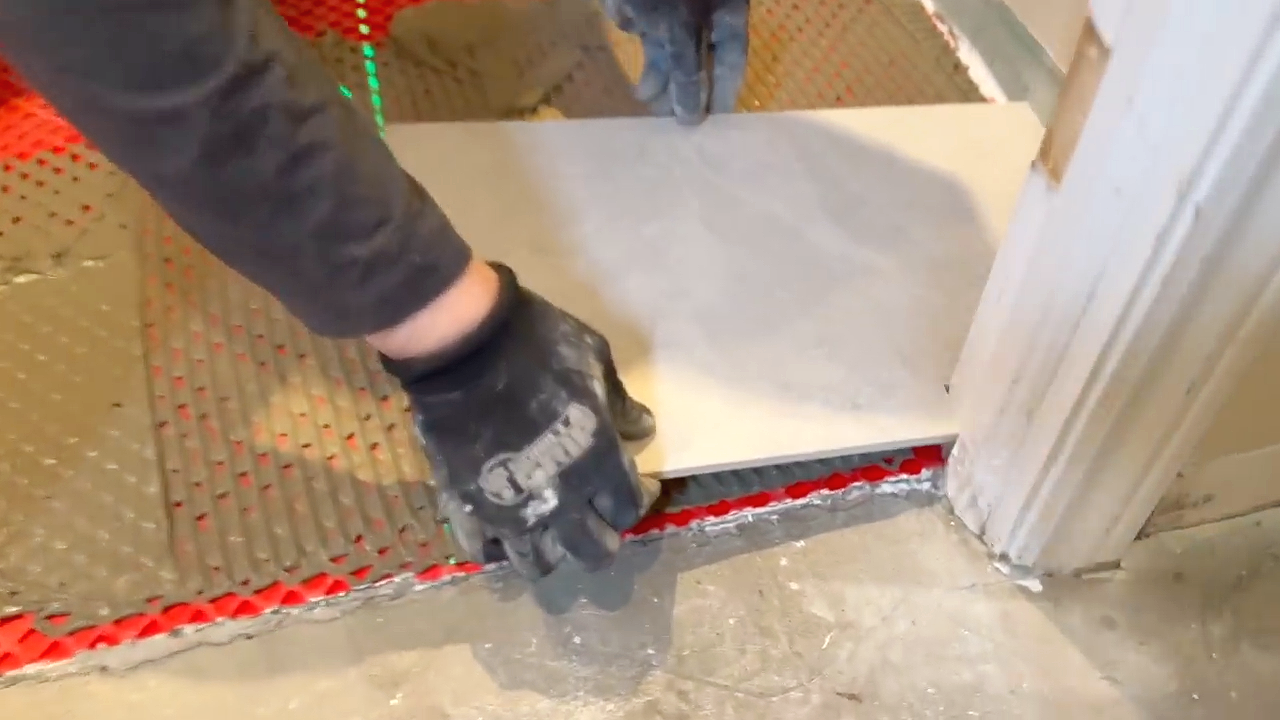
Installing the first tile in mortar.
With preparation complete, you’re ready to start laying tile. Spread thin-set mortar evenly across the subfloor using a notched trowel, then “back butter” each tile by applying a thin layer of mortar to the underside before pressing it into place. This ensures maximum adhesion and helps prevent the tile from drawing moisture out of the mortar too quickly. Using spacers or leveling clips will keep the tiles evenly aligned and create a smooth, professional surface.
Grouting the Floor
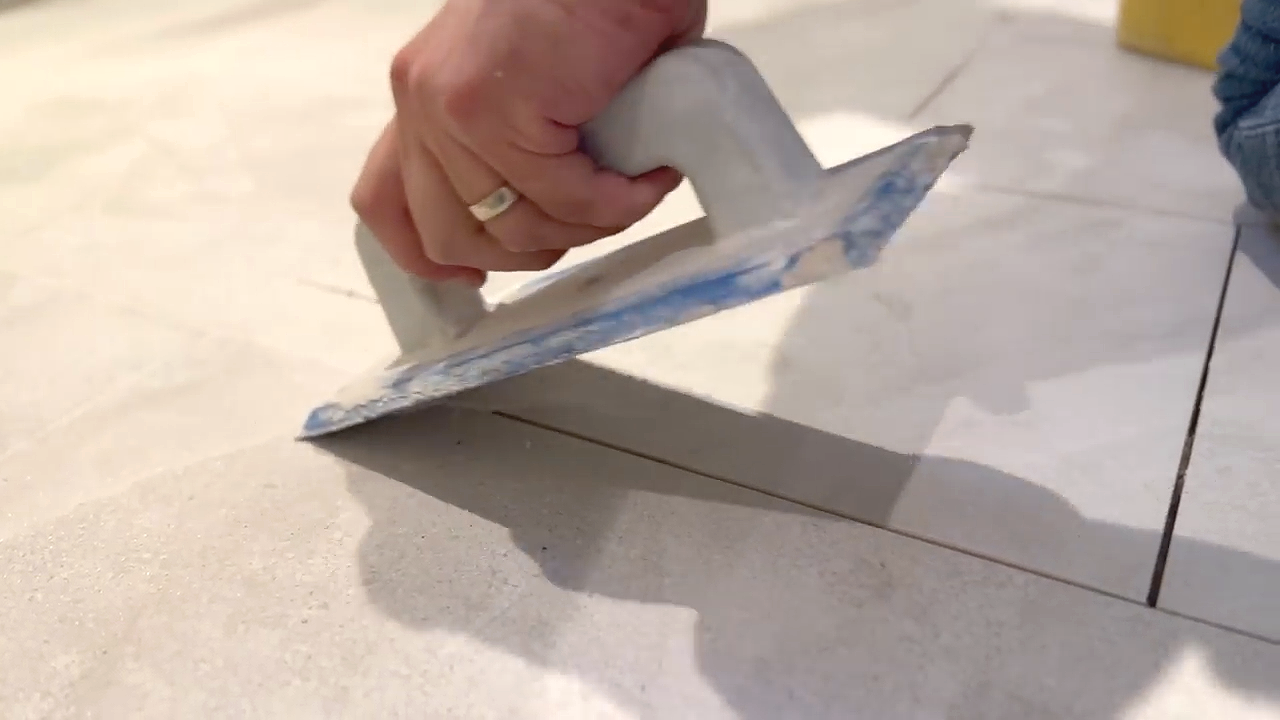
Grouting the finished floor.
After the mortar cures—usually within 24 to 48 hours—it’s time for grout. Following the manufacturer’s instructions, apply grout with a float, pushing it deep into the joints before wiping away the excess. Each grout product has slightly different requirements, so be sure to read the directions carefully. Once the grout sets, a final clean and polish will bring your new tile floor to life.
Step Back and Admire the Transformation
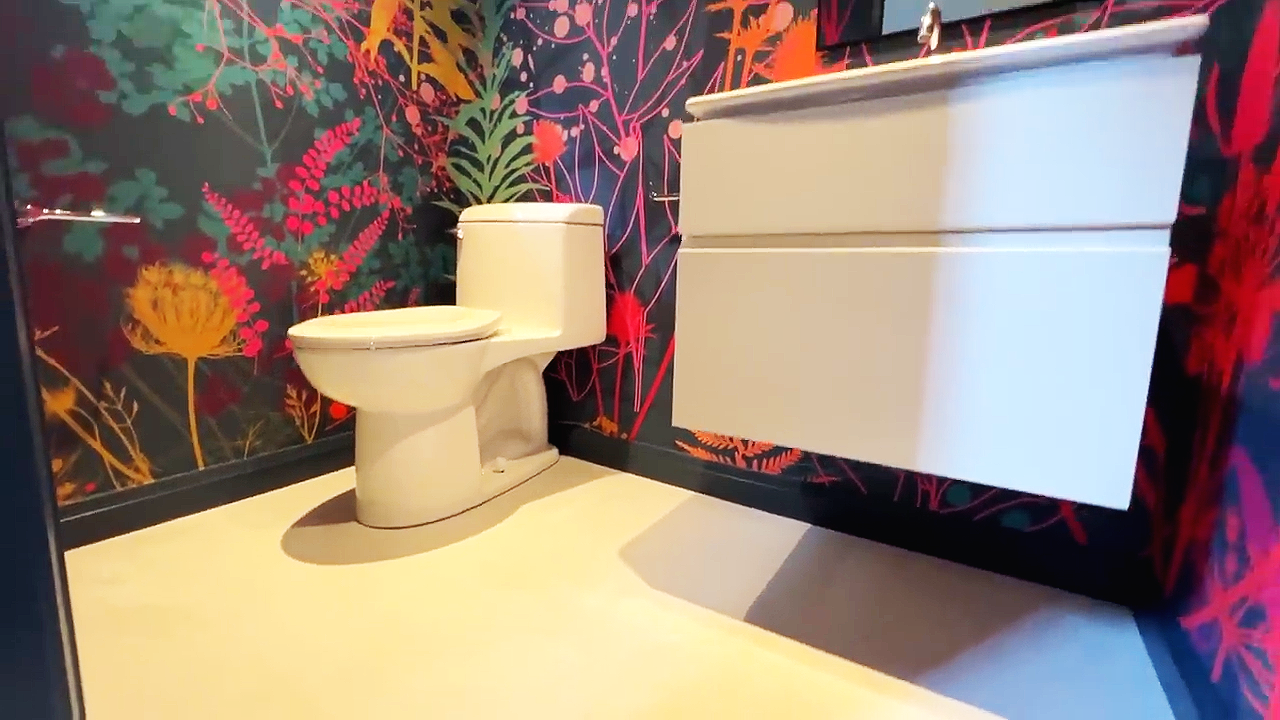
Final look at the brand new floor.
When the grout is cured and the tiles are cleaned, you’ll be left with a brand-new floor that looks like it was installed by a pro. From start to finish, the process may seem long, but every step—from demolition to finishing—builds toward a polished and durable result. And the satisfaction of knowing you did it yourself makes the finished product even more rewarding.
Watch the full tutorial here: 👉 How to Tile a Floor: Beginner’s Guide to Tiling Like a Pro! on YouTube. Whether you’re renovating a bathroom, kitchen, or entryway, tiling is a skill worth learning—and with patience, practice, and a little guidance, your first project can look like it was done by an expert.